Server Setup for the Project
Install Ubuntu Server
First, we will use the Ubuntu version 24.04 operating system to install on a virtual machine.
We will create a virtual machine using VMware Workstation, to install the application you can refer to the following link:
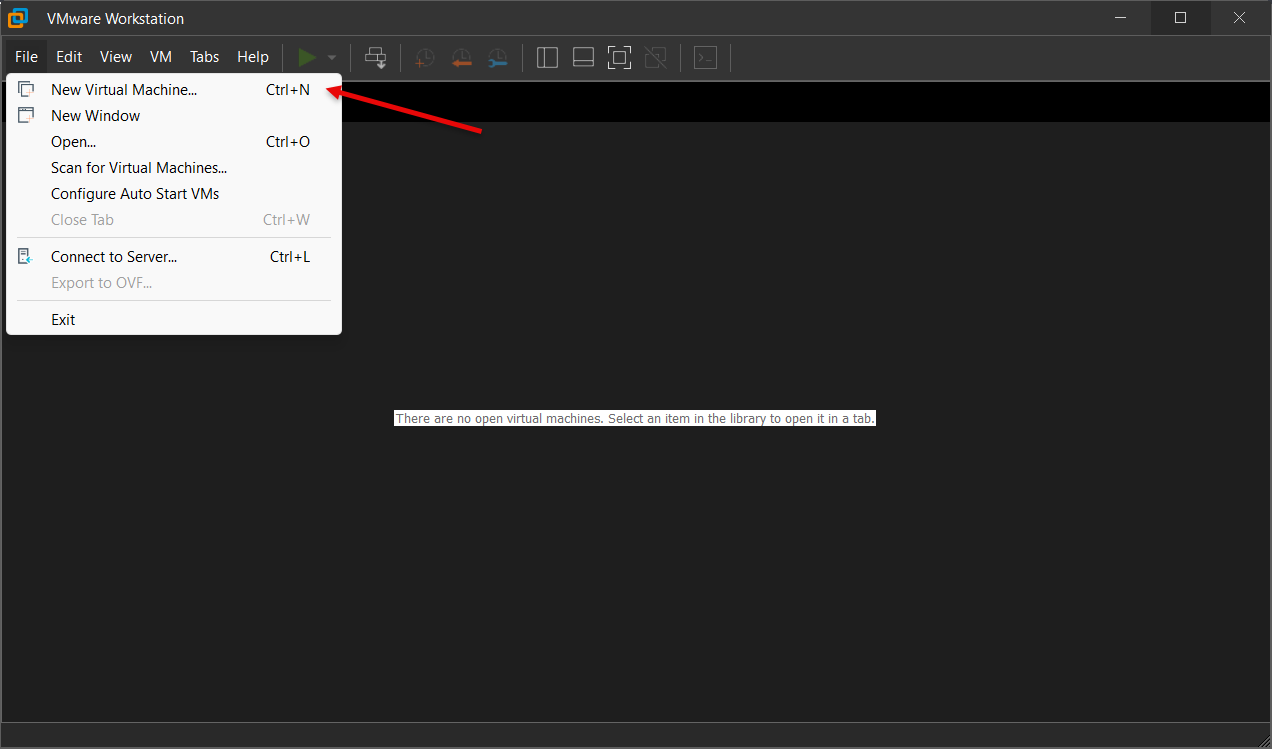
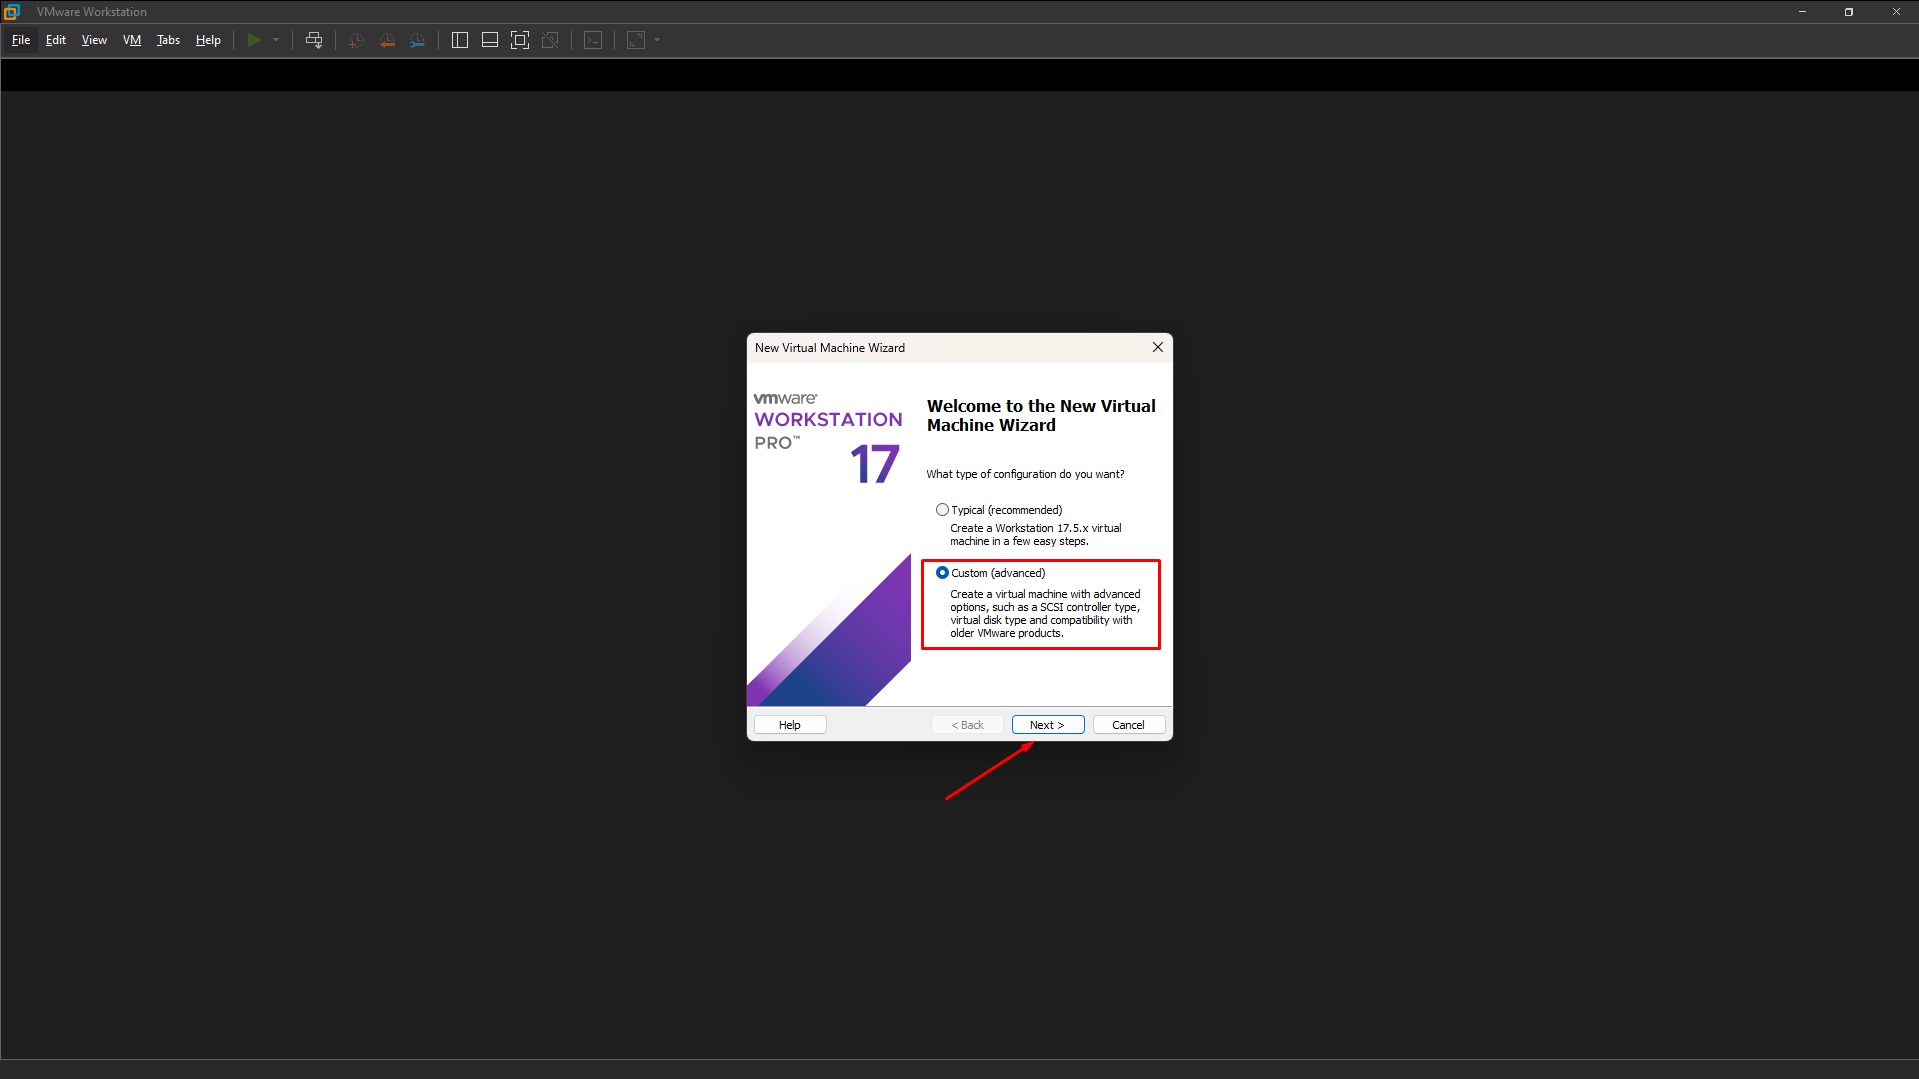
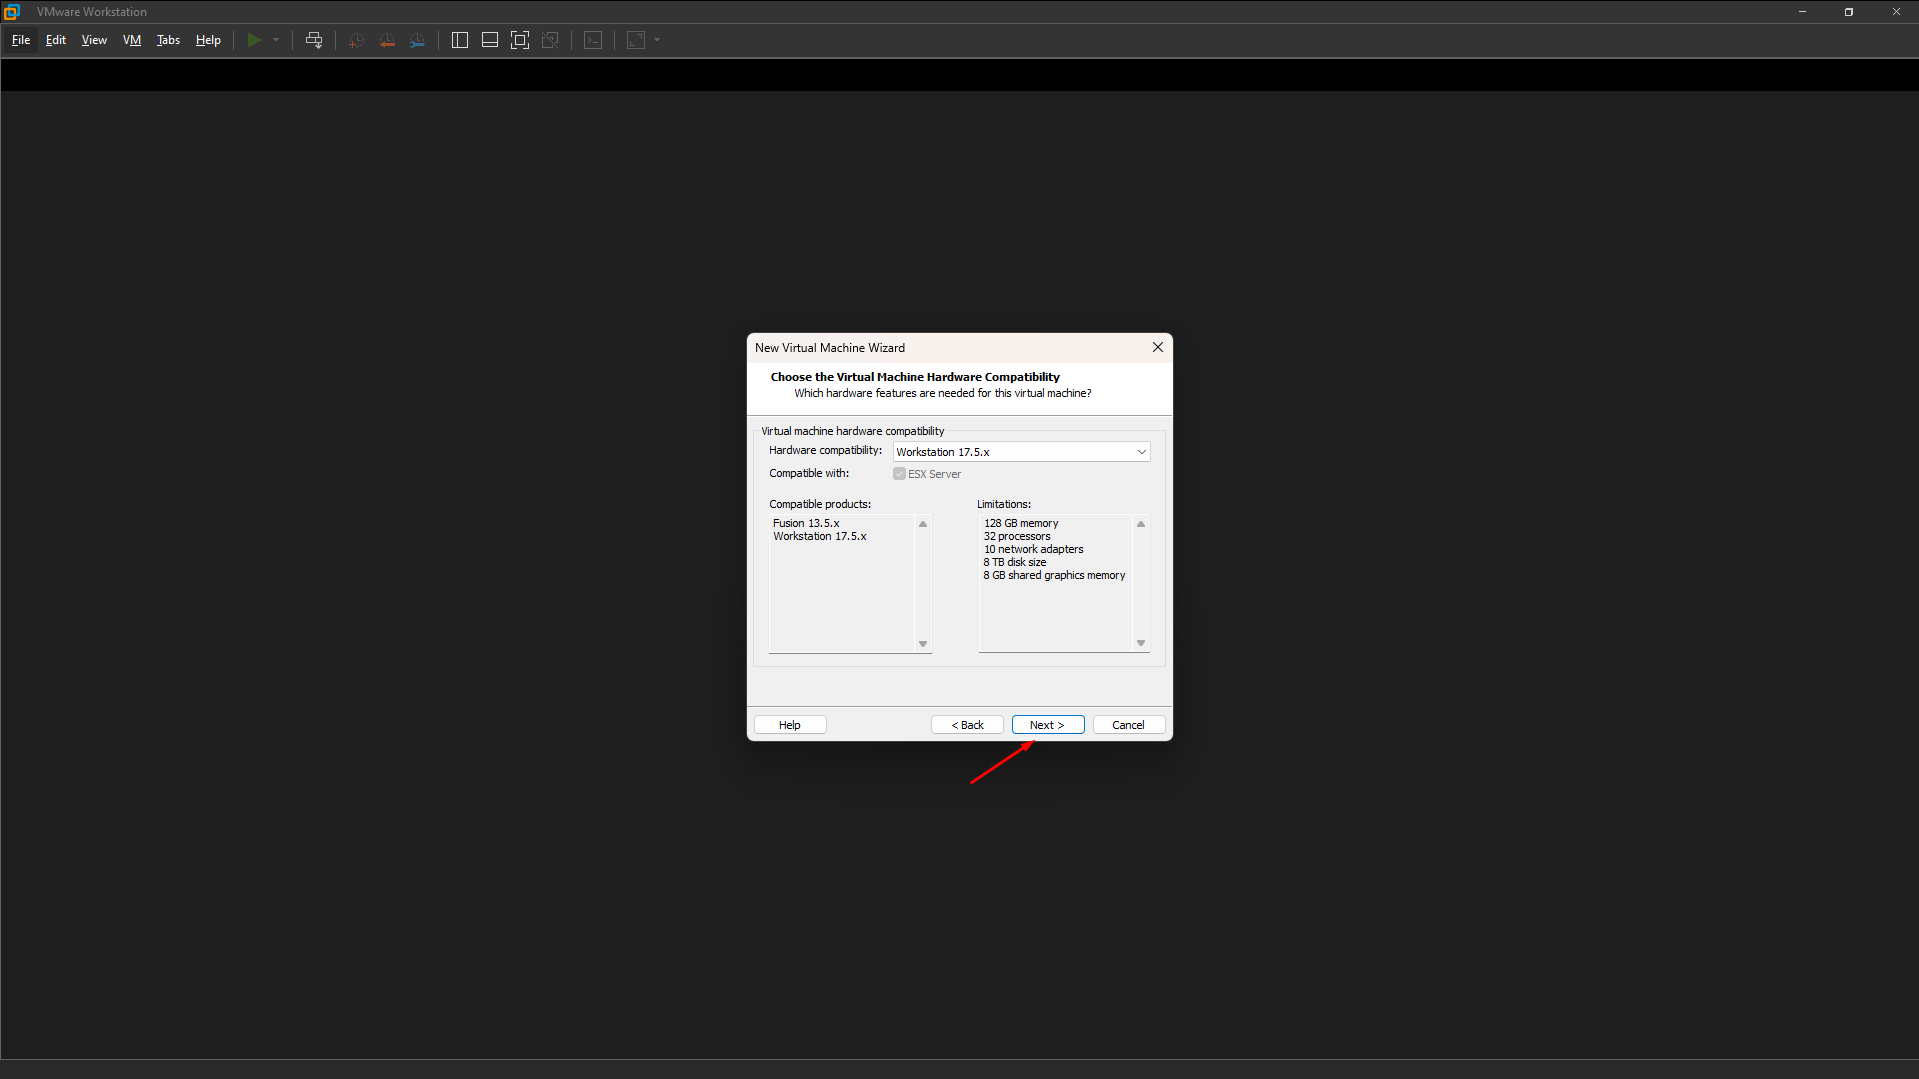
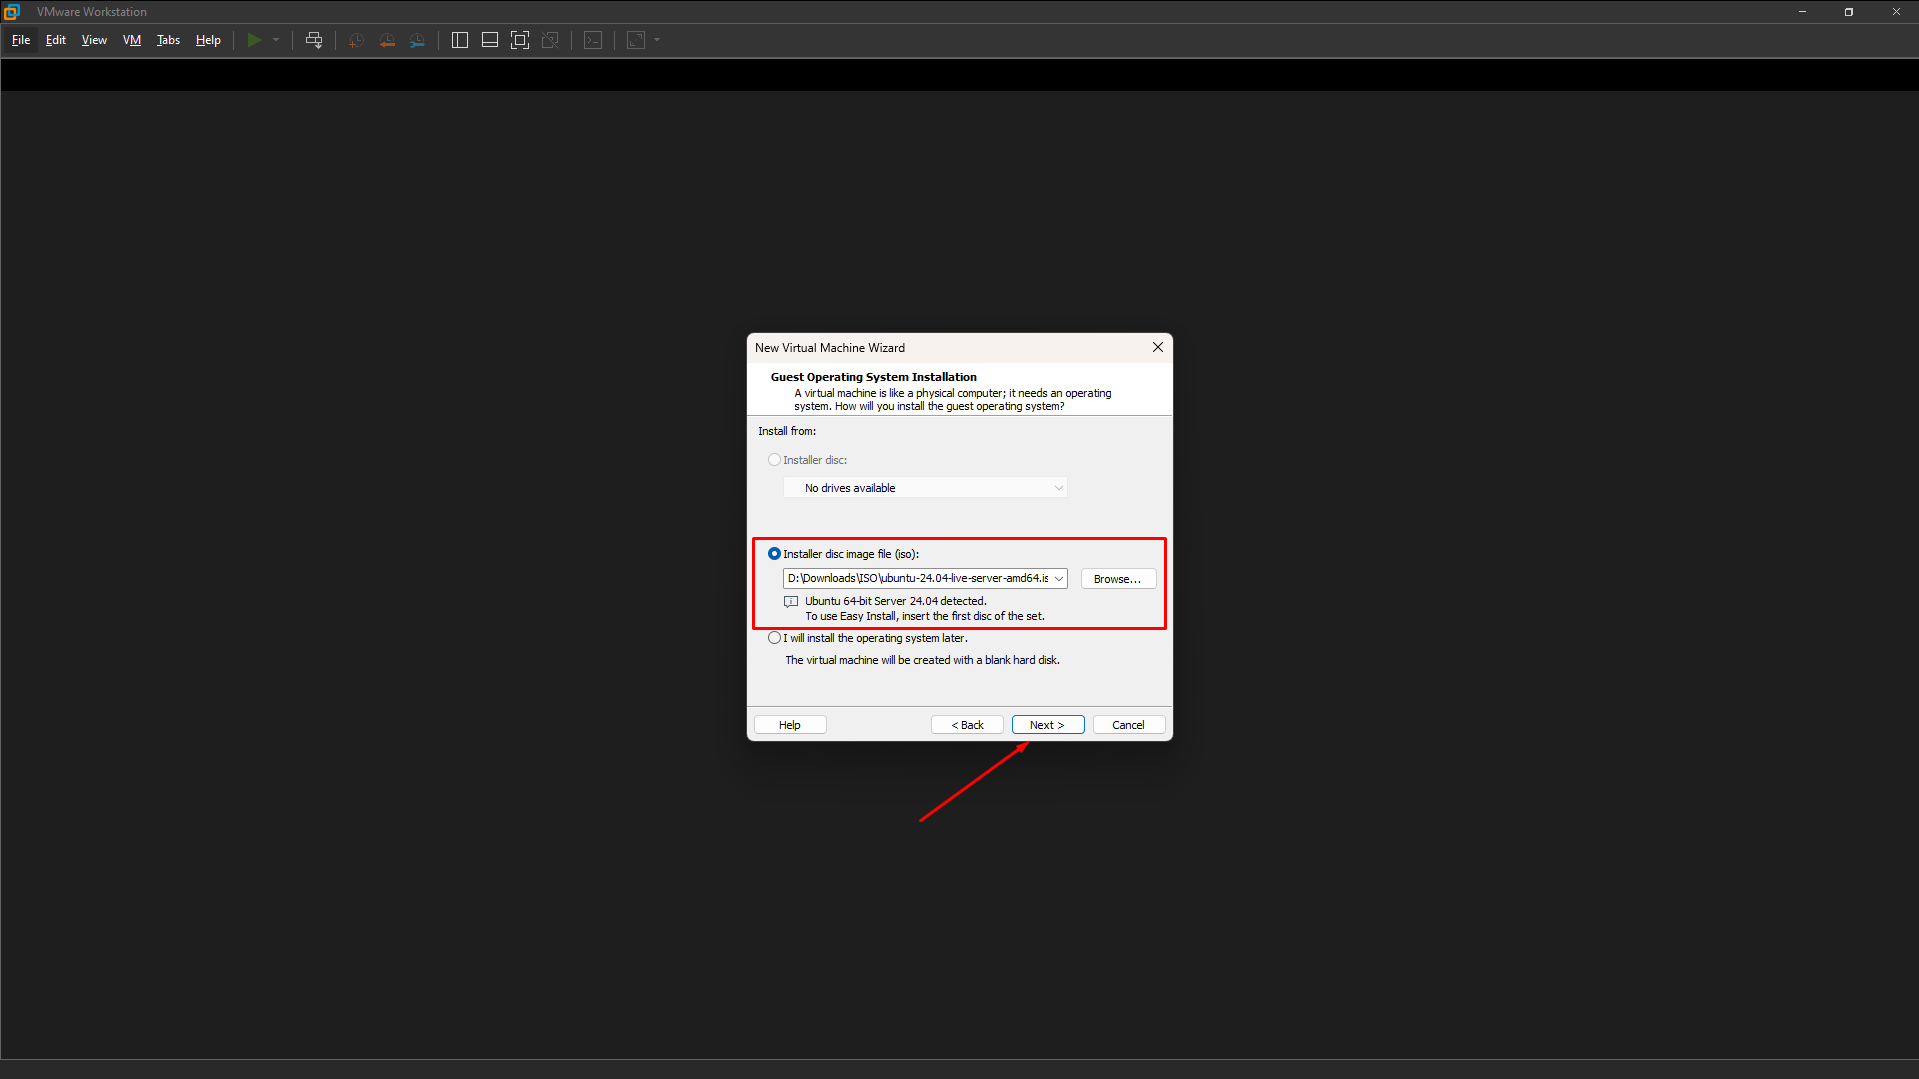
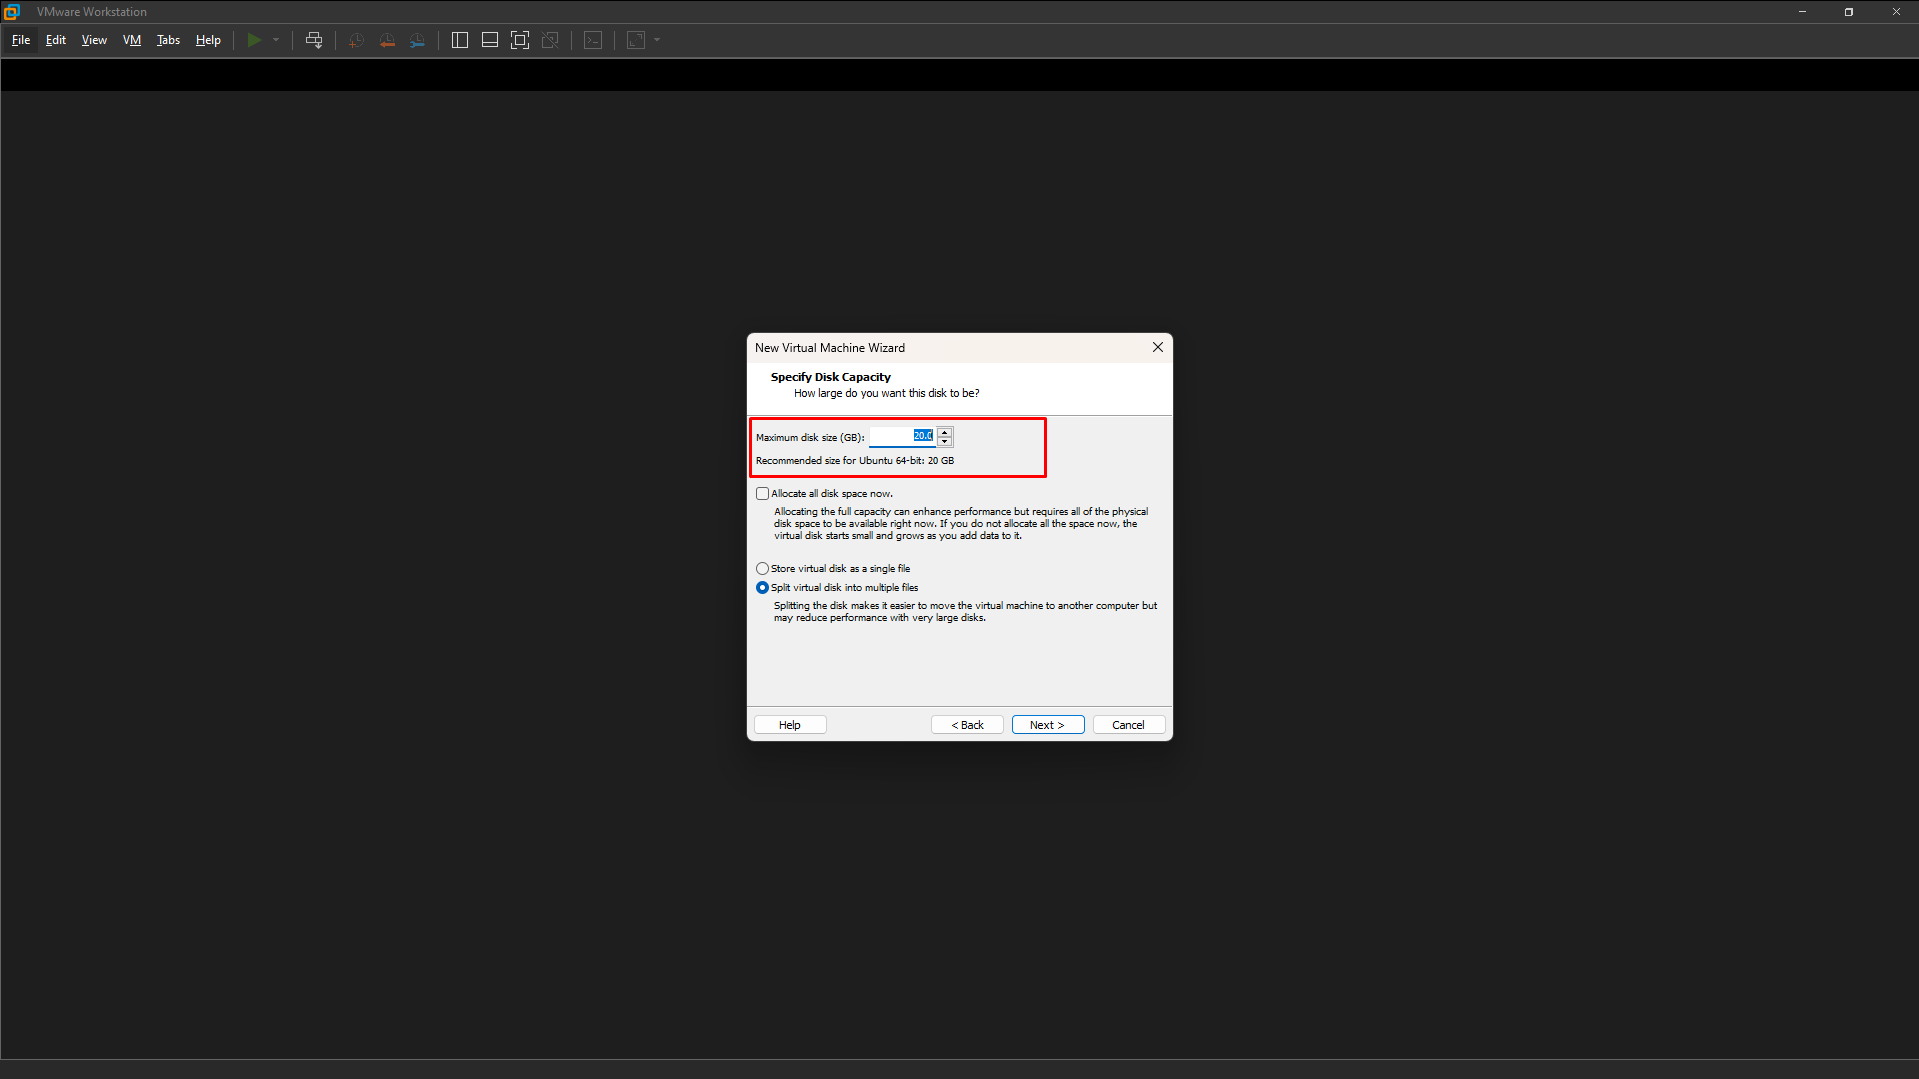
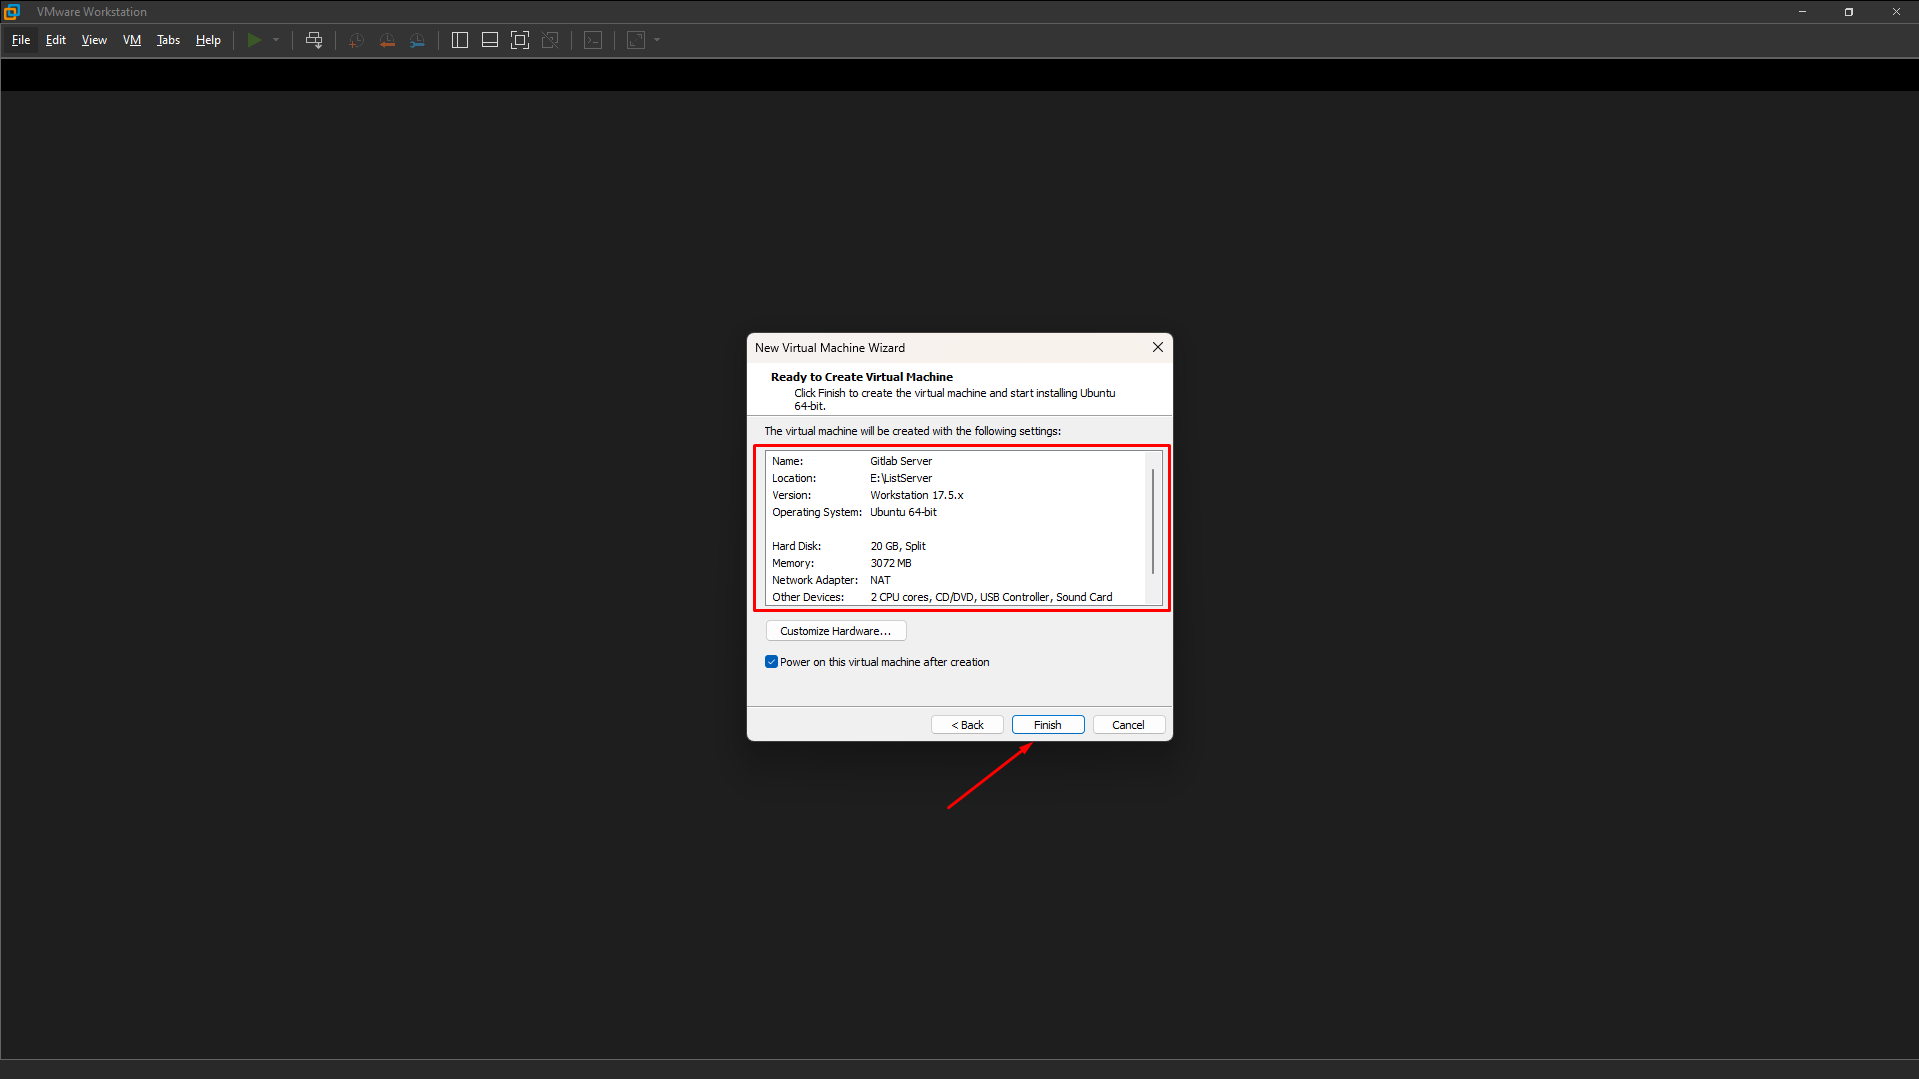
Proceed to create the virtual machine on VMware Workstation by following these steps:
Select the Ubuntu Server ISO file we just downloaded.
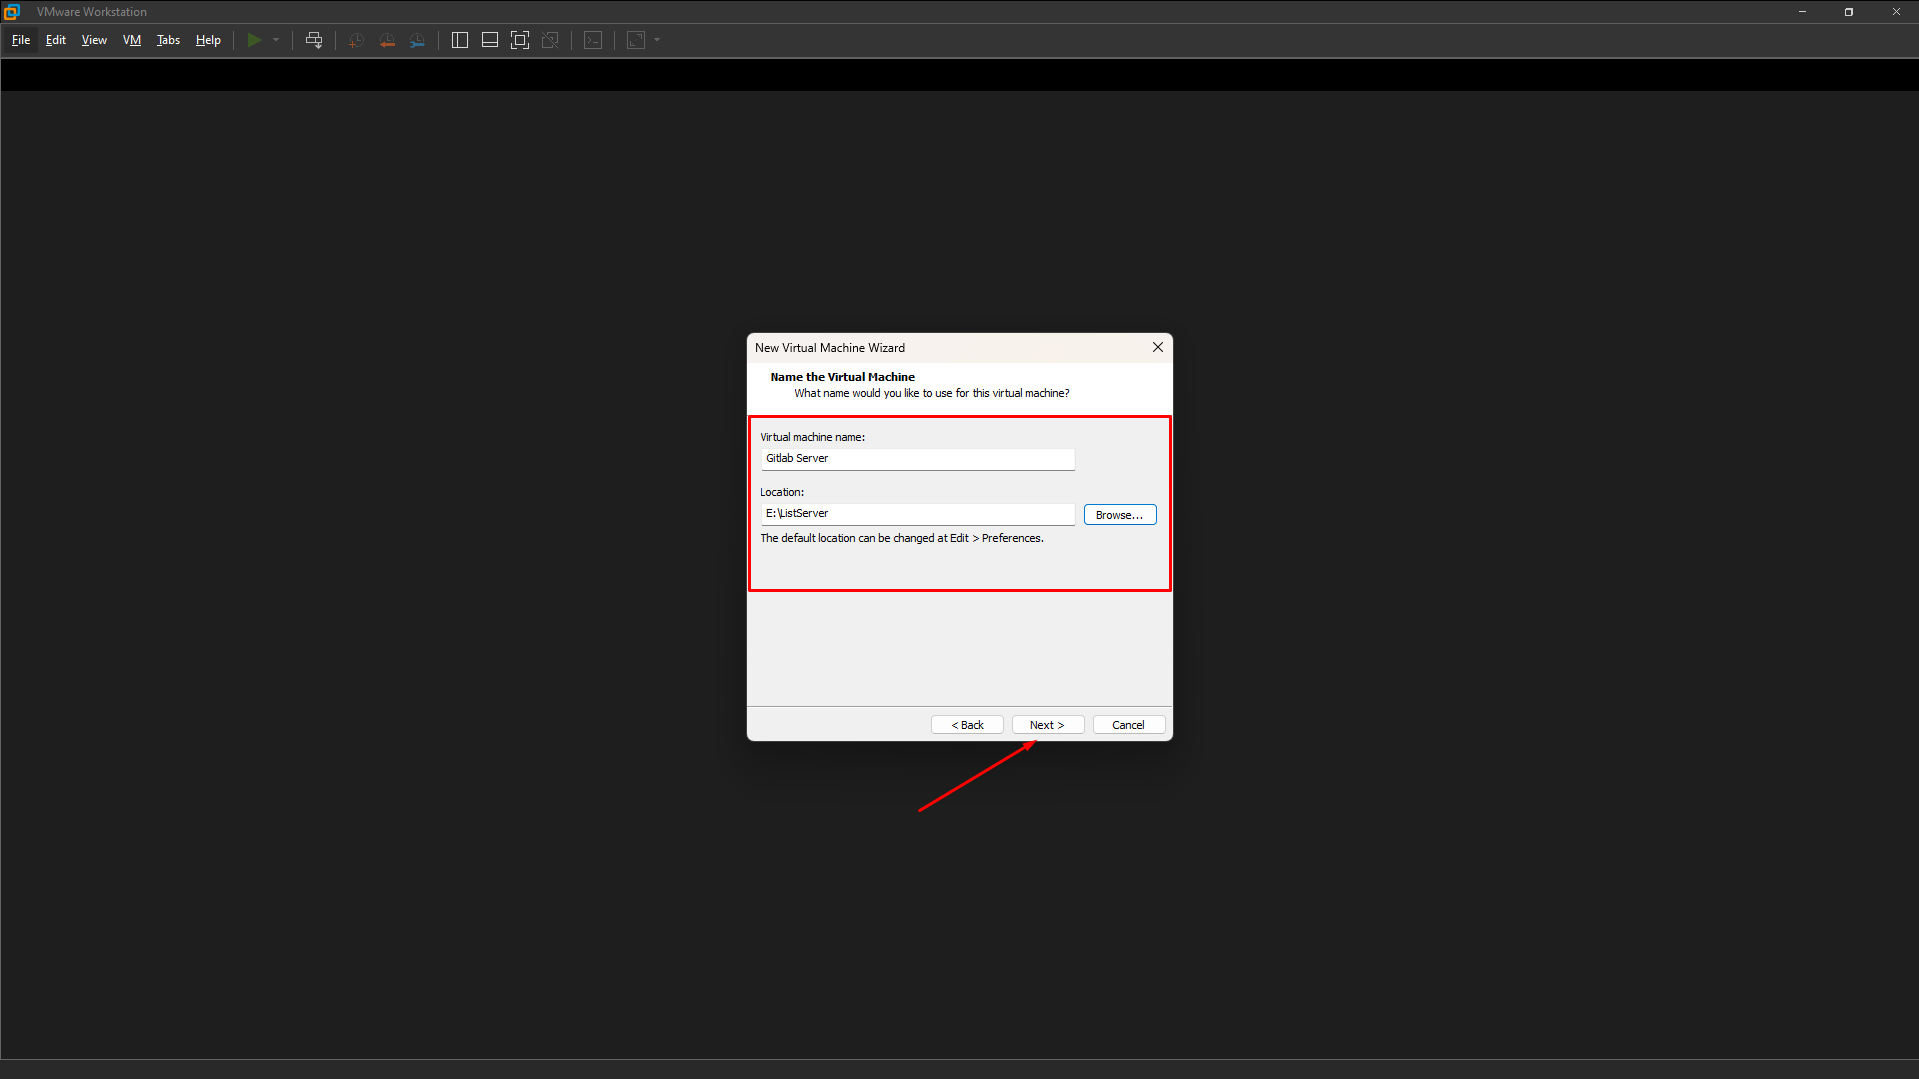
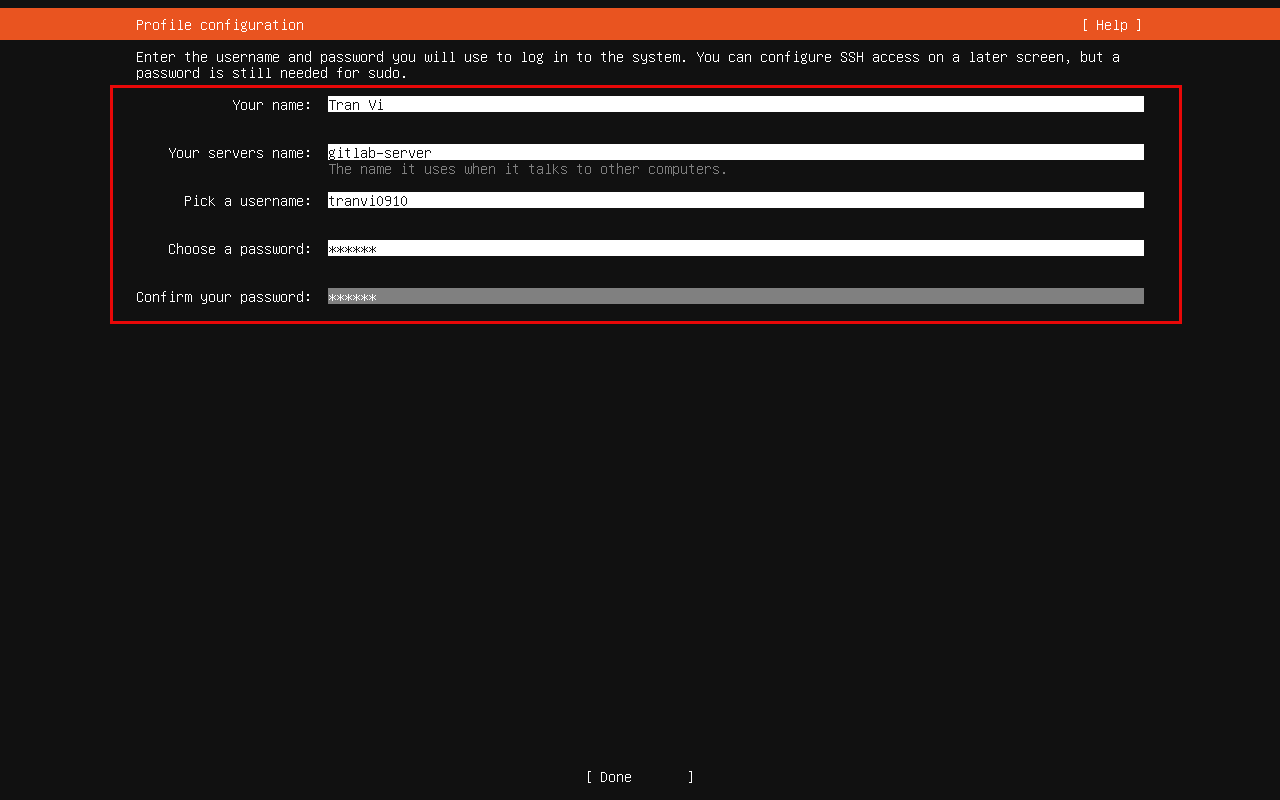
Name the virtual machine and choose a folder that you manage.
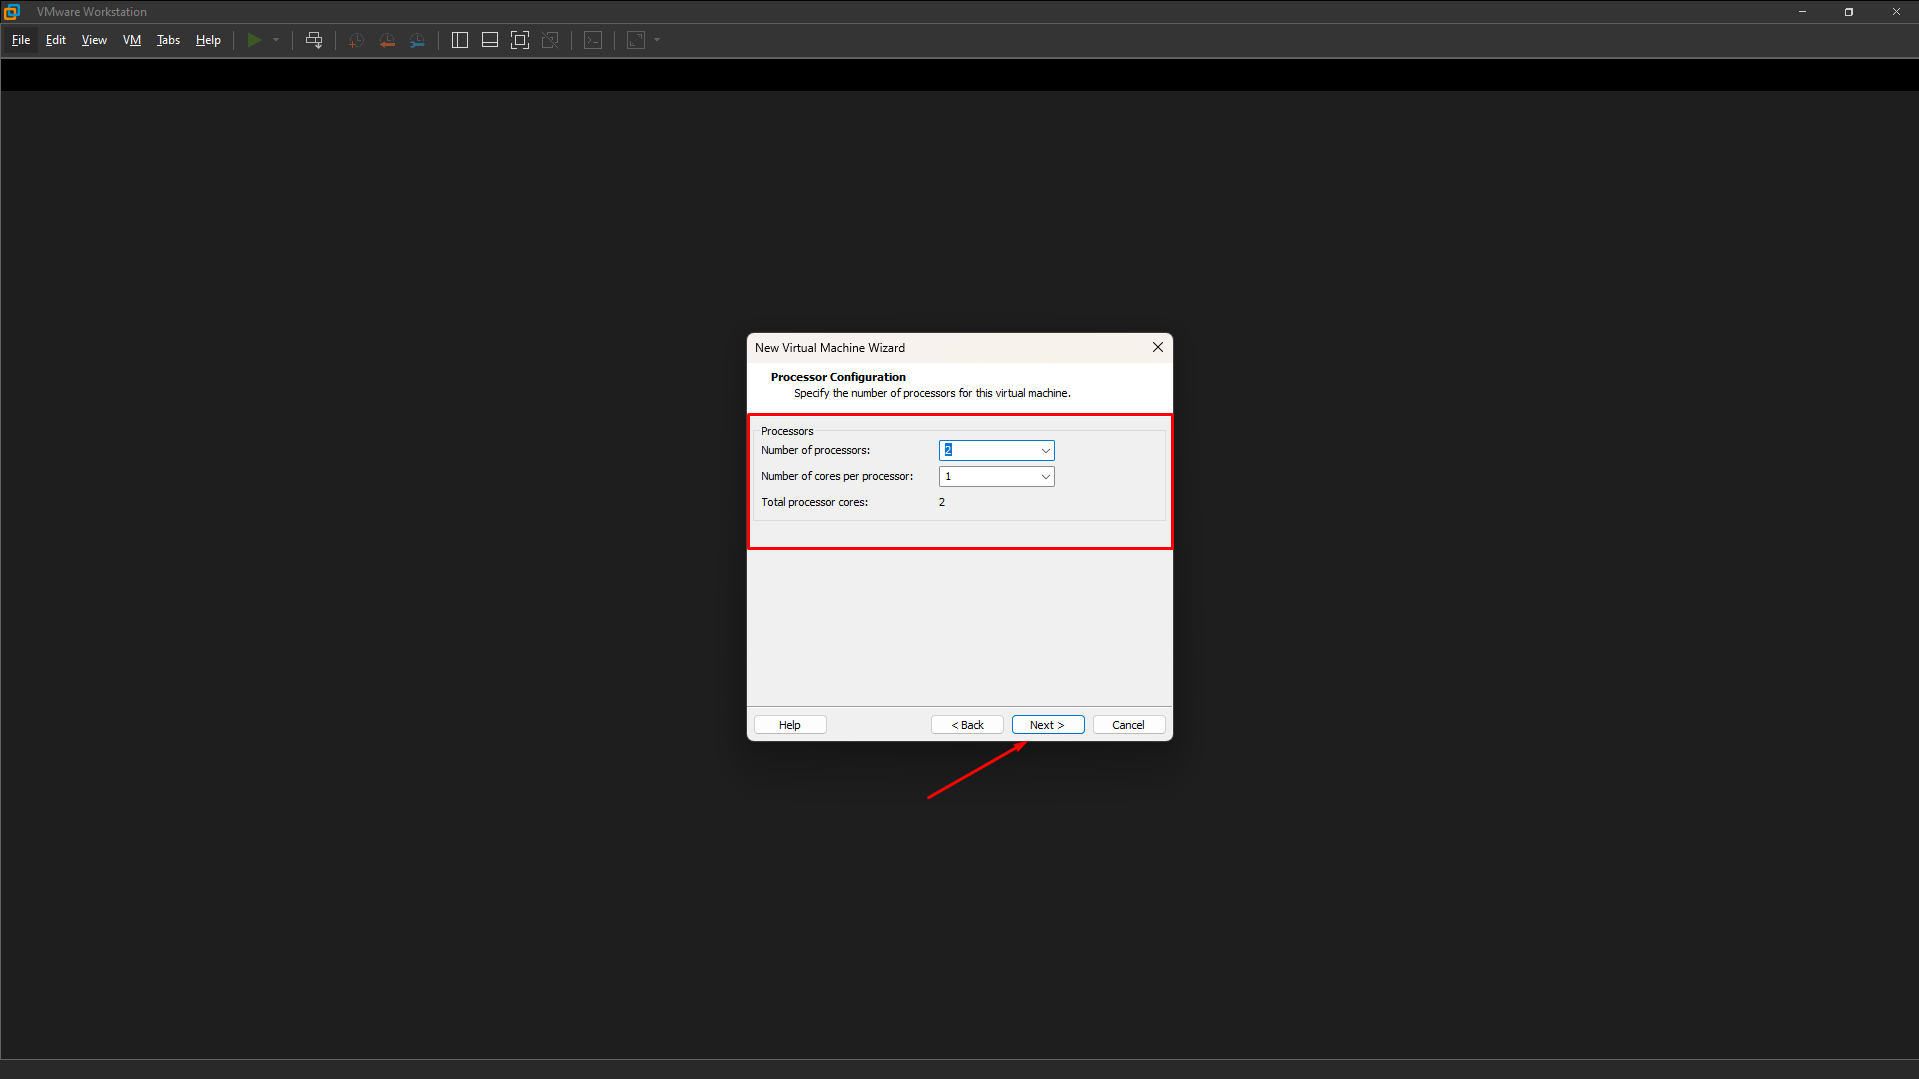
Depending on your machine’s configuration, you can select the appropriate Processors and Cores, but GitLab requires at least 2 CPU (Processor Cores).
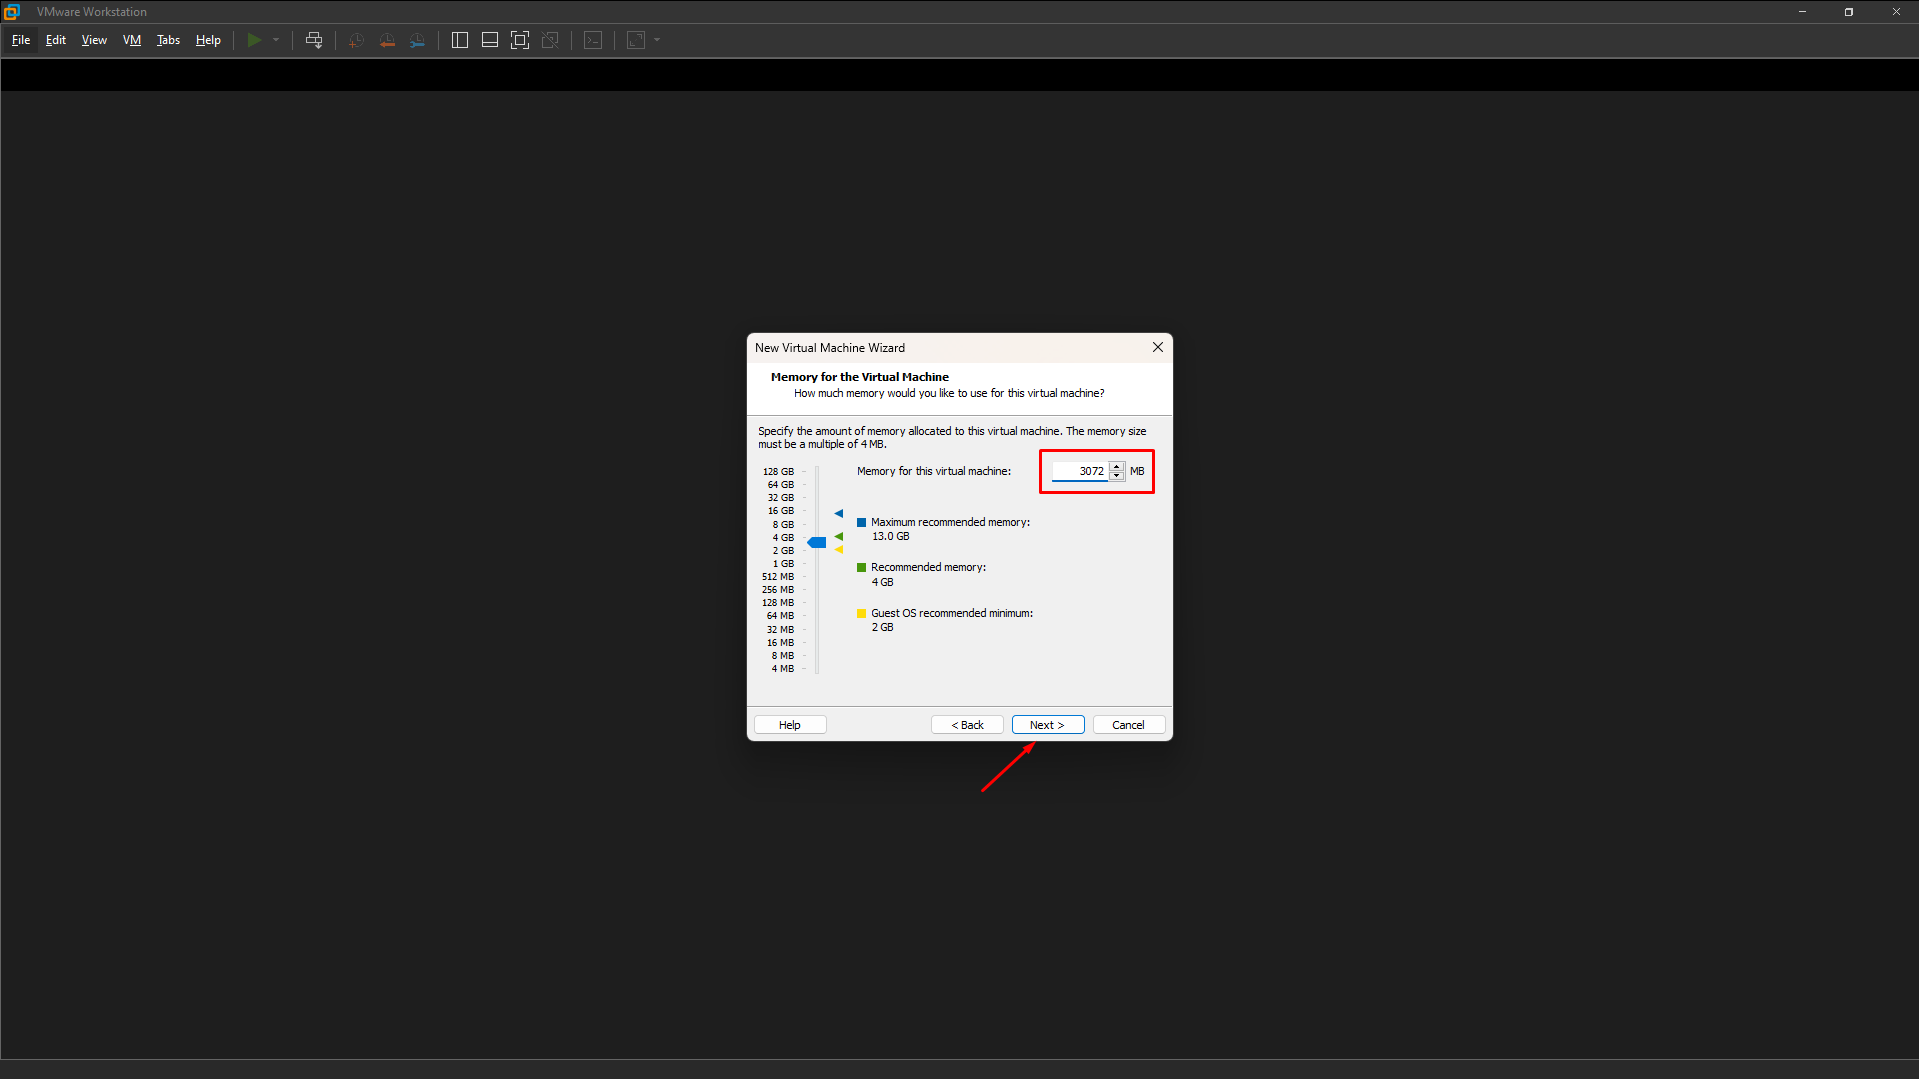
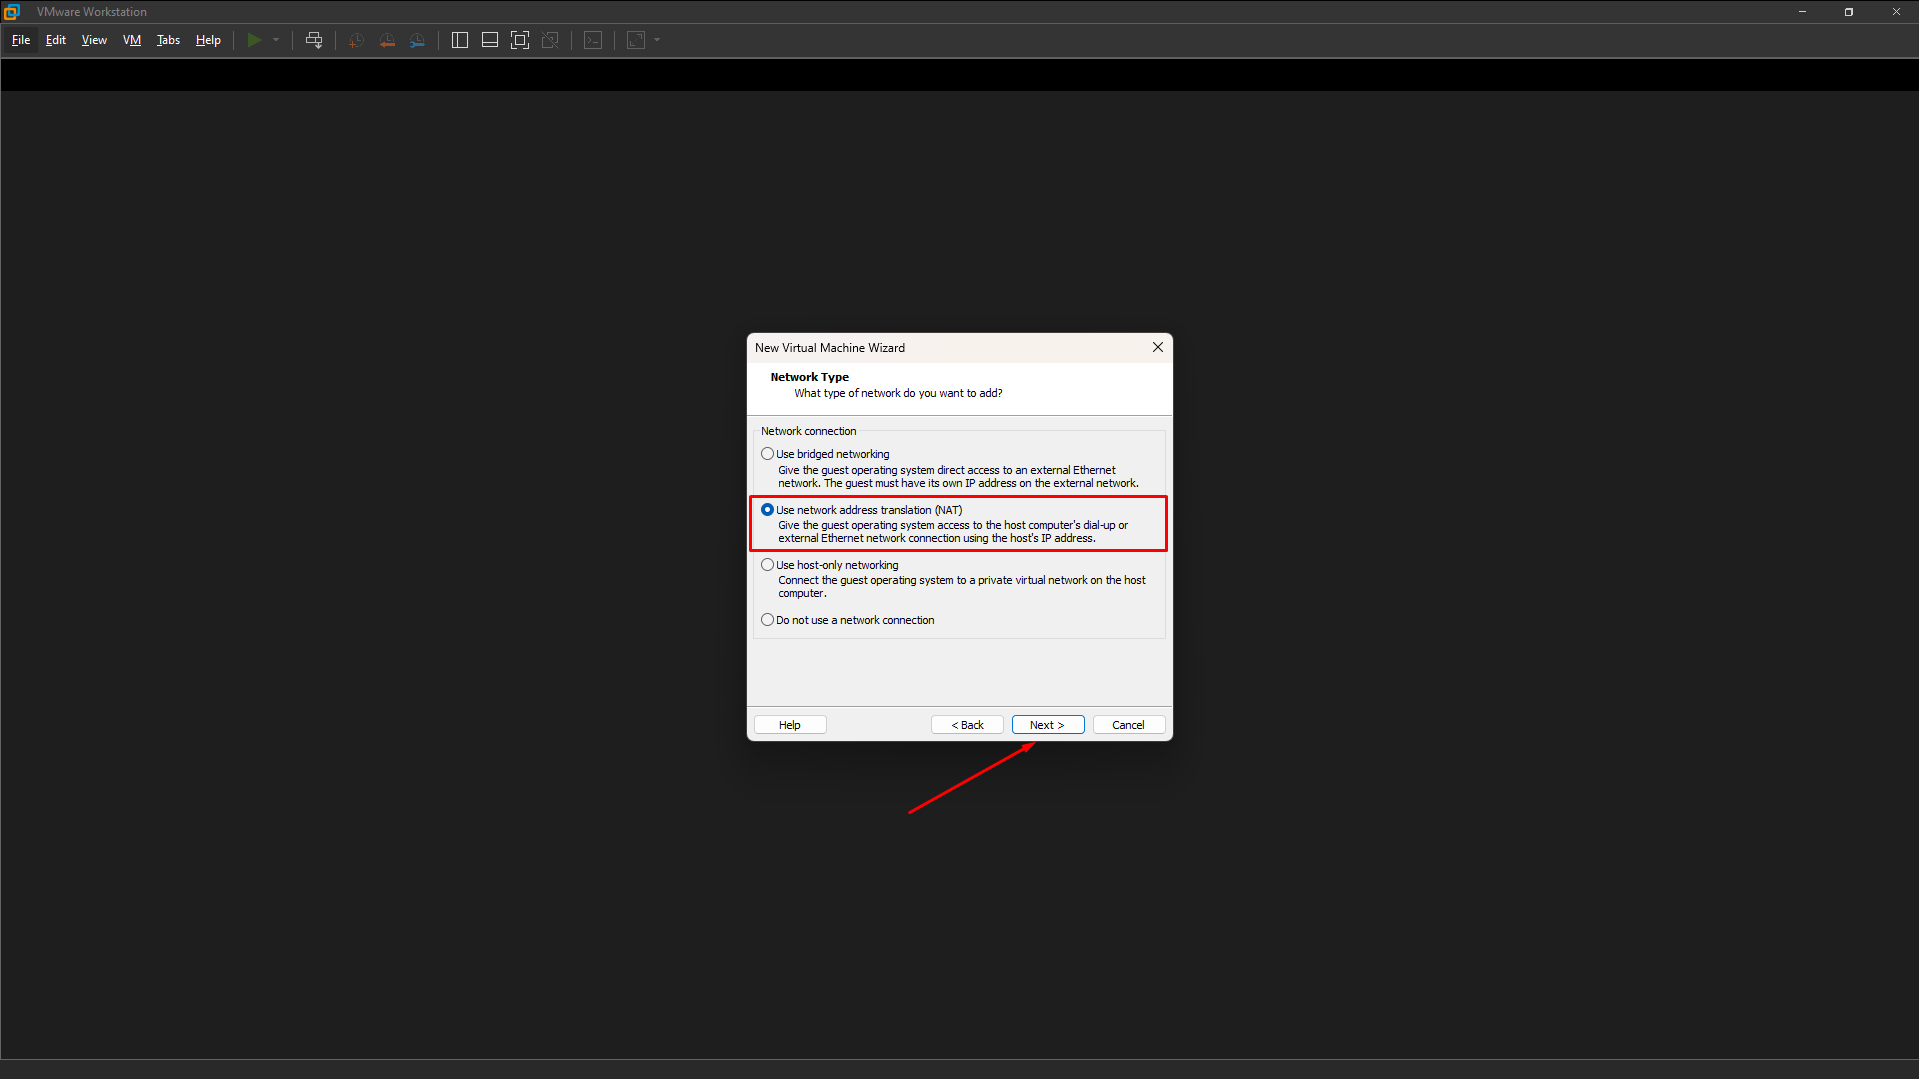
Next, choose the default configurations.
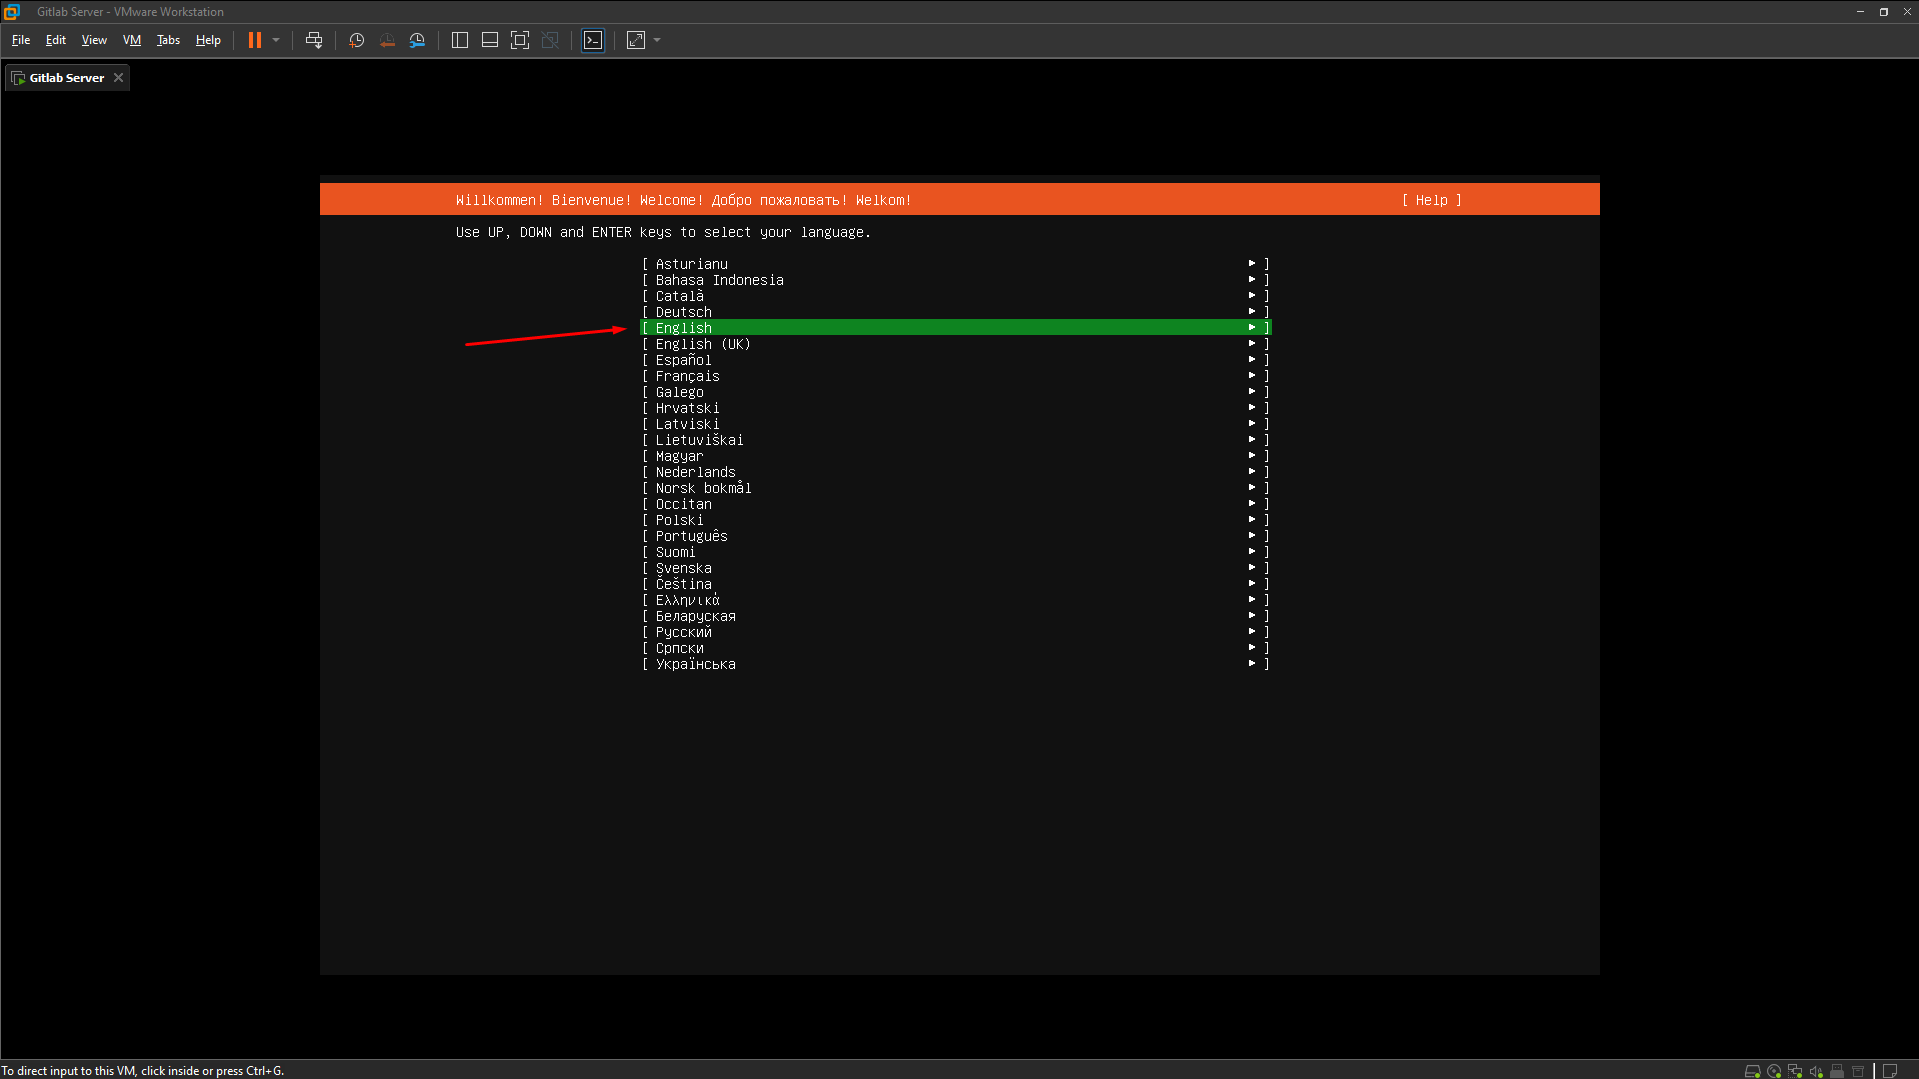
After the virtual machine is installed successfully, we will boot the virtual machine and configure the Ubuntu Server.
Continue to choose the default configurations.
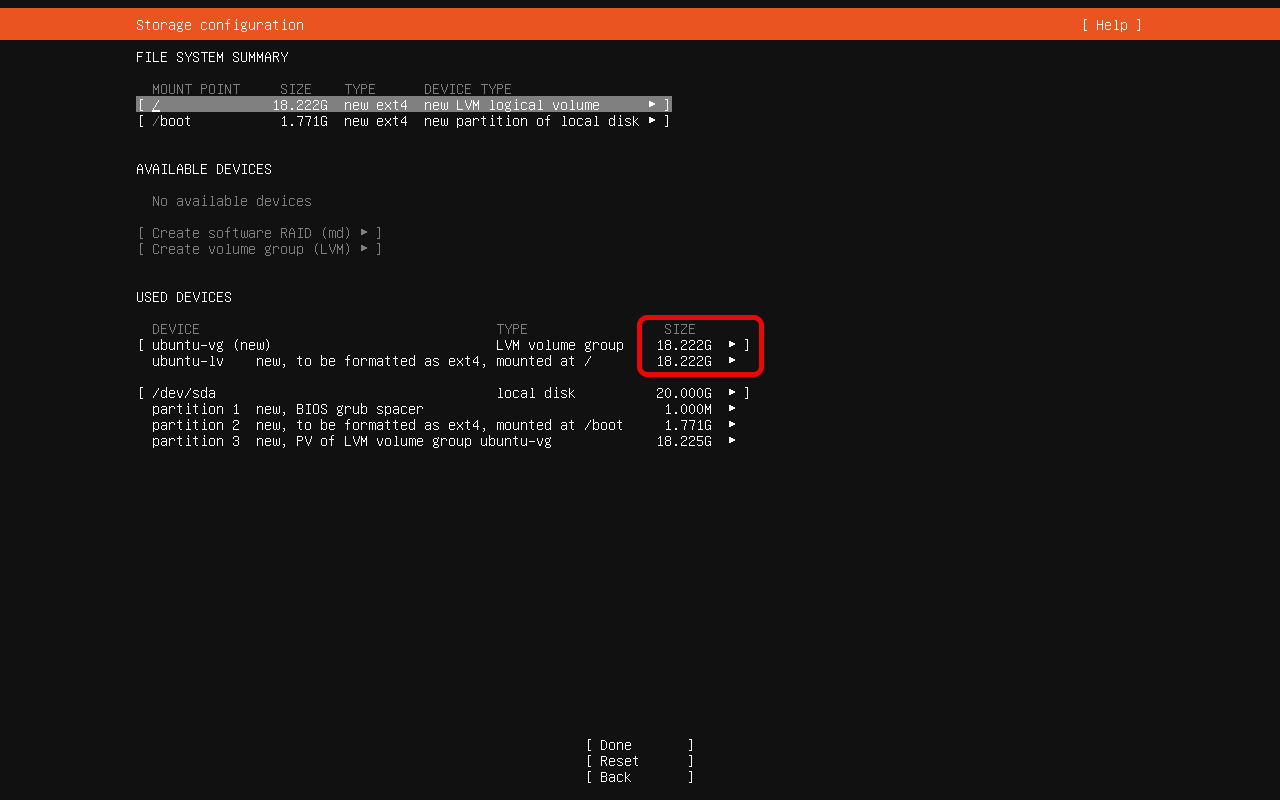
In the Storage Configuration section, configure the Root ( / ) partition with the remaining available space.
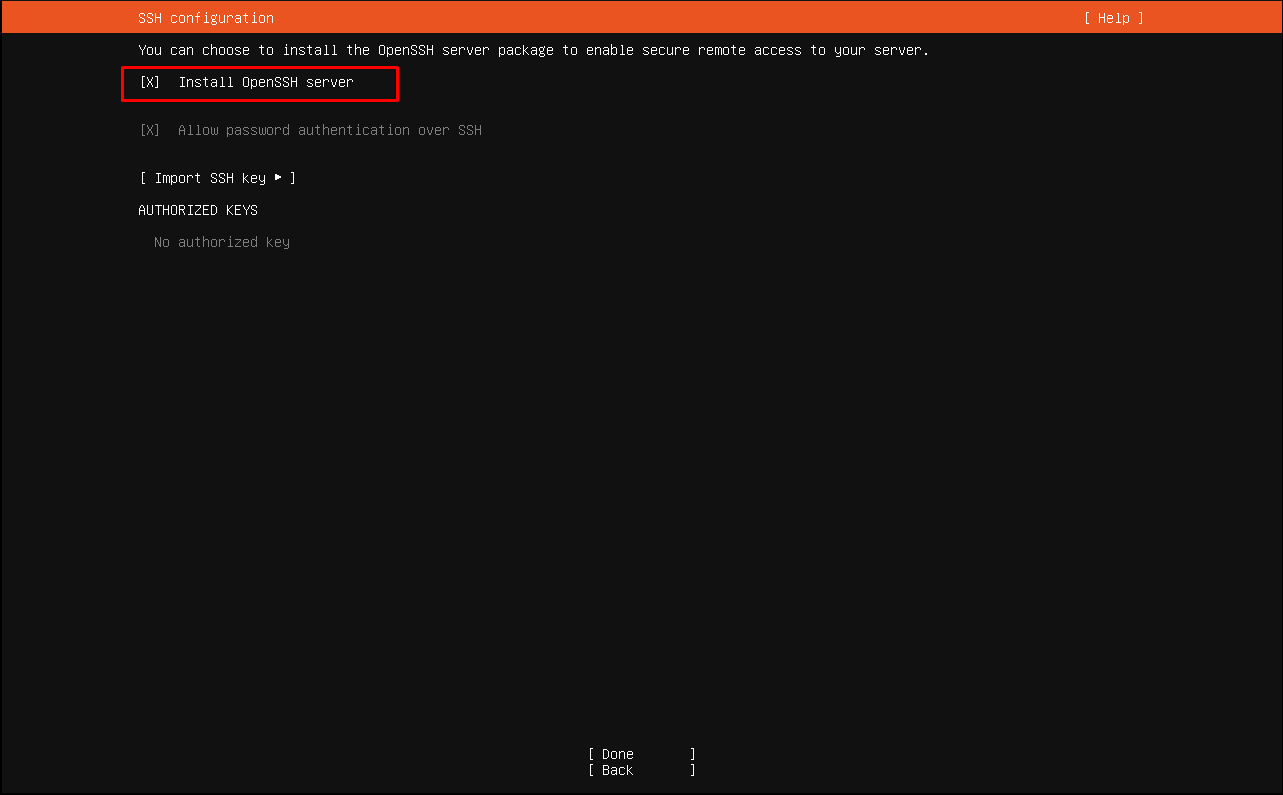
Tick the option to install OpenSSH.
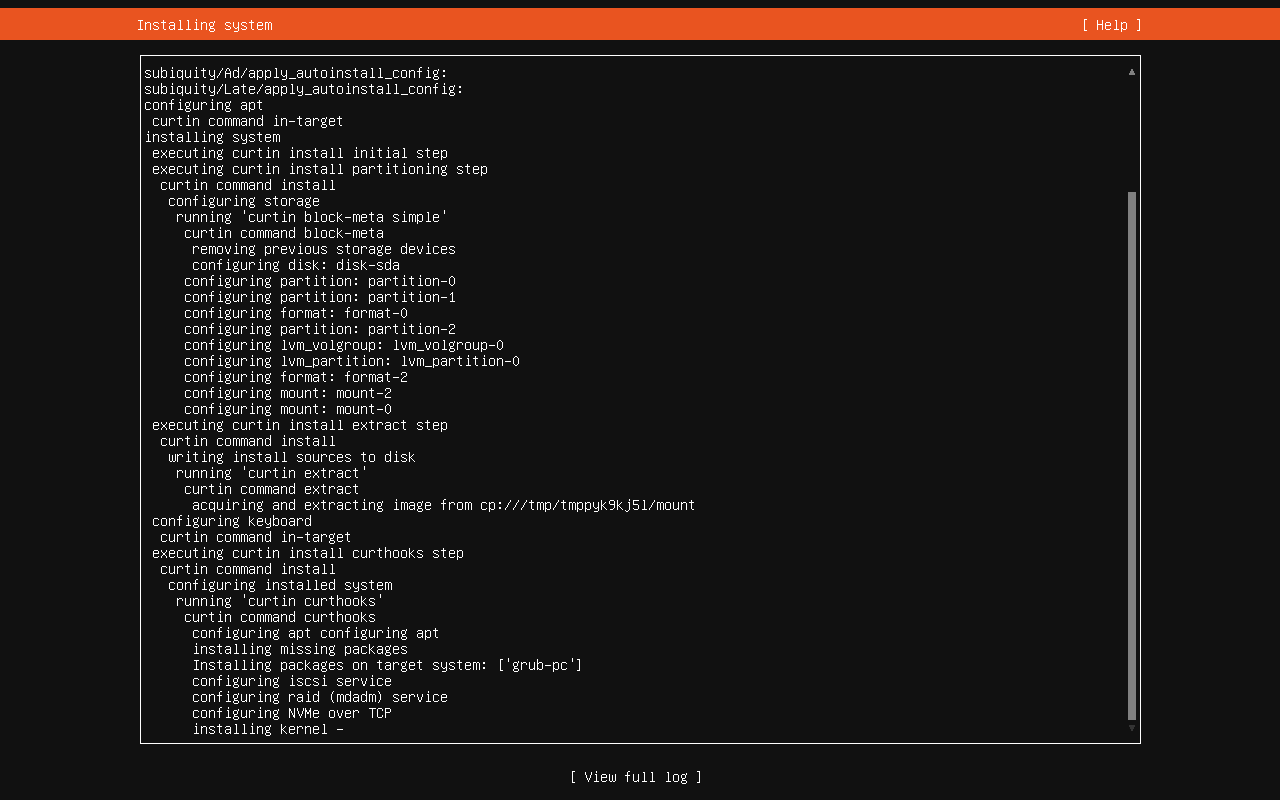
Wait for Ubuntu to be successfully set up and proceed with Reboot.
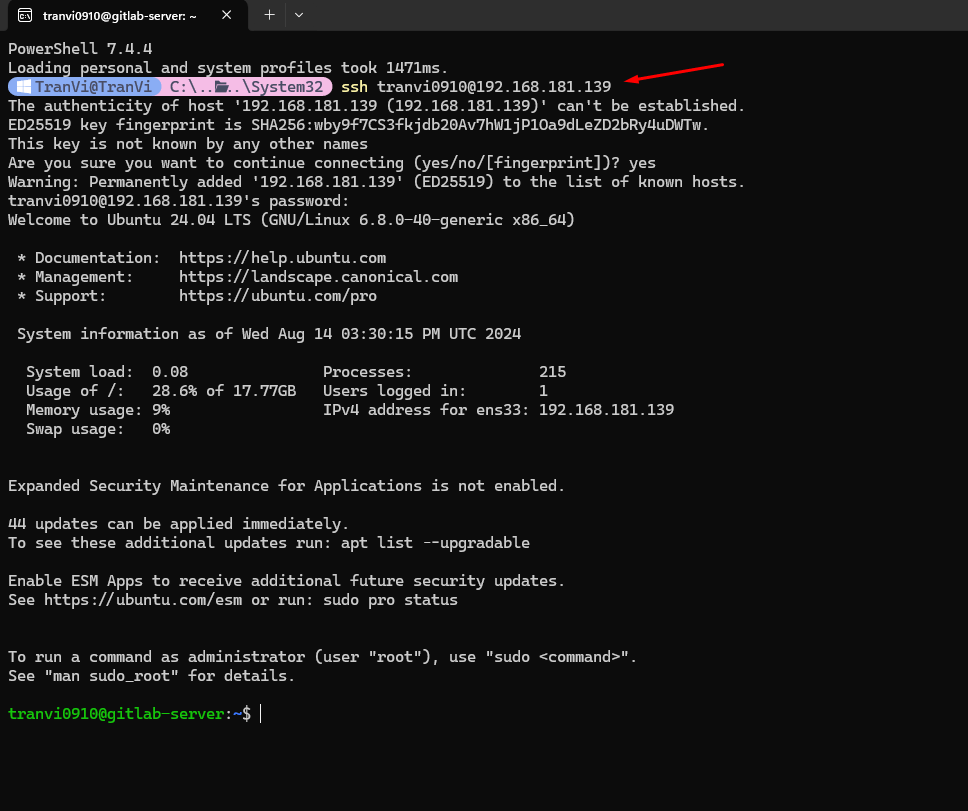
After the reboot, log in to the server with the username and password you just created. Note the IPv4 upon login, used for SSH into the server.
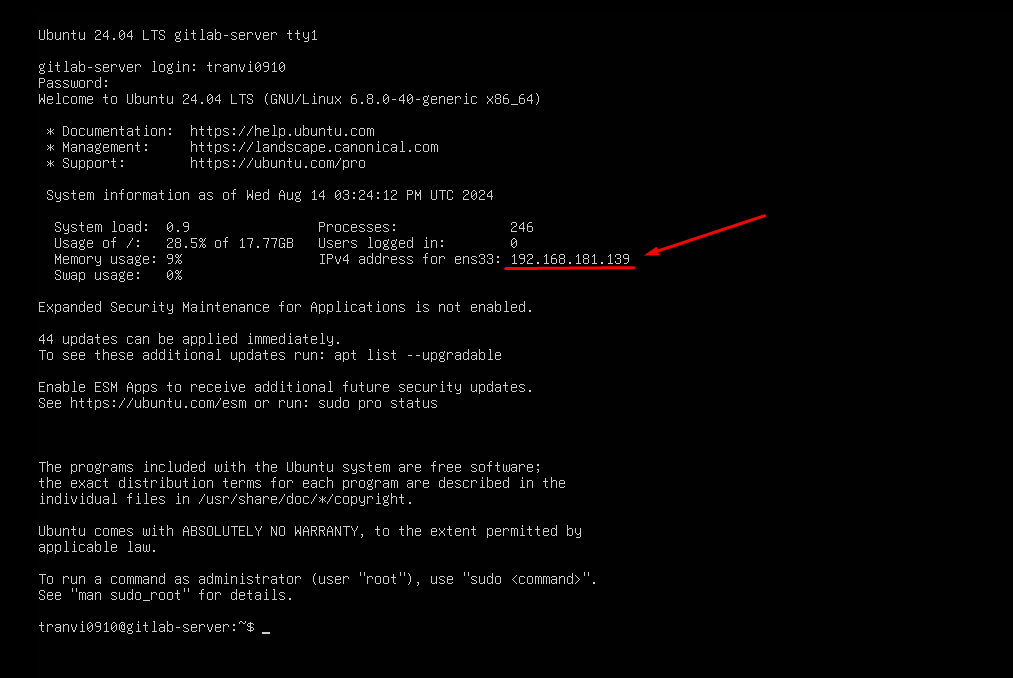
You can use the ip a command to view IPv4 and other server information.
Open CMD on Windows to SSH into the server using the IPv4 and Username.
However, when the server is turned off and back on, the IPv4 may change, so we need to set up a static IP for the server. When rebooting, the IP will remain unchanged, making it easier for us to configure.
Switch to Root privileges using the sudo -i command for easier configuration.
Edit the configuration in the 50-cloud-init.yaml file with the command vi /etc/netplan/50-cloud-init.yaml and write the following configuration:
# This is the network config written by 'subiquity'
network:
ethernets:
ens33:
dhcp4: no
addresses: [192.168.181.100/24]
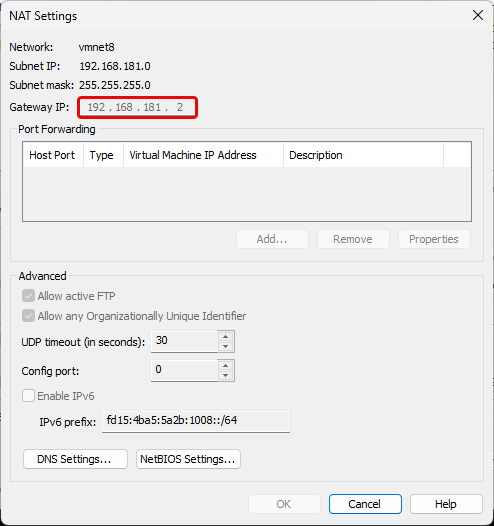
gateway4: 192.168.181.2
nameservers:
addresses: [8.8.8.8, 8.8.4.4]
version: 2
Save the file and run the following commands:
$ netplan apply

$ reboot
The gateway4 line is the NAT Gateway IP. We can get it in VMware Workstation by accessing Edit -> Virtual Network Editor -> NAT Setting.
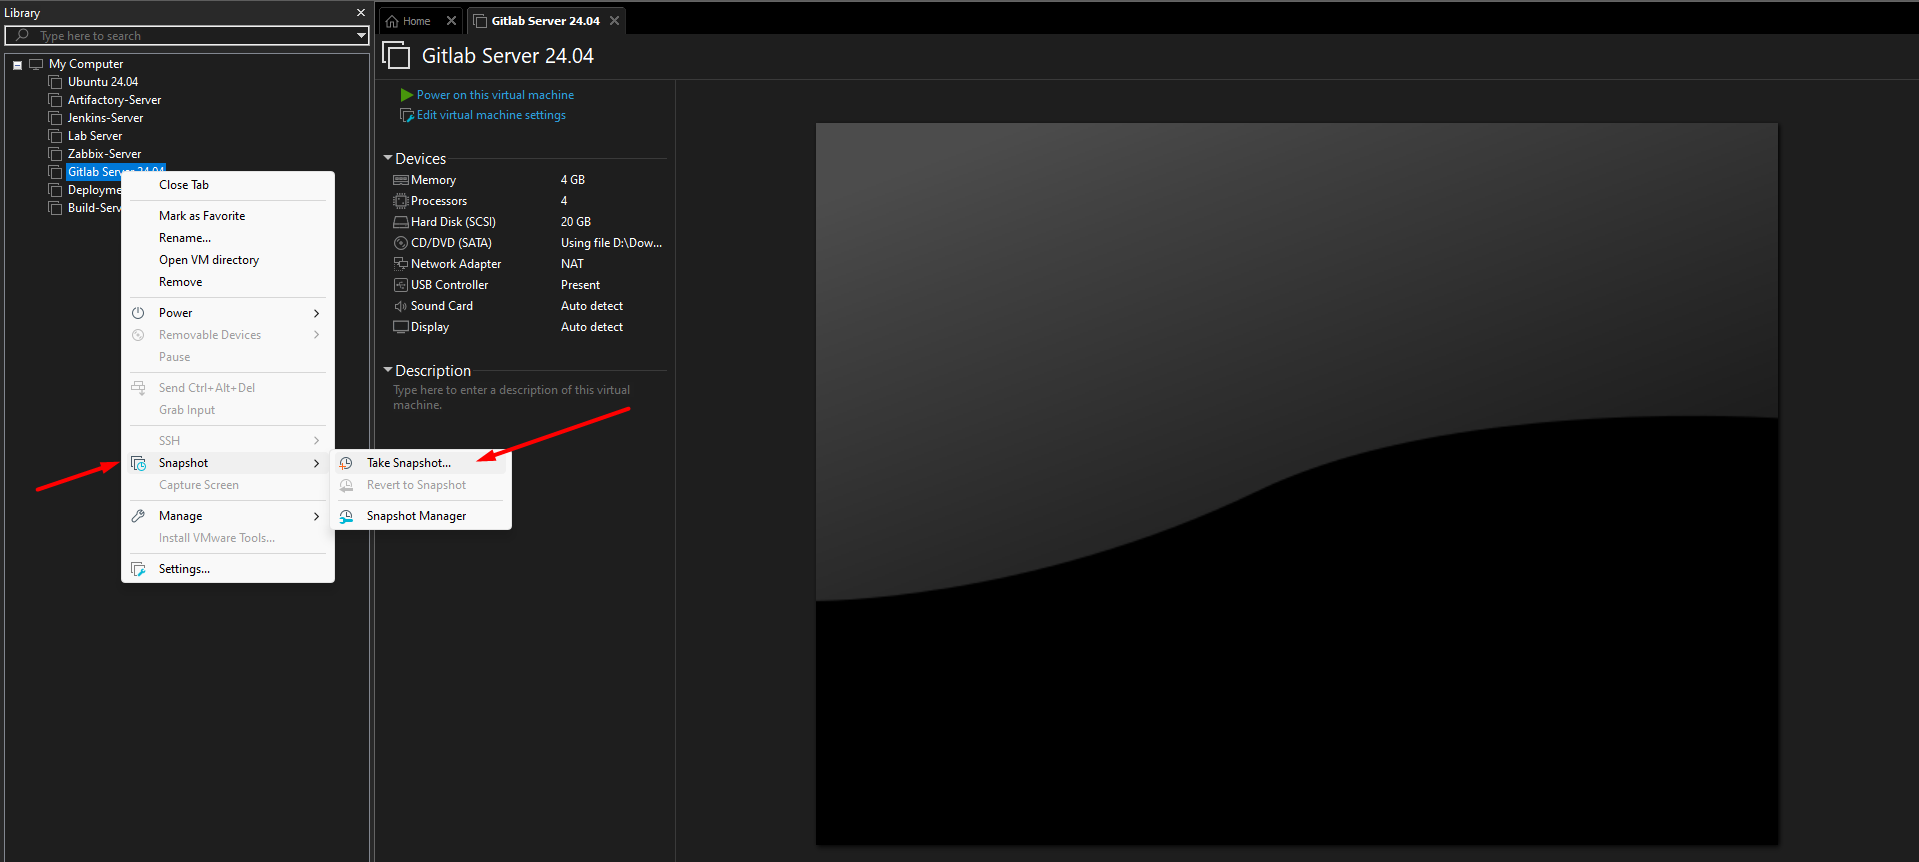
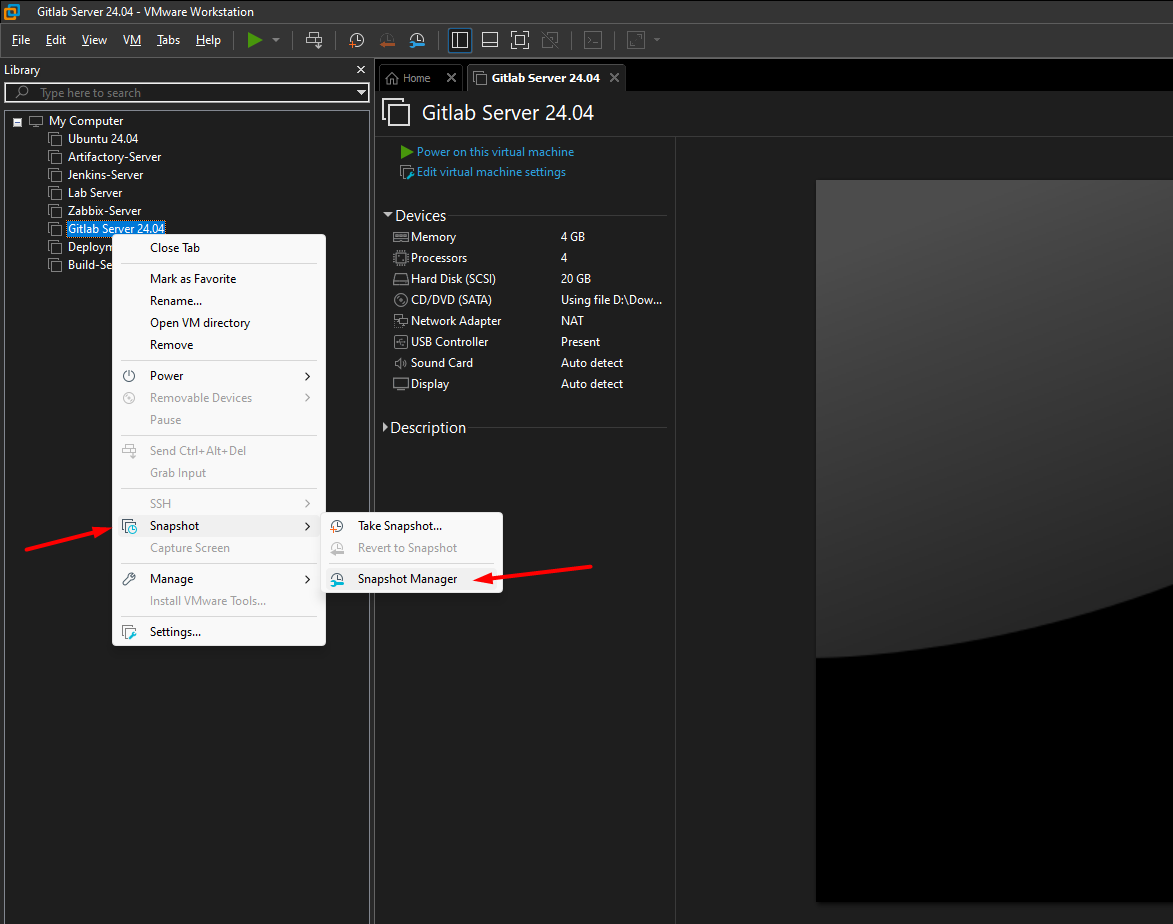
After successfully configuring the static IP, we will proceed to create a Snapshot and Clone to other servers.

Right-click on Gitlab Server -> Snapshot -> Take Snapshot and fill in the information.
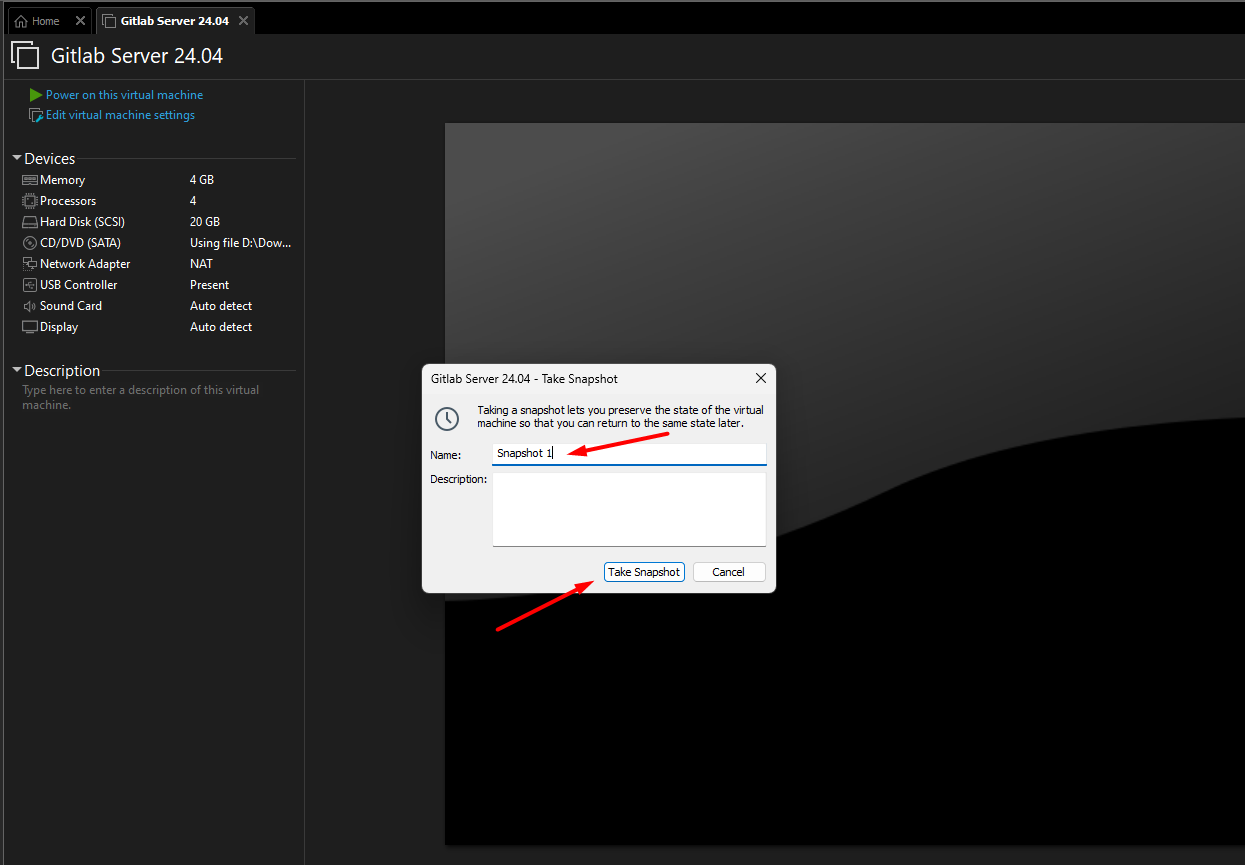
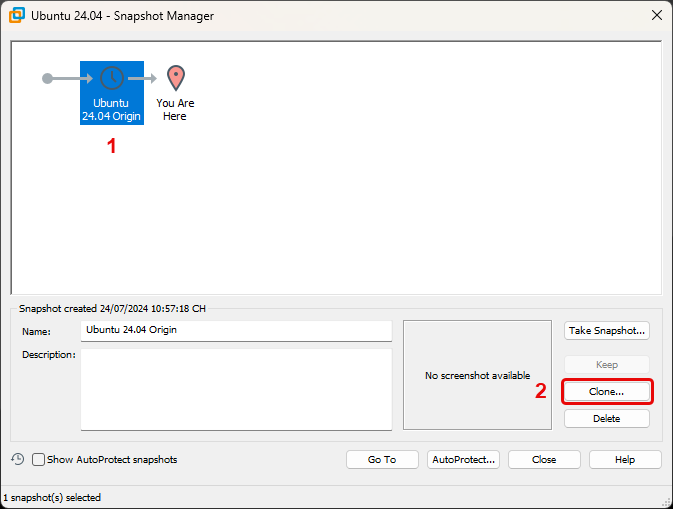
Thus, we have successfully created a Snapshot, after that, we will proceed to clone the server.
Access Snapshot Manager and perform the following steps:
After that, we will configure the servers according to the following table:
| Server | Hostname | IP Tĩnh |
|---|---|---|
| Gitlab Server | gitlab-server | 192.168.181.101 |
| Development Server | development-server | 192.168.181.102 |
| Build Server | build-server | 192.168.181.103 |