Private Container Registry - Portus
Install Portus
Before setting up the Portus Server, you need to rent a Domain to access Portus through it.
portus.tranvix.online
We will create an EC2 Instance to install Portus.
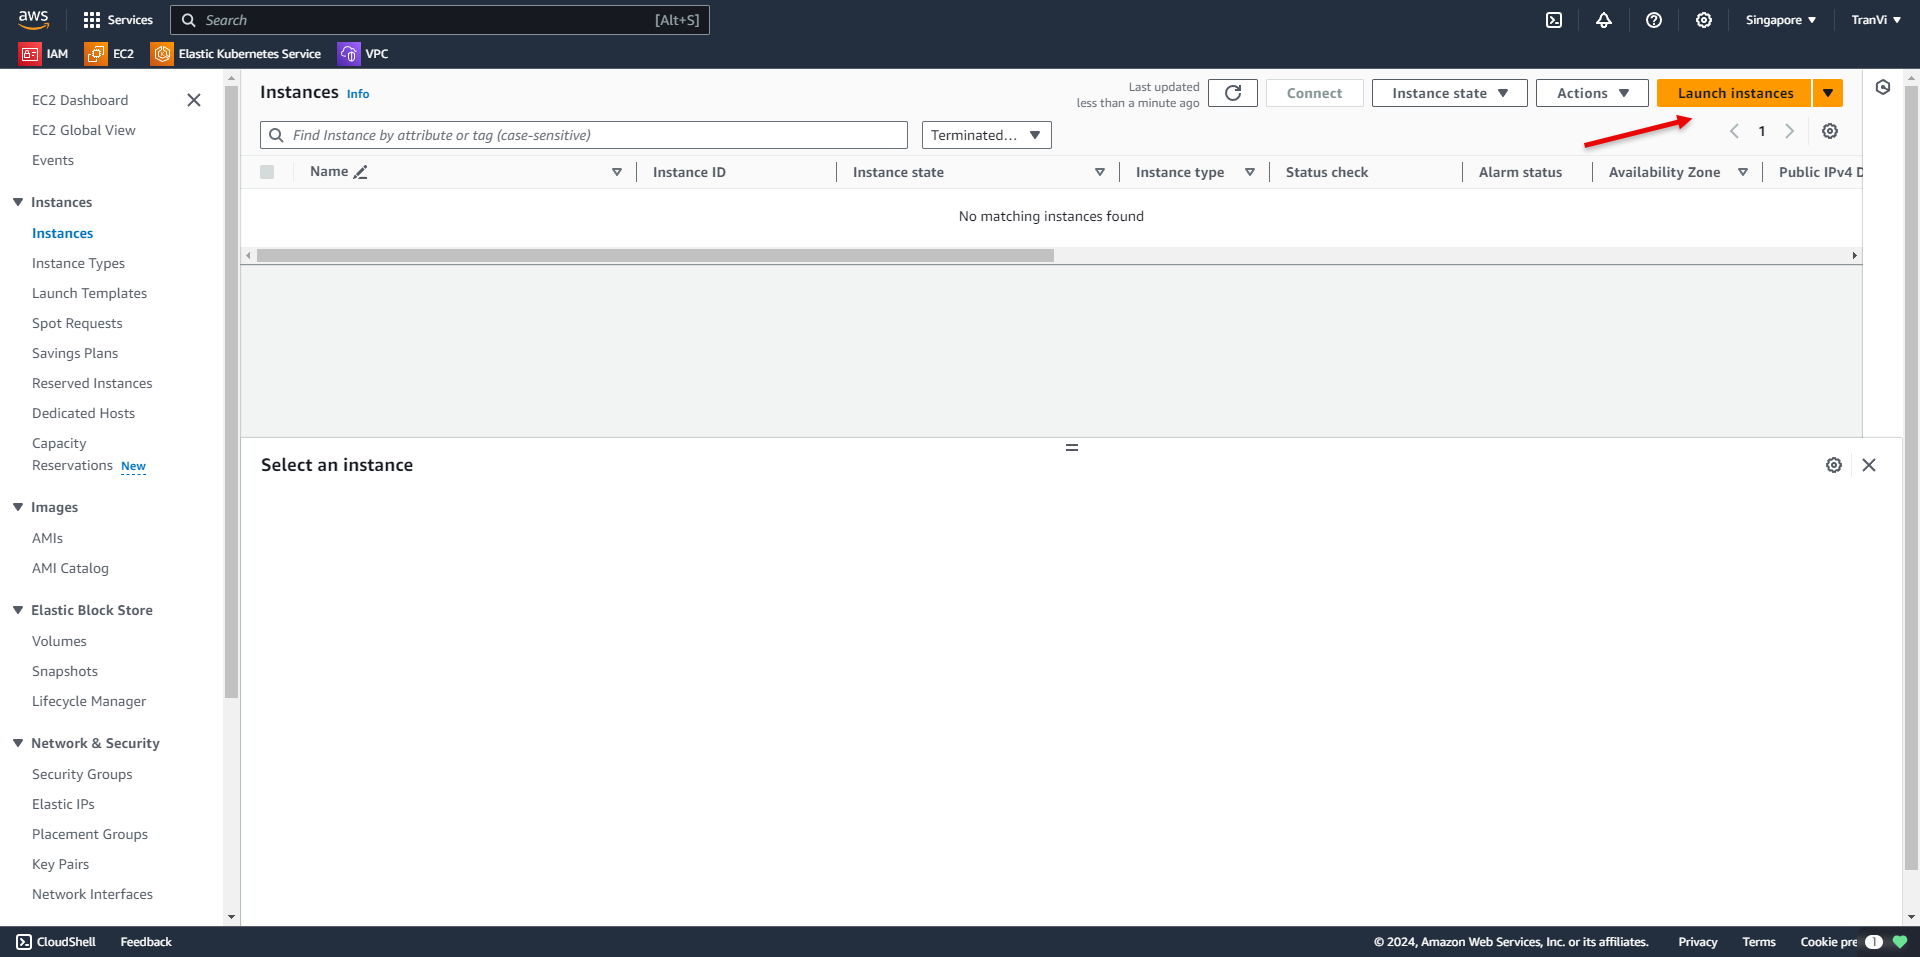
To create an instance, you need to have an AWS account and access the EC2 service.
Click Launch Instance to create an instance.
Set the name of the server.
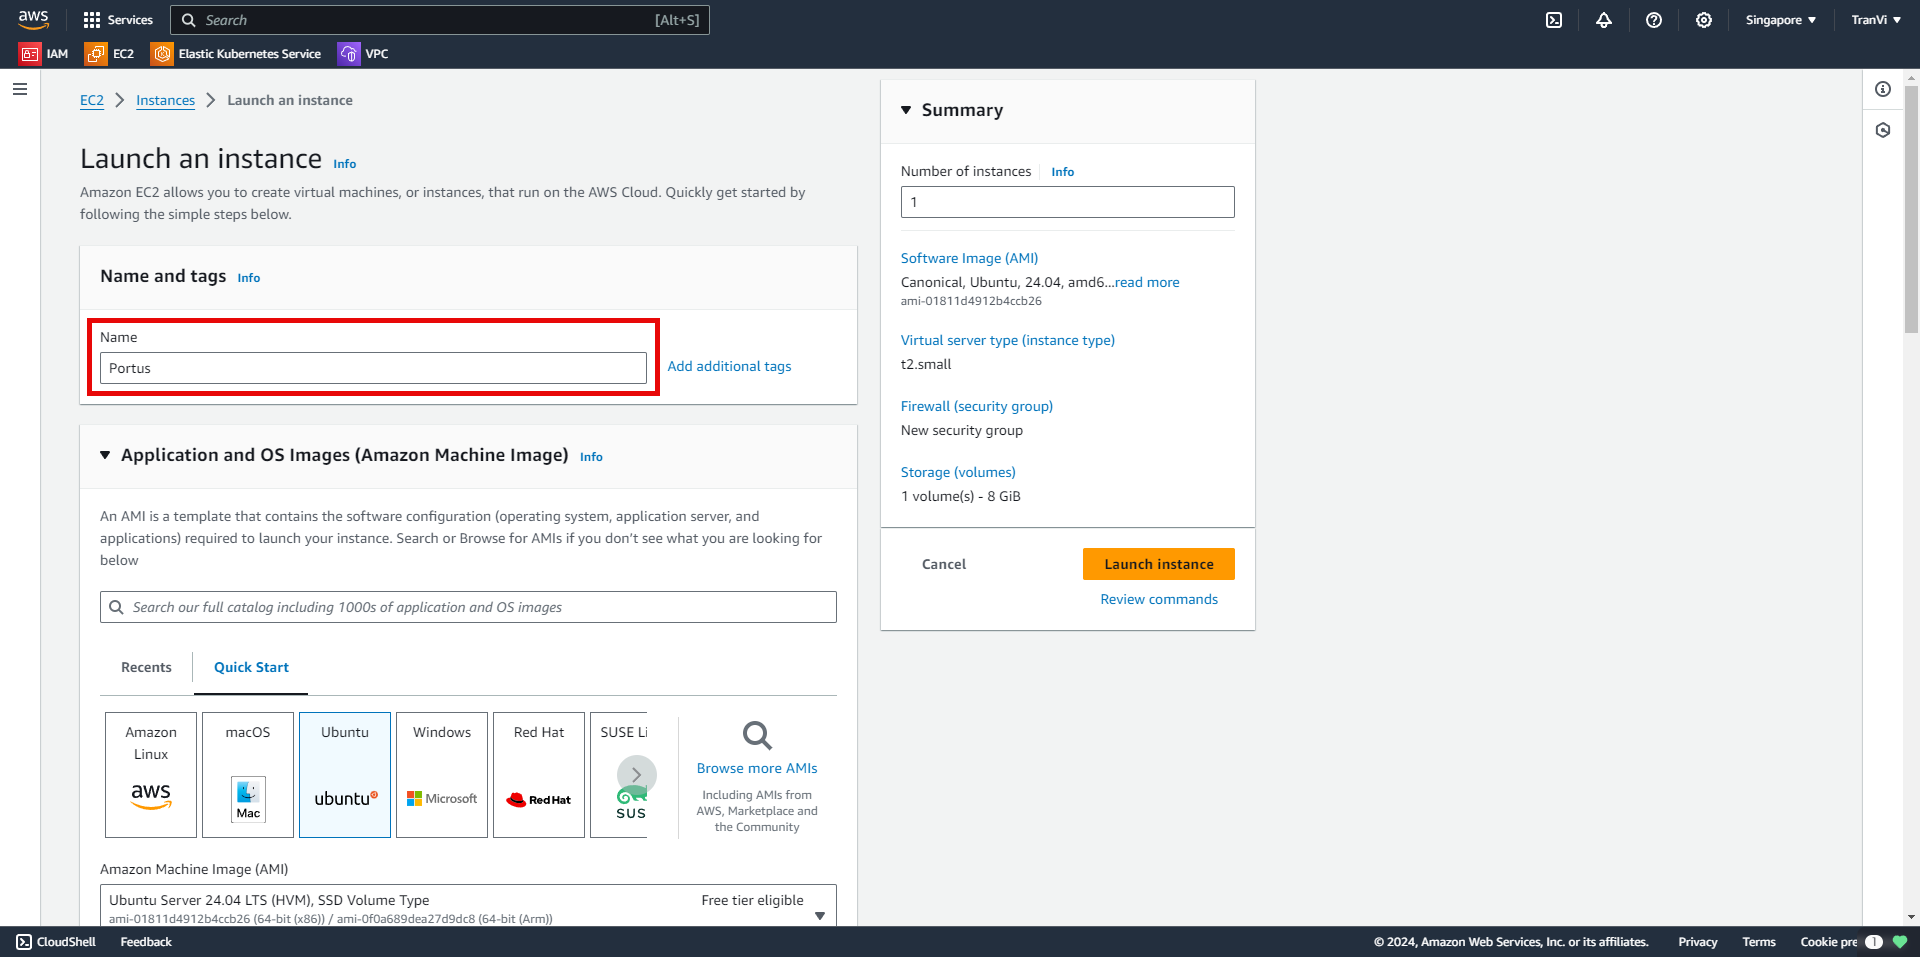
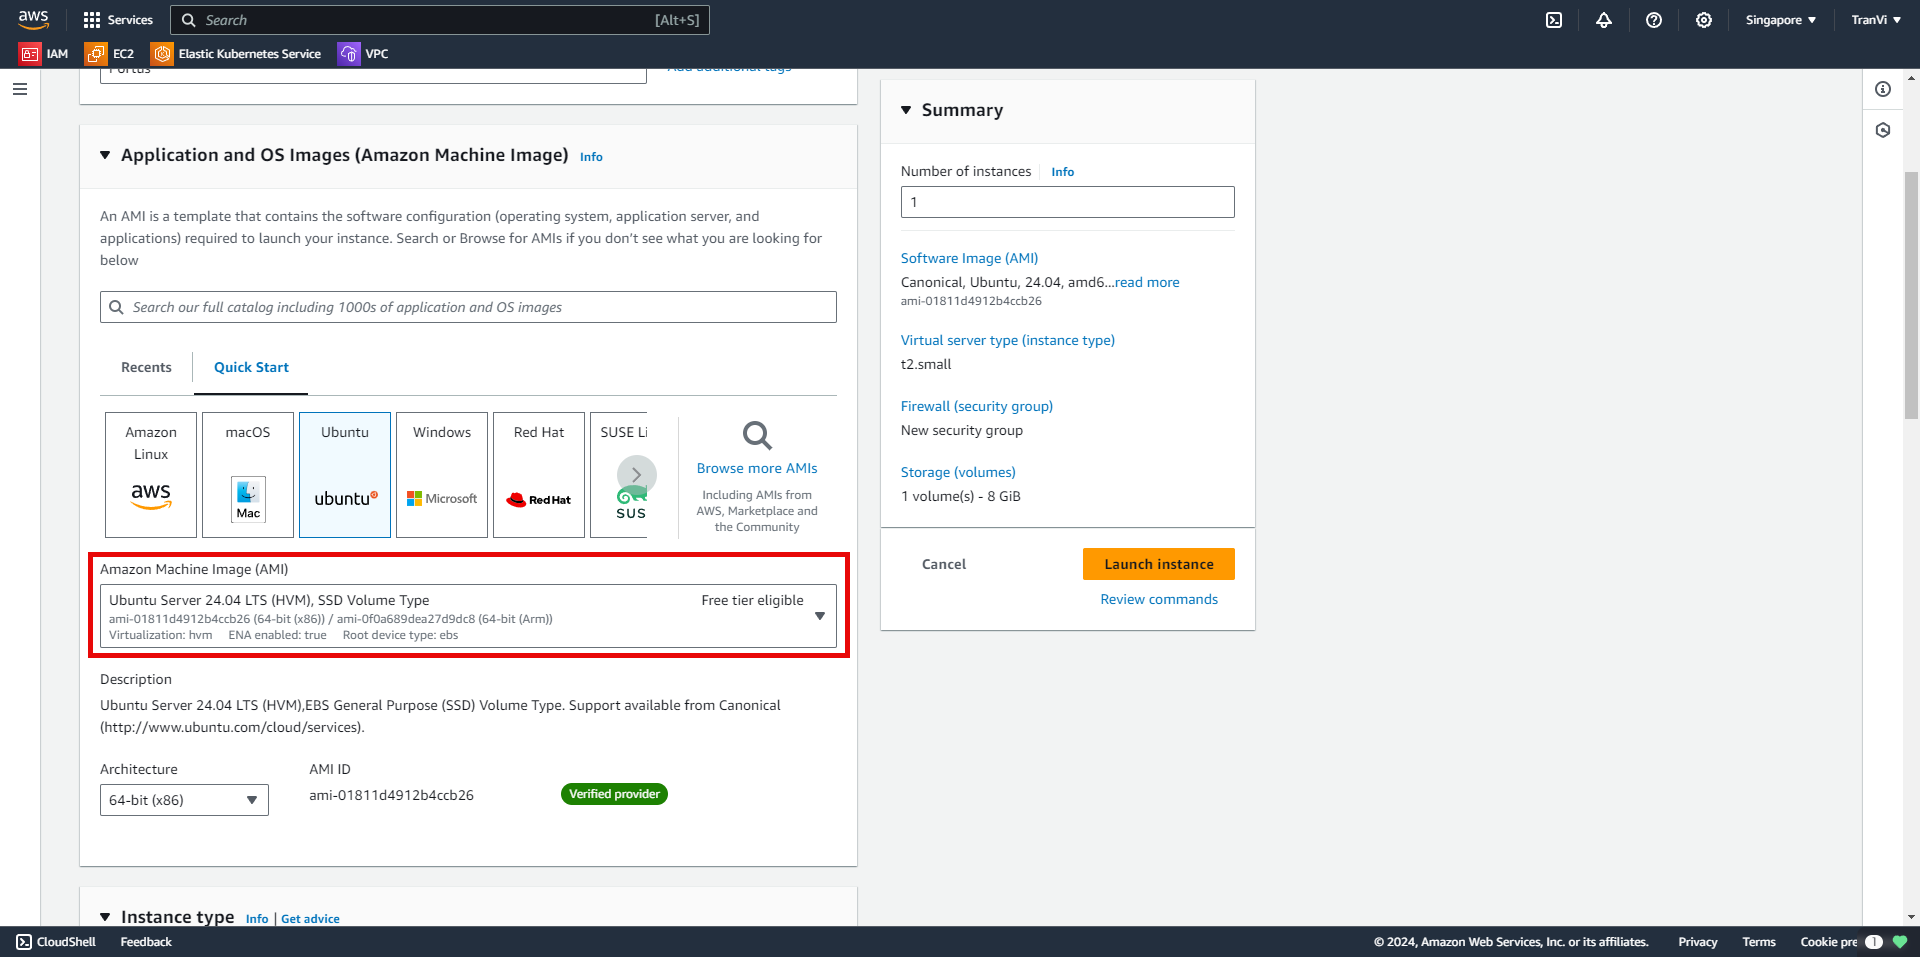
Choose the operating system, here I select Ubuntu 24.04.
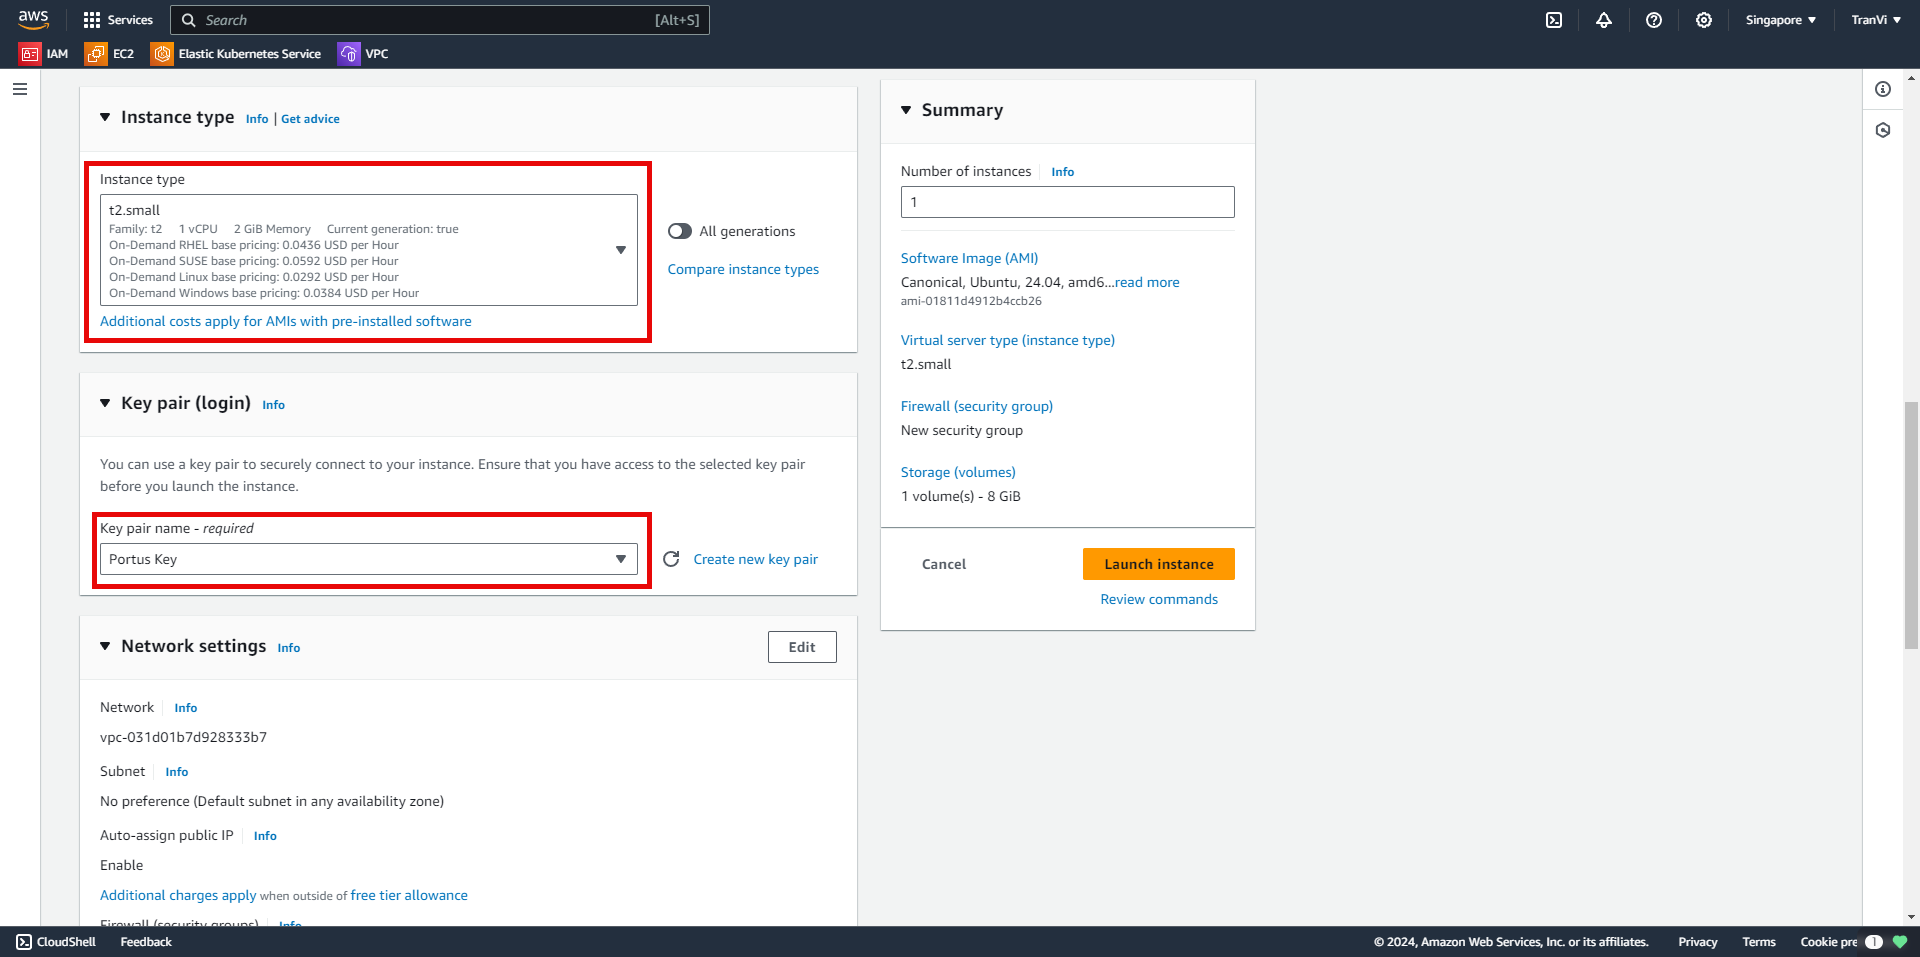
Choose a suitable instance type and configure the Key Pair.
When creating a Key Pair, the Private Key will be downloaded to your machine. Be careful not to lose it and do not share it with anyone.
Make sure to tick Allow HTTPS traffic from the internet.
This setting allows anyone to securely access the web server from anywhere through HTTPS.
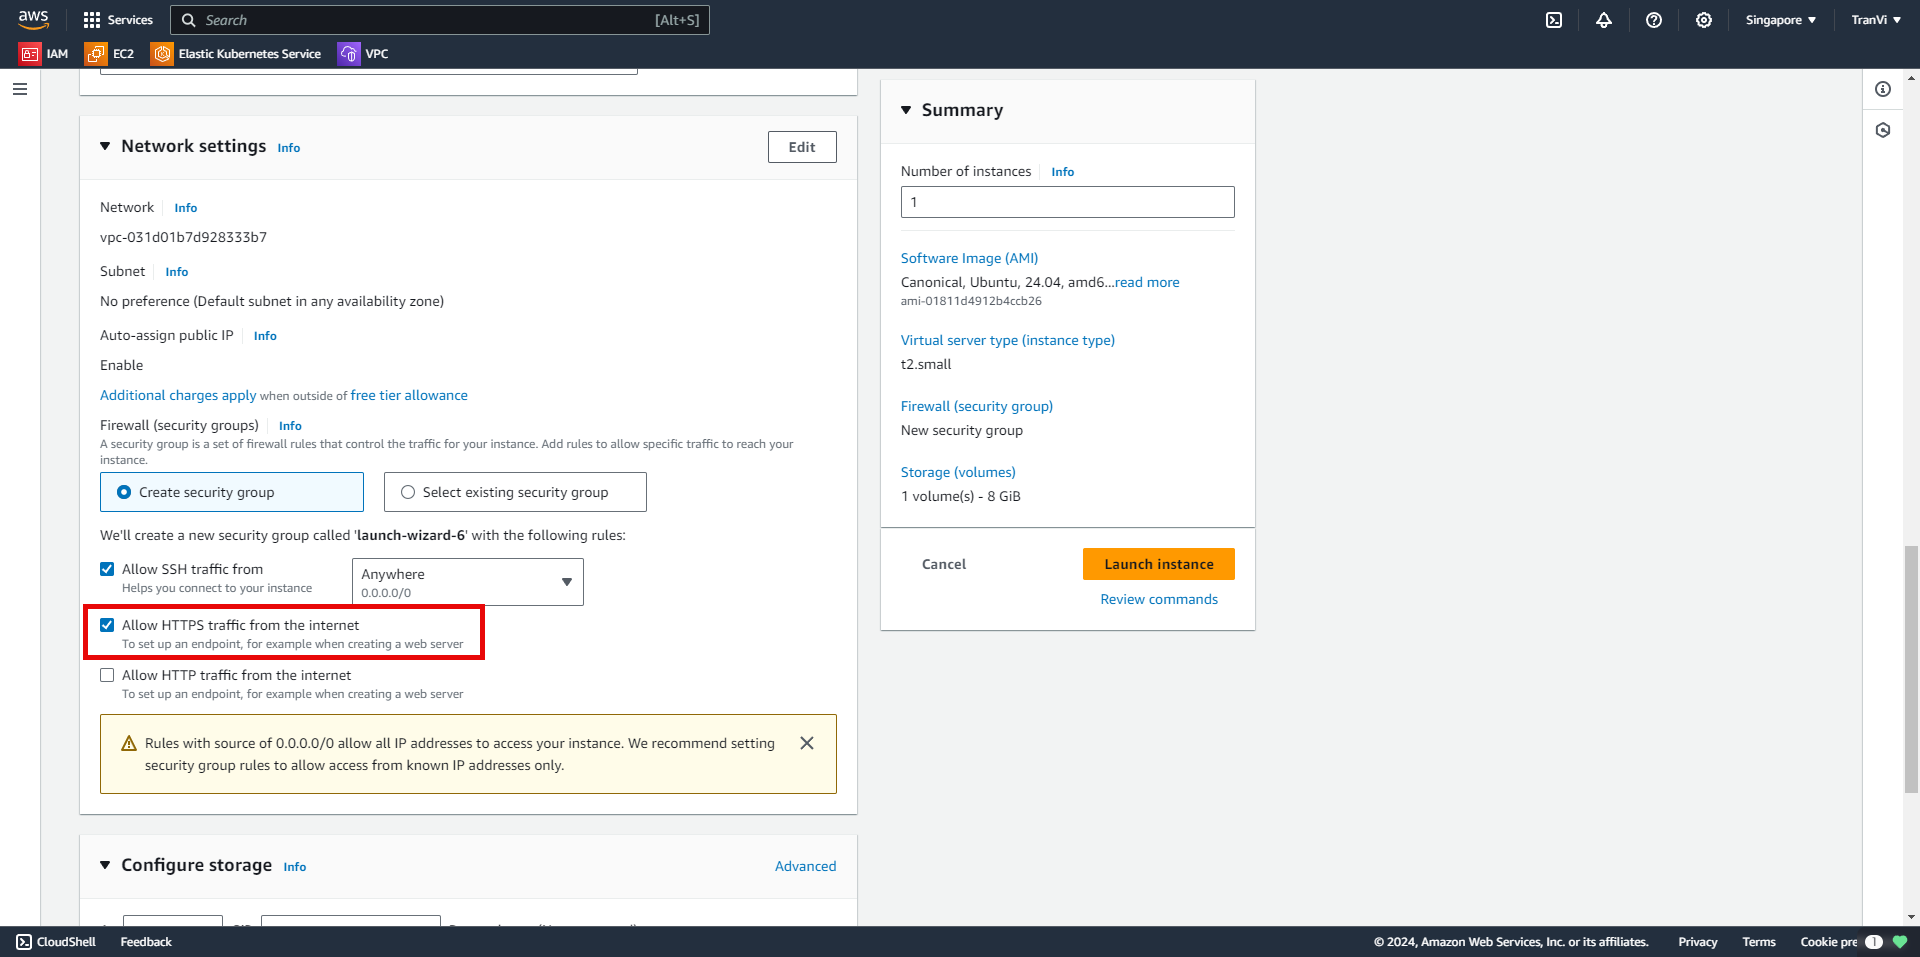
Choose the storage size for the instance.

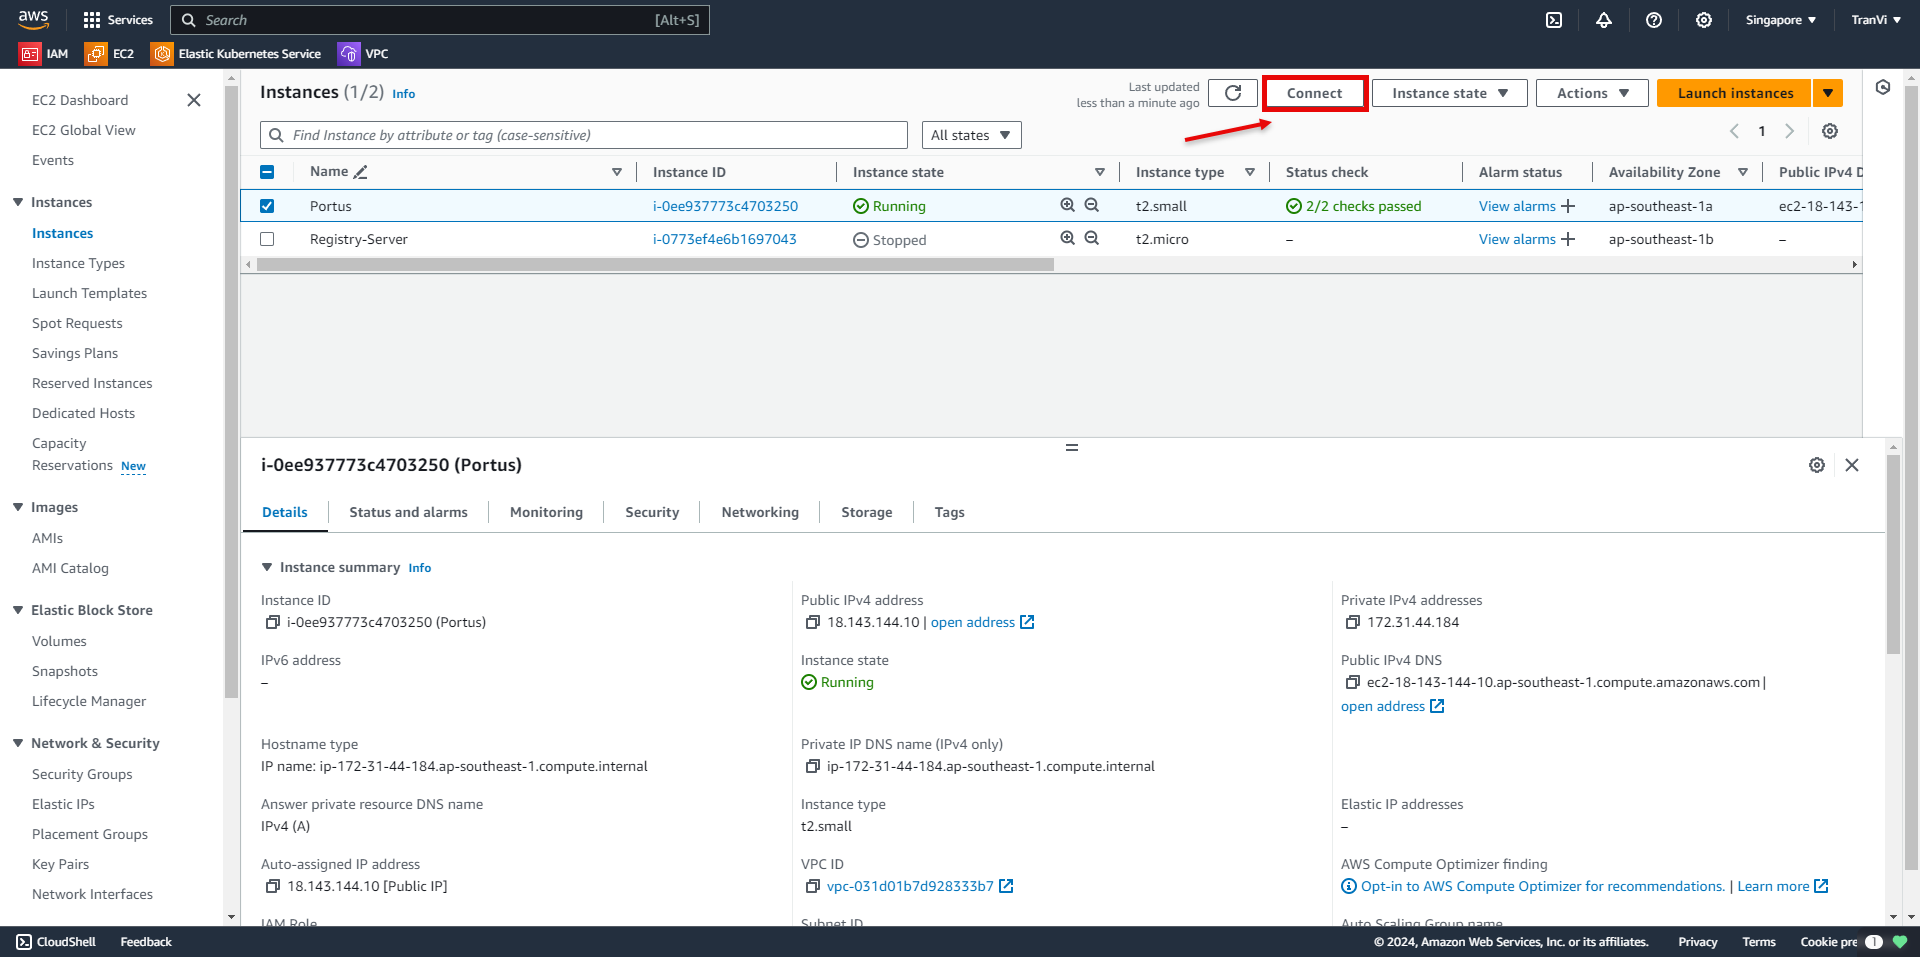
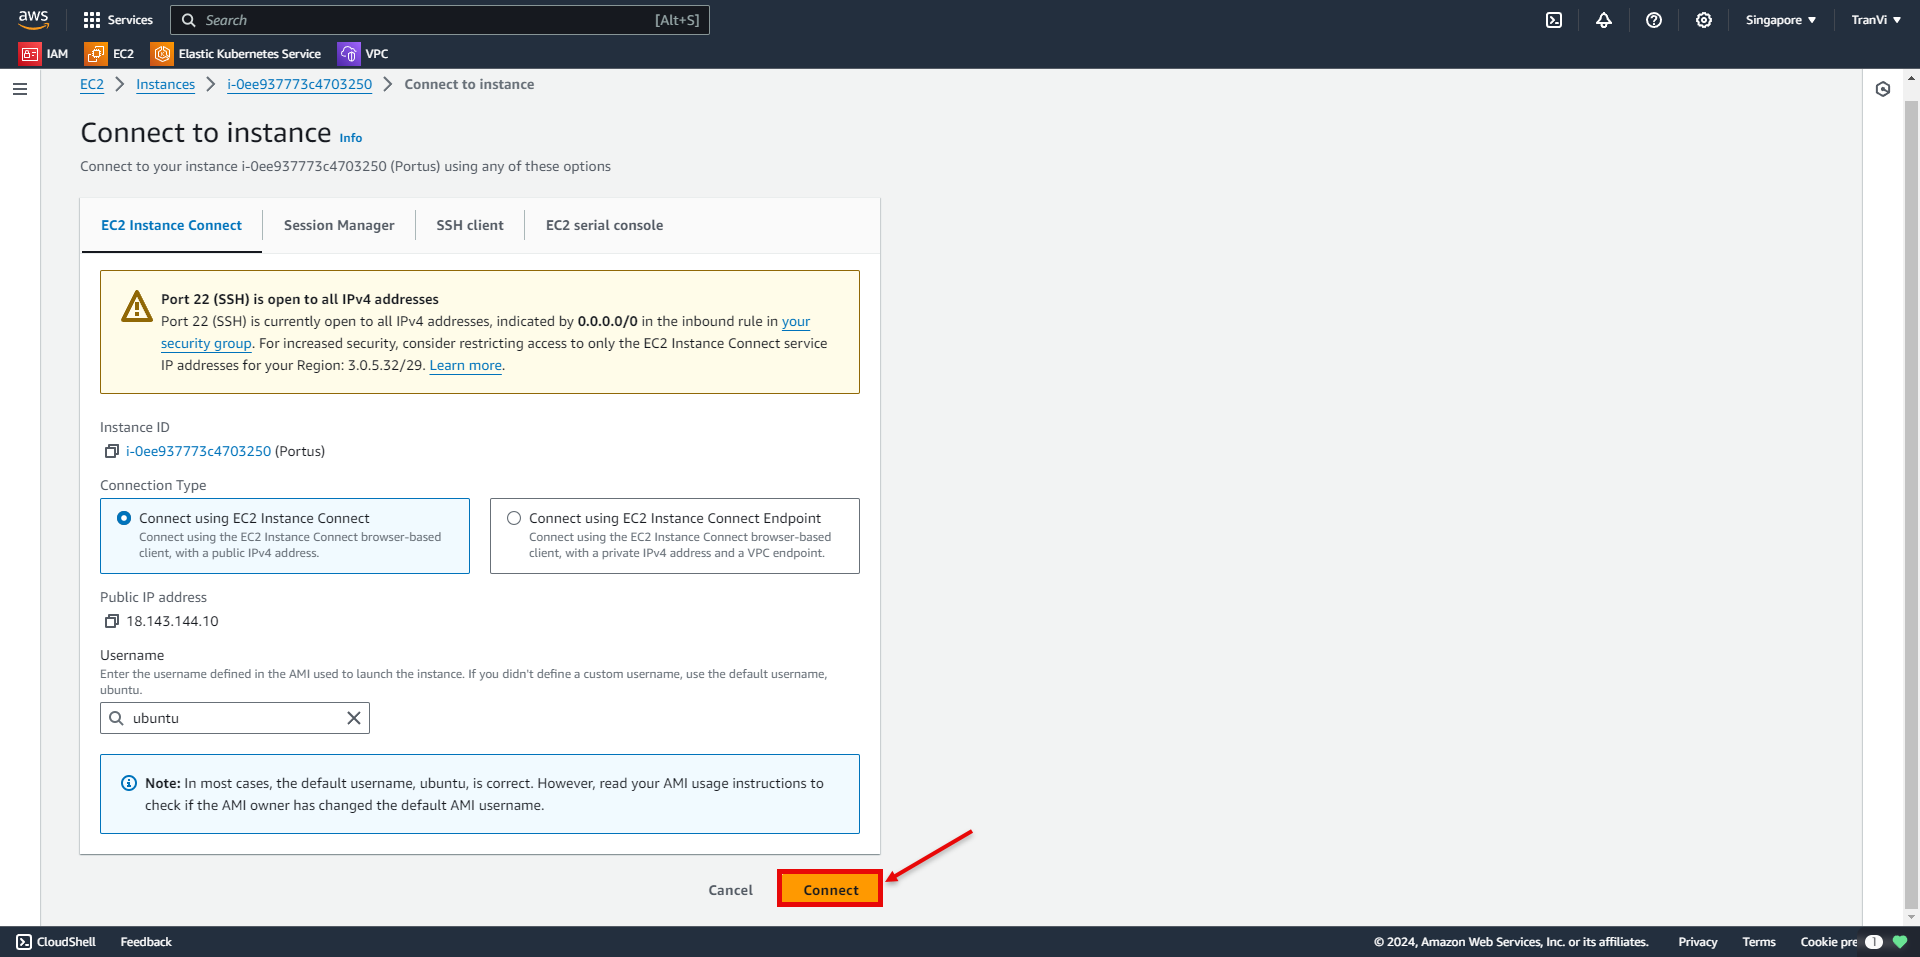
After successfully creating the instance, proceed to access it.
Now you have successfully accessed the instance.
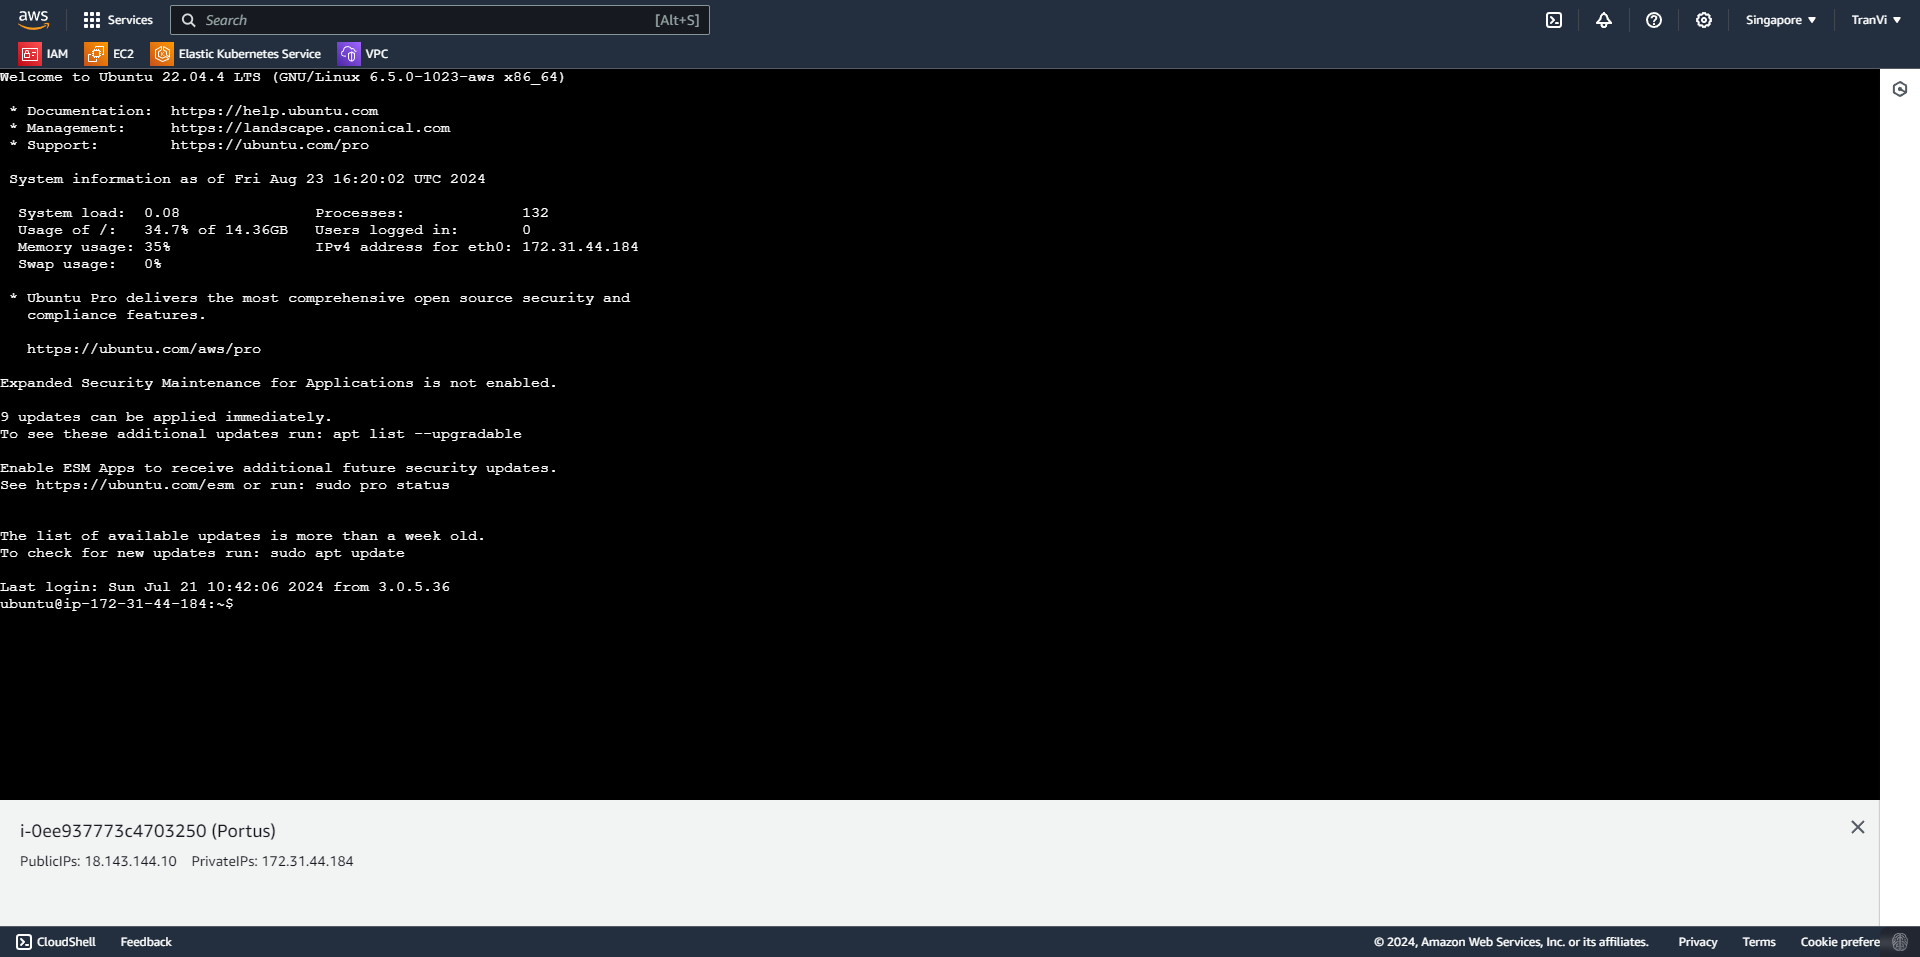
To install Portus, we need to install some required tools.
sudo apt install -y docker.io docker-compose certbot net-tools
Obtain SSL/TLS certificates with Certbot: Certbot automates the certificate registration process from Let’s Encrypt. Just provide the necessary information like Domain and Email.
Run a Certbot command to get an SSL certificate for a specific domain.
certbot certonly --standalone -d portus.tranvix.online --preferred-challenges http --agree-tos -m your-email@gmail.com --keep-until-expiring
Saving debug log to /var/log/letsencrypt/letsencrypt.log

- - - - - - - - - - - - - - - - - - - - - - - - - - - - - - - - - - - - - - - -
Would you be willing, once your first certificate is successfully issued, to
shellare your email address with the Electronic Frontier Foundation, a founding
partner of the Let's Encrypt project and the non-profit organization that
develops Certbot? We'd like to send you email about our work encrypting the web,
EFF news, campaigns, and ways to support digital freedom.
- - - - - - - - - - - - - - - - - - - - - - - - - - - - - - - - - - - - - - - -
(Y)es/(N)o: Y
Account registered.
Requesting a certificate for portus.tranvix.online

Successfully received certificate.
Certifiate is saved at: /etc/letsencrypt/live/portus.tranvix.online/fullchain.pem     <----------------
Key is saved at:         /etc/letsencrypt/live/portus.tranvix.online/privkey.pem      <----------------
This certificate expires on 2024-10-16.
These files will be updated when the certificate renews.
Certbot has set up a scheduled task to automatically renew this certificate in the background.

- - - - - - - - - - - - - - - - - - - - - - - - - - - - - - - - - - - - - - - -
If you like Certbot, please consider supporting our work by:
 * Donating to ISRG / Let's Encrypt:   https://letsencrypt.org/donate
 * Donating to EFF:                    https://eff.org/donate-le
- - - - - - - - - - - - - - - - - - - - - - - - - - - - - - - - - - - - - - - -
Take note of the paths to the Certificate and Key.
Clone Portus from Github.
git clone https://github.com/SUSE/Portus.git
Move to the Portus installation directory.
cd Portus/examples/compose
root@ip-172-31-44-184:/tools/portus/Portus/examples/compose# ls -l
total 48
-rw-r--r-- 1 root root 3715 Jul 18 10:31 README.md
drwxr-xr-x 2 root root 4096 Jul 18 10:31 clair
-rw-r--r-- 1 root root 4345 Jul 18 10:31 docker-compose.clair-ssl.yml
-rw-r--r-- 1 root root 3540 Jul 18 10:31 docker-compose.clair.yml
-rw-r--r-- 1 root root 3048 Jul 18 10:31 docker-compose.insecure.yml
-rw-r--r-- 1 root root 4640 Jul 18 10:31 docker-compose.ldap.yml
-rw-r--r-- 1 root root 3656 Jul 18 10:31 docker-compose.yml
drwxr-xr-x 2 root root 4096 Jul 18 10:31 nginx
drwxr-xr-x 2 root root 4096 Jul 18 10:31 registry
drwxr-xr-x 2 root root 4096 Jul 18 10:31 secrets
Proceed to configure Nginx:
vi nginx/nginx.conf
ssl on; ------> Comment dòng này

# Certificates
ssl_certificate /secrets/portus.crt;        <-------
ssl_certificate_key /secrets/portus.key;    <-------
Make sure the paths to the keys are /secrets/portus.crt and /secrets/portus.key.
Copy and rename the SSL key pair created earlier into these directories.
root@ip-172-31-44-184:/tools/portus/compose# cp /etc/letsencrypt/live/portus.tranvix.online/fullchain.pem secrets/portus.crt
root@ip-172-31-44-184:/tools/portus/compose# cp /etc/letsencrypt/live/portus.tranvix.online/privkey.pem secrets/portus.key
Configure the .env file:
root@ip-172-31-44-184:/tools/portus/compose# cat .env
MACHINE_FQDN=172.17.0.1 <--------

SECRET_KEY_BASE=b494a25faa8d22e430e843e220e424e10ac84d2ce0e64231f5b636d21251eb6d267adb042ad5884cbff0f3891bcf911bdf8abb3ce719849ccda9a4889249e5c2
PORTUS_PASSWORD=12341234
DATABASE_PASSWORD=portus
Change the localhost address to your domain.
MACHINE_FQDN=portus.tranvix.online

SECRET_KEY_BASE=b494a25faa8d22e430e843e220e424e10ac84d2ce0e64231f5b636d21251eb6d267adb042ad5884cbff0f3891bcf911bdf8abb3ce719849ccda9a4889249e5c2
PORTUS_PASSWORD=12341234
DATABASE_PASSWORD=portus
Run the docker-compose.clair-ssl.yml file.
docker-compose -f docker-compose.clair-ssl.yml up -d
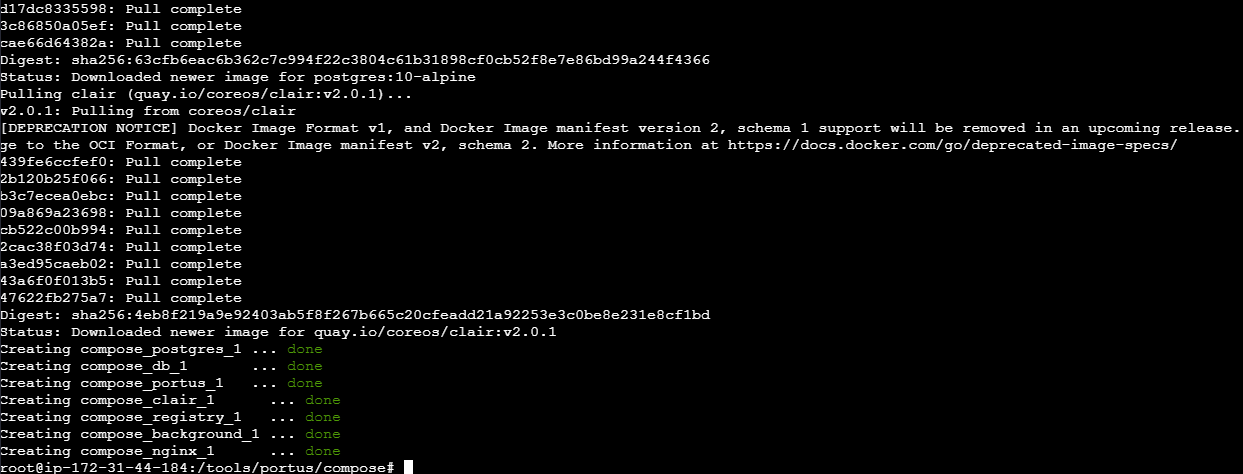 Portus has been successfully installed.
Configure Portus
Using the Public IP from the instance you just created, you can create a record from the domain to point to the Portus server to access the instance via the domain.
 Proceed to access the domain.
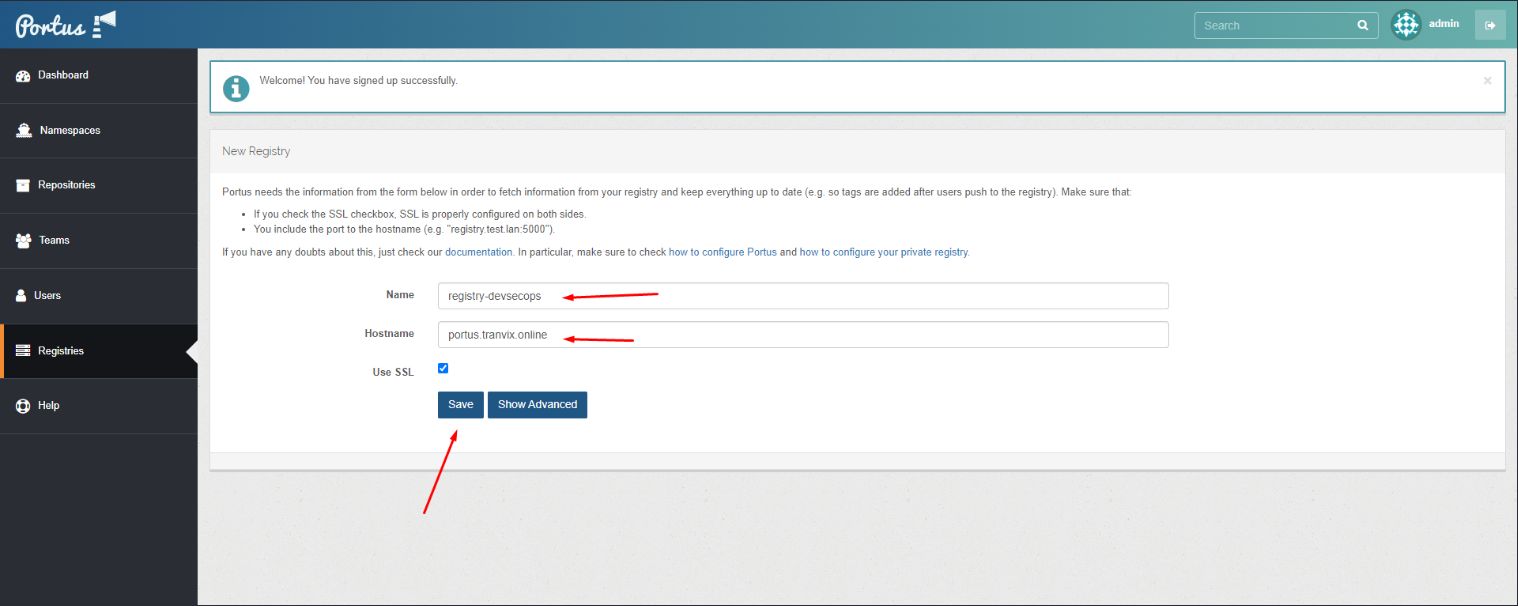
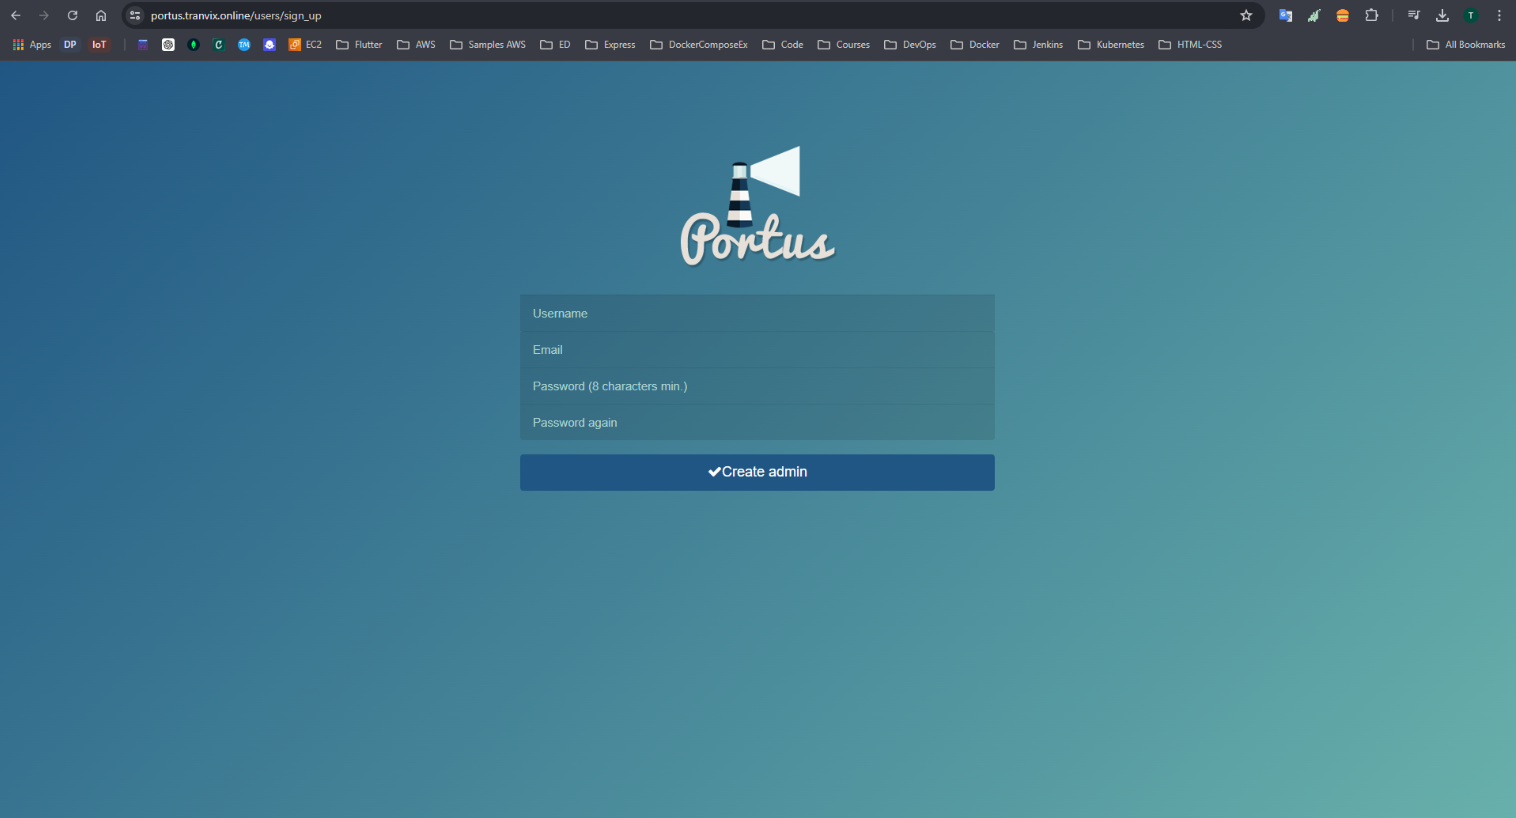 Create an Admin User and log in. Create a Registry.
 Create a User and Group for the project.

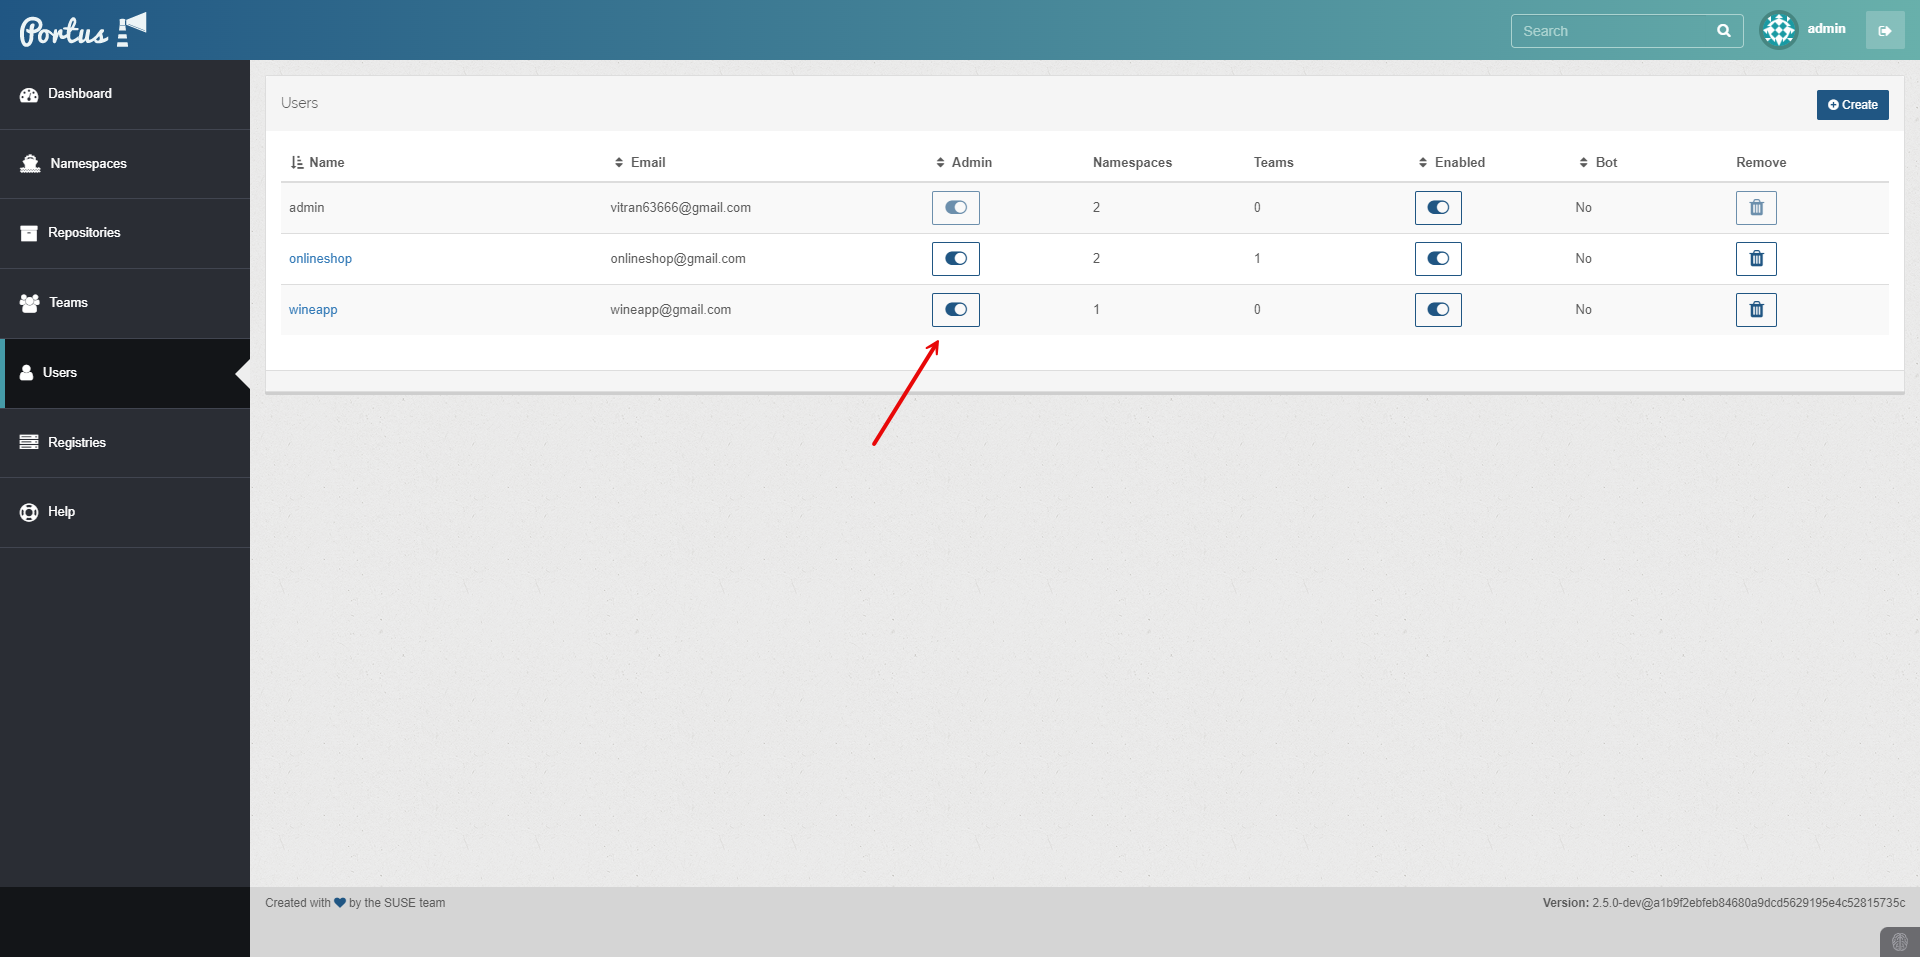
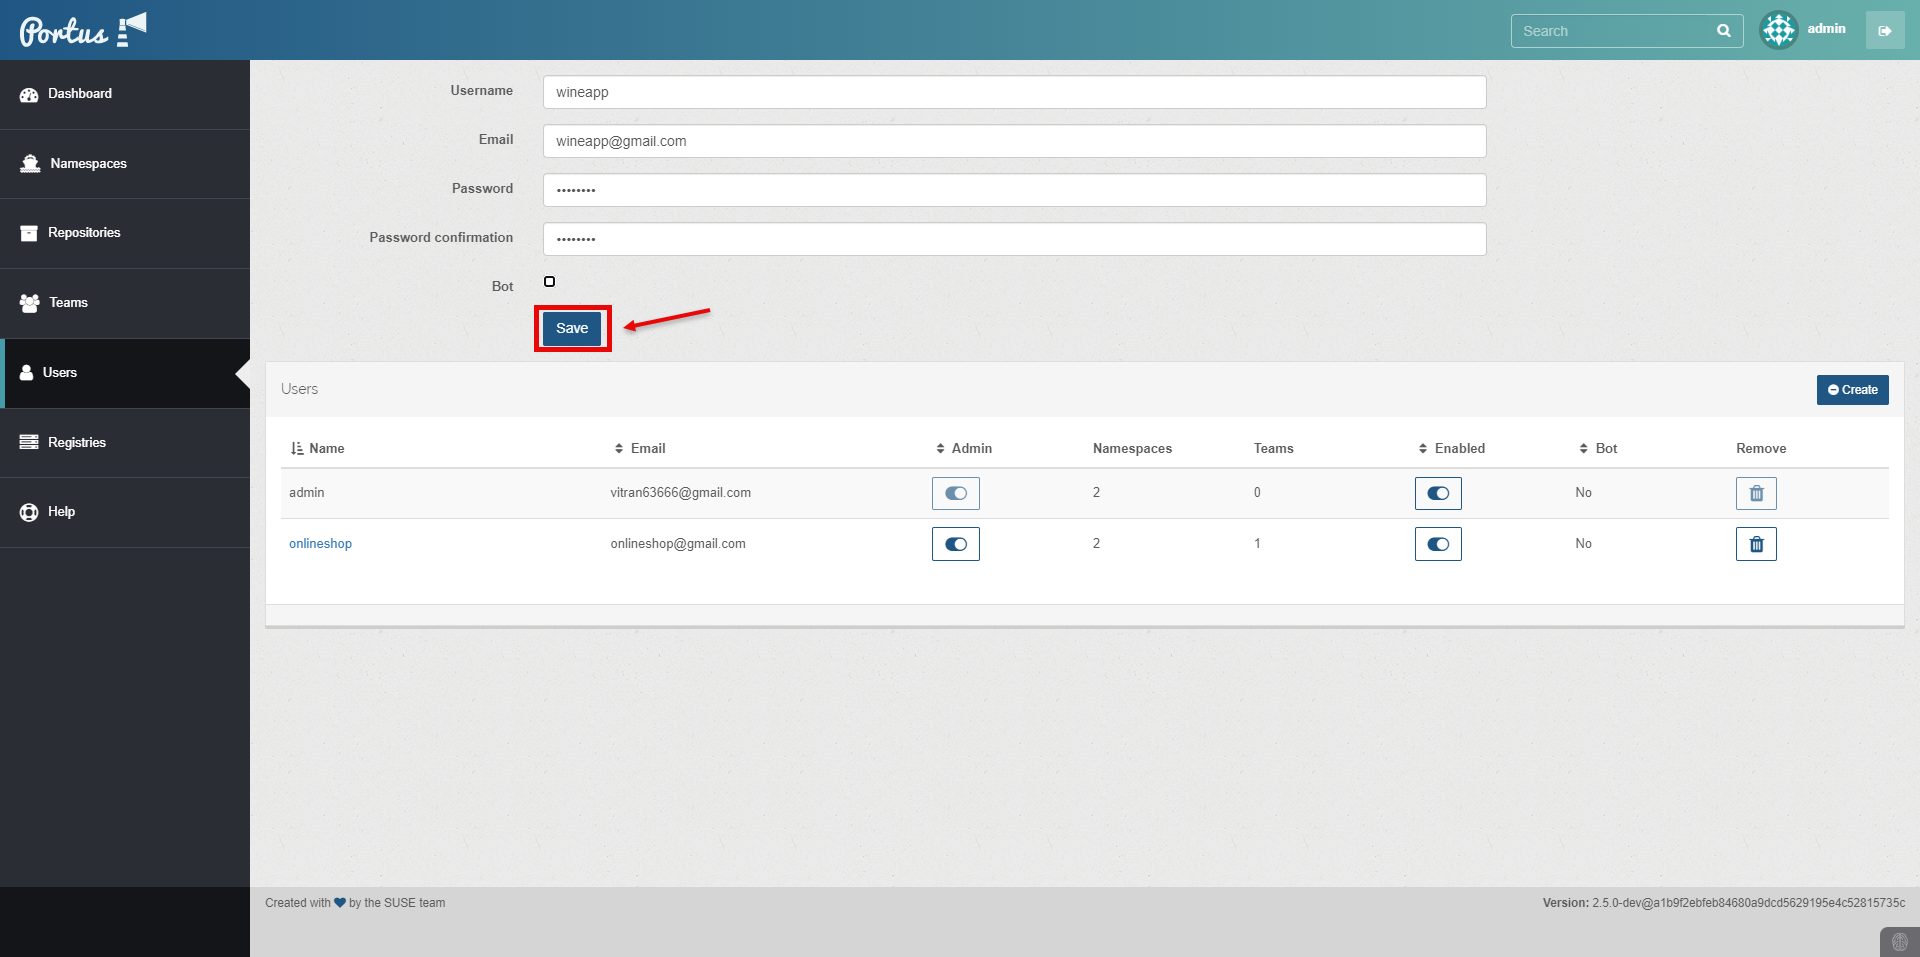 Configure the created User with Admin rights.
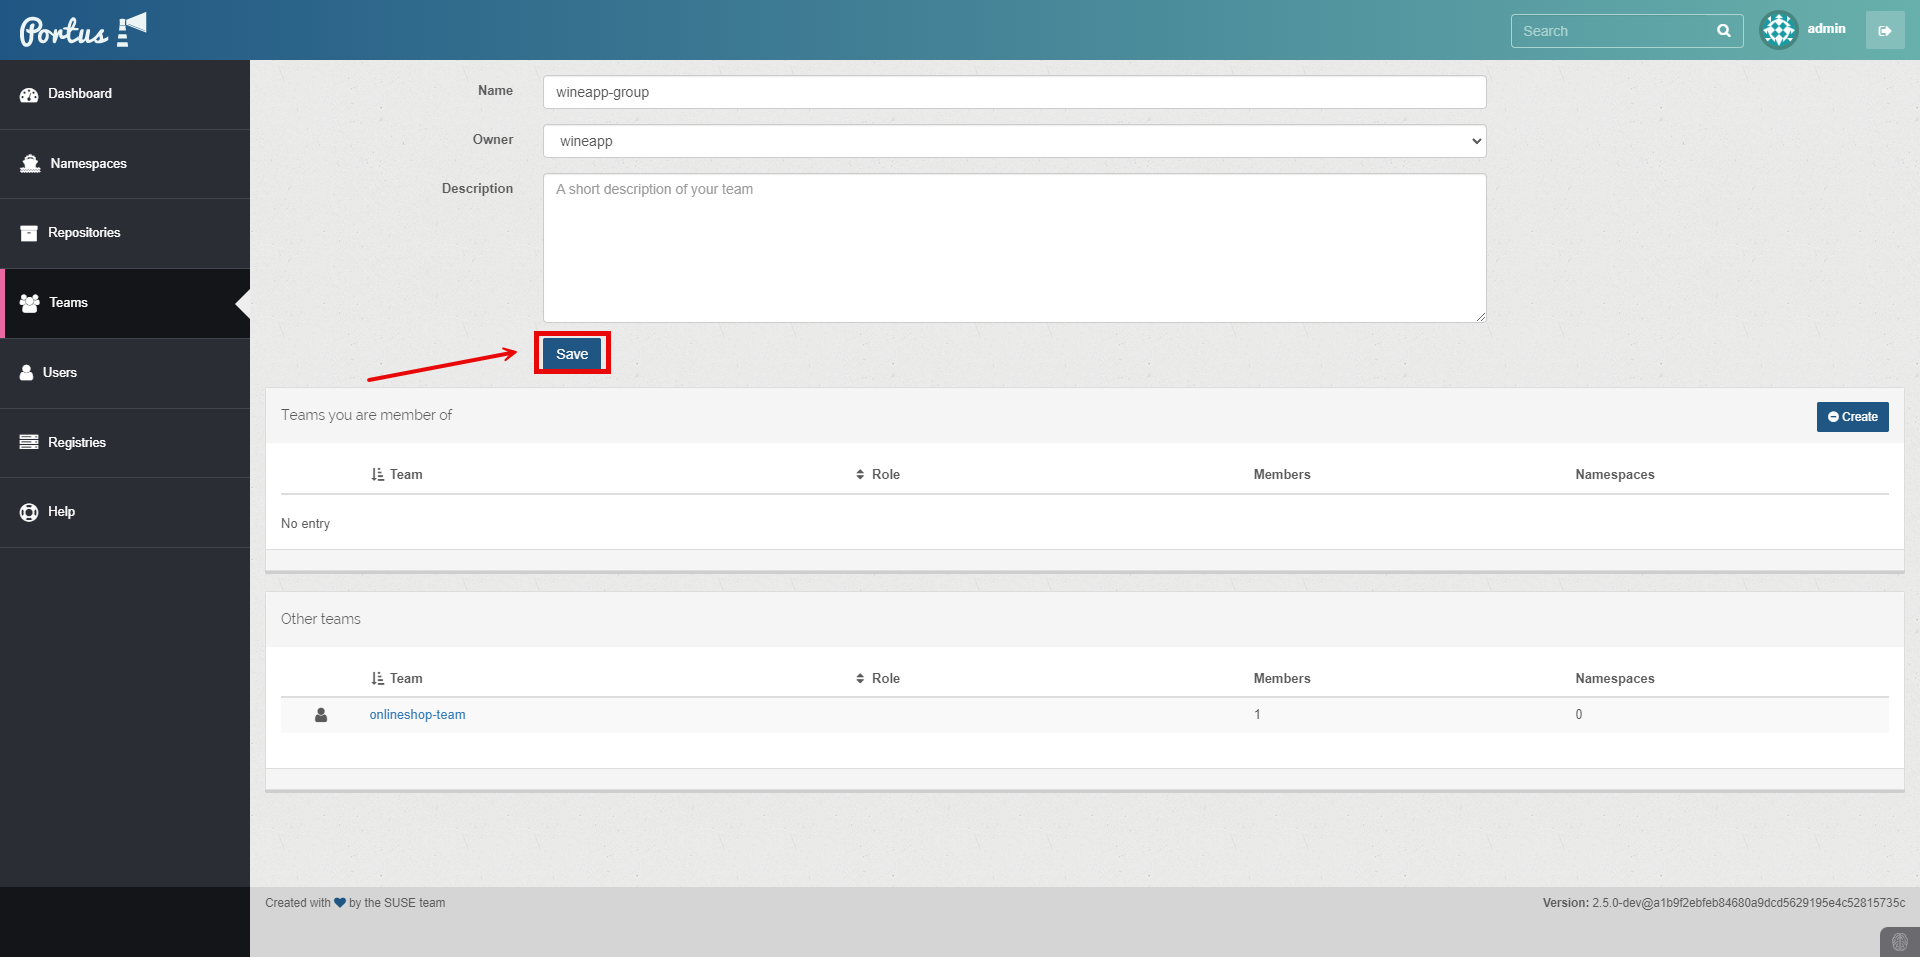
 Create a Group.

 You have successfully created a User and Group.
Thus, we have successfully created and set up a Private Registry with Portus.