Database Server
Install MongoDB
Create an EC2 Instance with the following configuration:
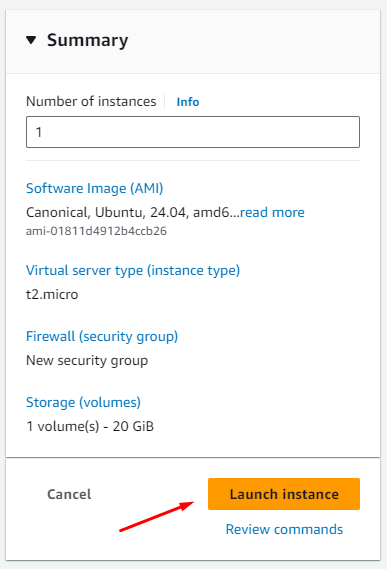
Refer to section 2.2 for the process of creating an EC2 instance.
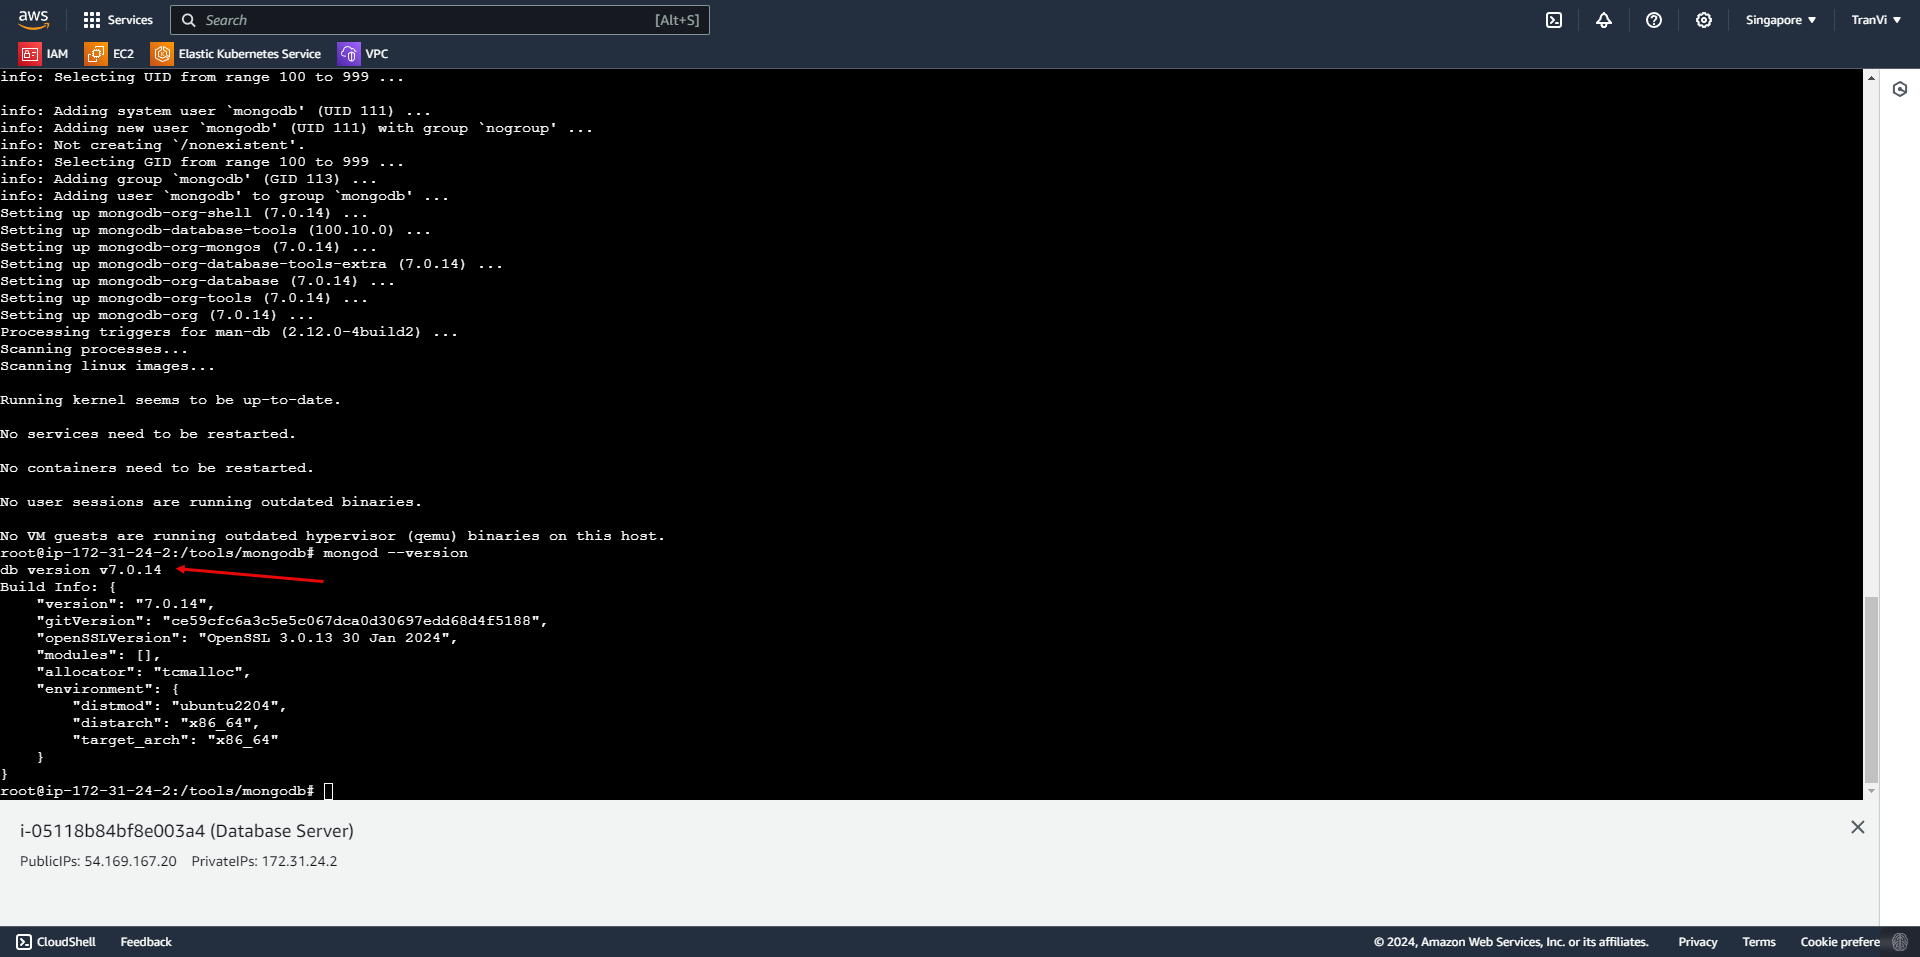
After successful creation, connect to the EC2 instance and create a Bash Script file to install MongoDB.
#!/bin/bash
sudo apt-get install gnupg curl
curl -fsSL https://www.mongodb.org/static/pgp/server-7.0.asc | \
   sudo gpg -o /usr/share/keyrings/mongodb-server-7.0.gpg \
   --dearmor
echo "deb [ arch=amd64,arm64 signed-by=/usr/share/keyrings/mongodb-server-7.0.gpg ] https://repo.mongodb.org/apt/ubuntu jammy/mongodb-org/7.0 multiverse" | sudo tee /etc/apt/sources.list.d/mongodb-org-7.0.list
sudo apt-get update
sudo apt-get install -y mongodb-org
echo "mongodb-org hold" | sudo dpkg --set-selections
echo "mongodb-org-database hold" | sudo dpkg --set-selections
echo "mongodb-org-server hold" | sudo dpkg --set-selections
echo "mongodb-mongosh hold" | sudo dpkg --set-selections
echo "mongodb-org-mongos hold" | sudo dpkg --set-selections
echo "mongodb-org-tools hold" | sudo dpkg --set-selections
Run the Bash Script by executing the following command:
sh <name-file>.sh
 After a successful installation, start MongoDB Community Edition with:
sudo systemctl start mongod
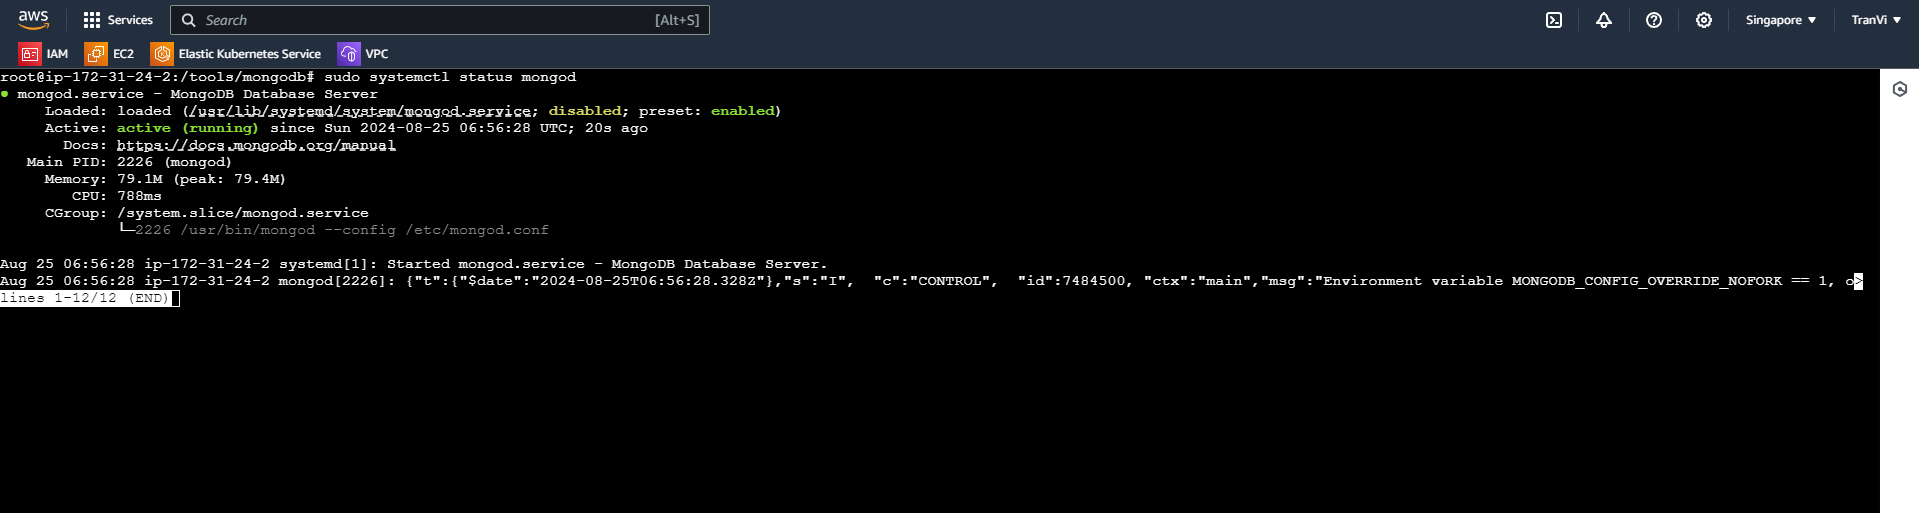
Check if MongoDB has started successfully with:
sudo systemctl status mongod
You can use the option to ensure MongoDB starts after system reboot with:
sudo systemctl enable mongod
Configuring MongoDB
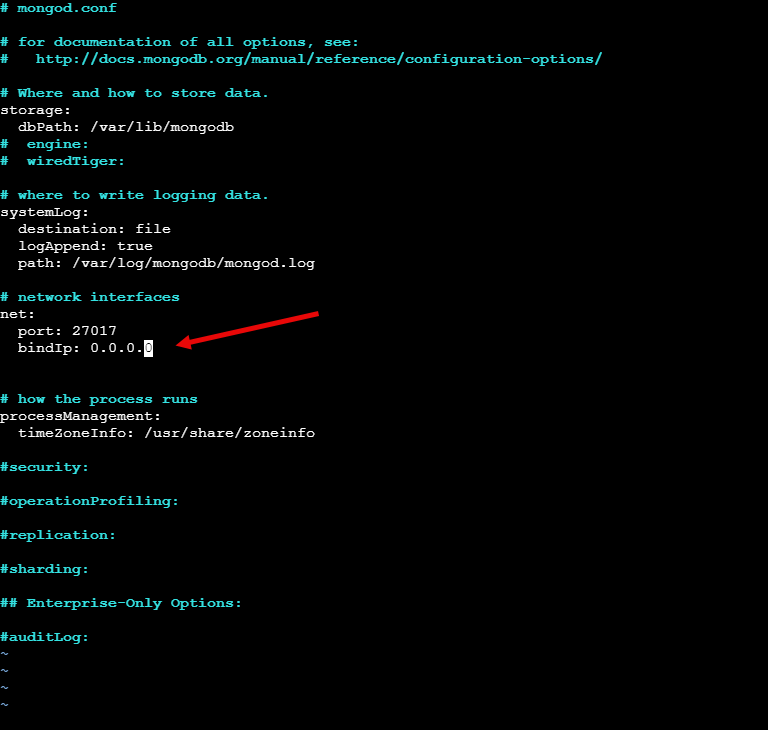
Access the file /etc/mongod.conf to change the IP address range that MongoDB listens to and accepts connections.
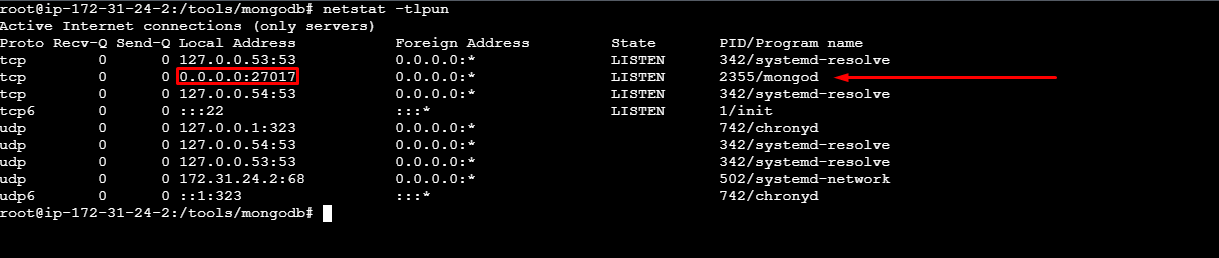
Change from bindIp: 127.0.0.1 to bindIp: 0.0.0.0
127.0.0.1 (localhost): This is the loopback address of the local machine (localhost). If bindIp is set to 127.0.0.1, MongoDB will only accept connections from the machine where MongoDB is running. Connections from outside (from other computers or networks) will be denied.
0.0.0.0: When bindIp is set to 0.0.0.0, MongoDB will listen on all IP addresses of the server. This means MongoDB will accept connections from any IP, including local and external machines on the network.
This allows us to access MongoDB from a local machine to the virtual machine where MongoDB is installed.
After making the changes, restart MongoDB with:
sudo systemctl restart mongod
Create a Firewall Rule to open the MongoDB Port on the EC2 Instance.
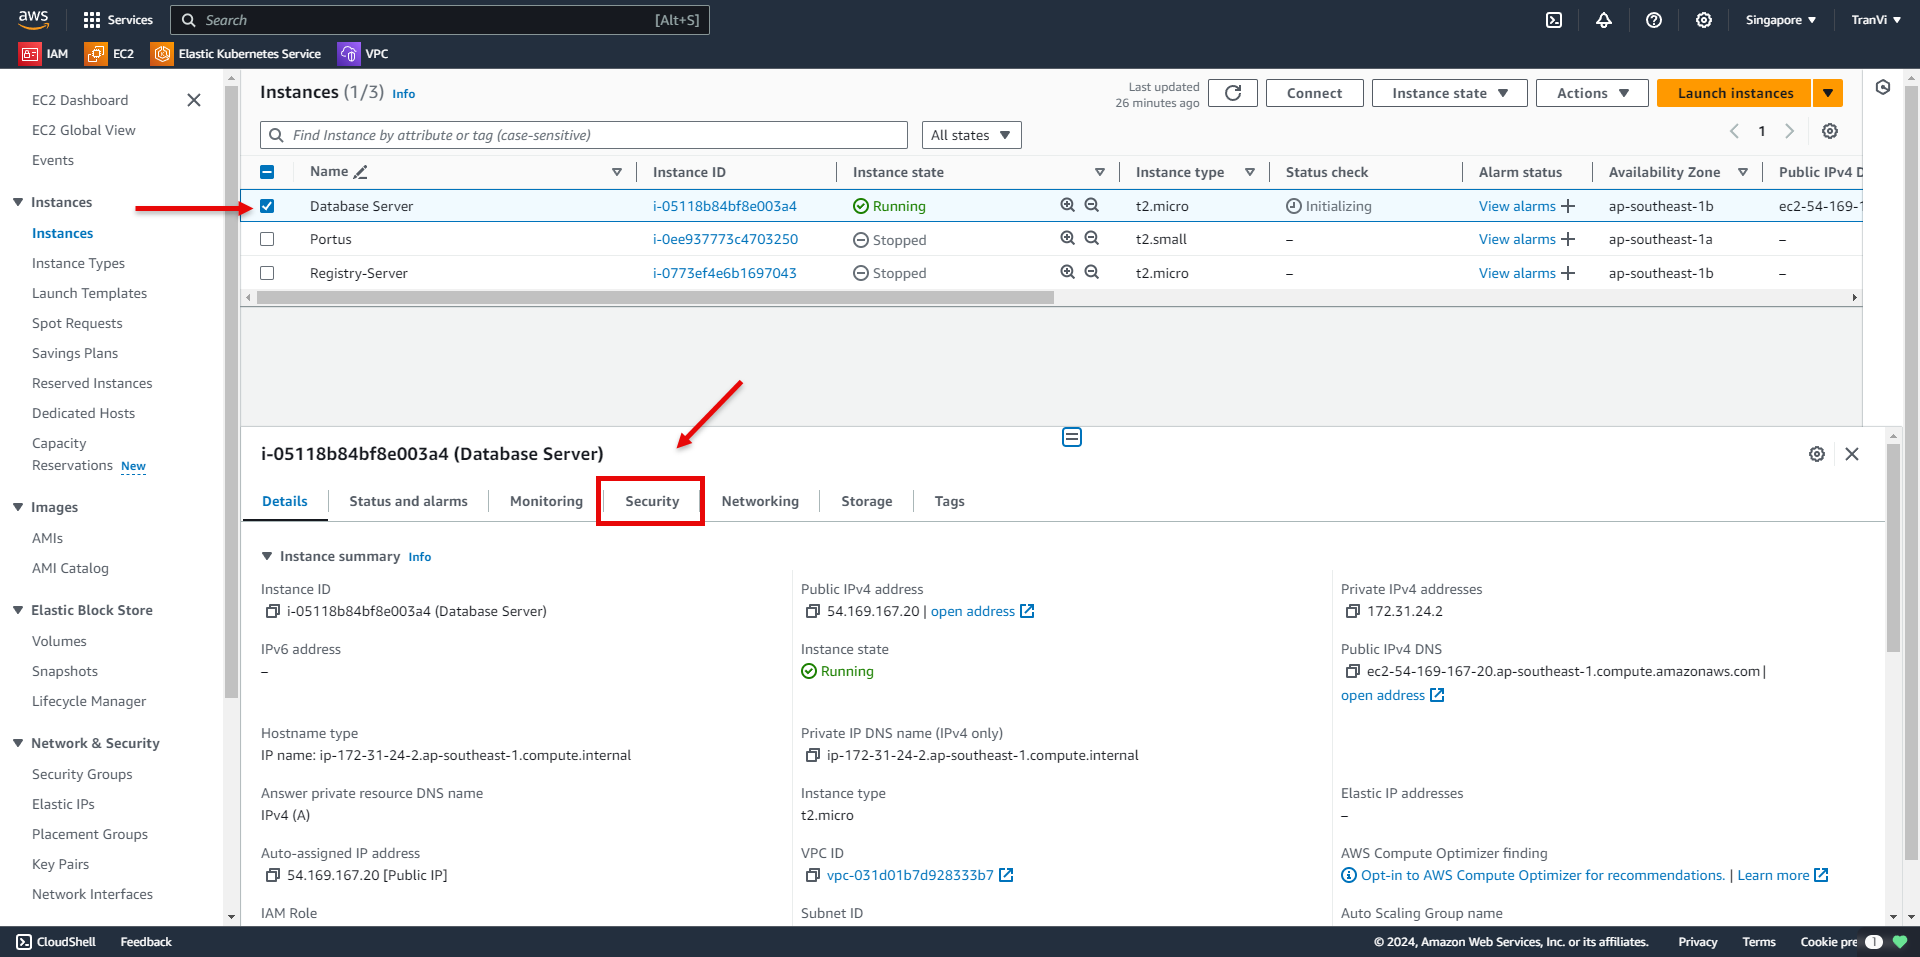
Go to Instance -> Security.
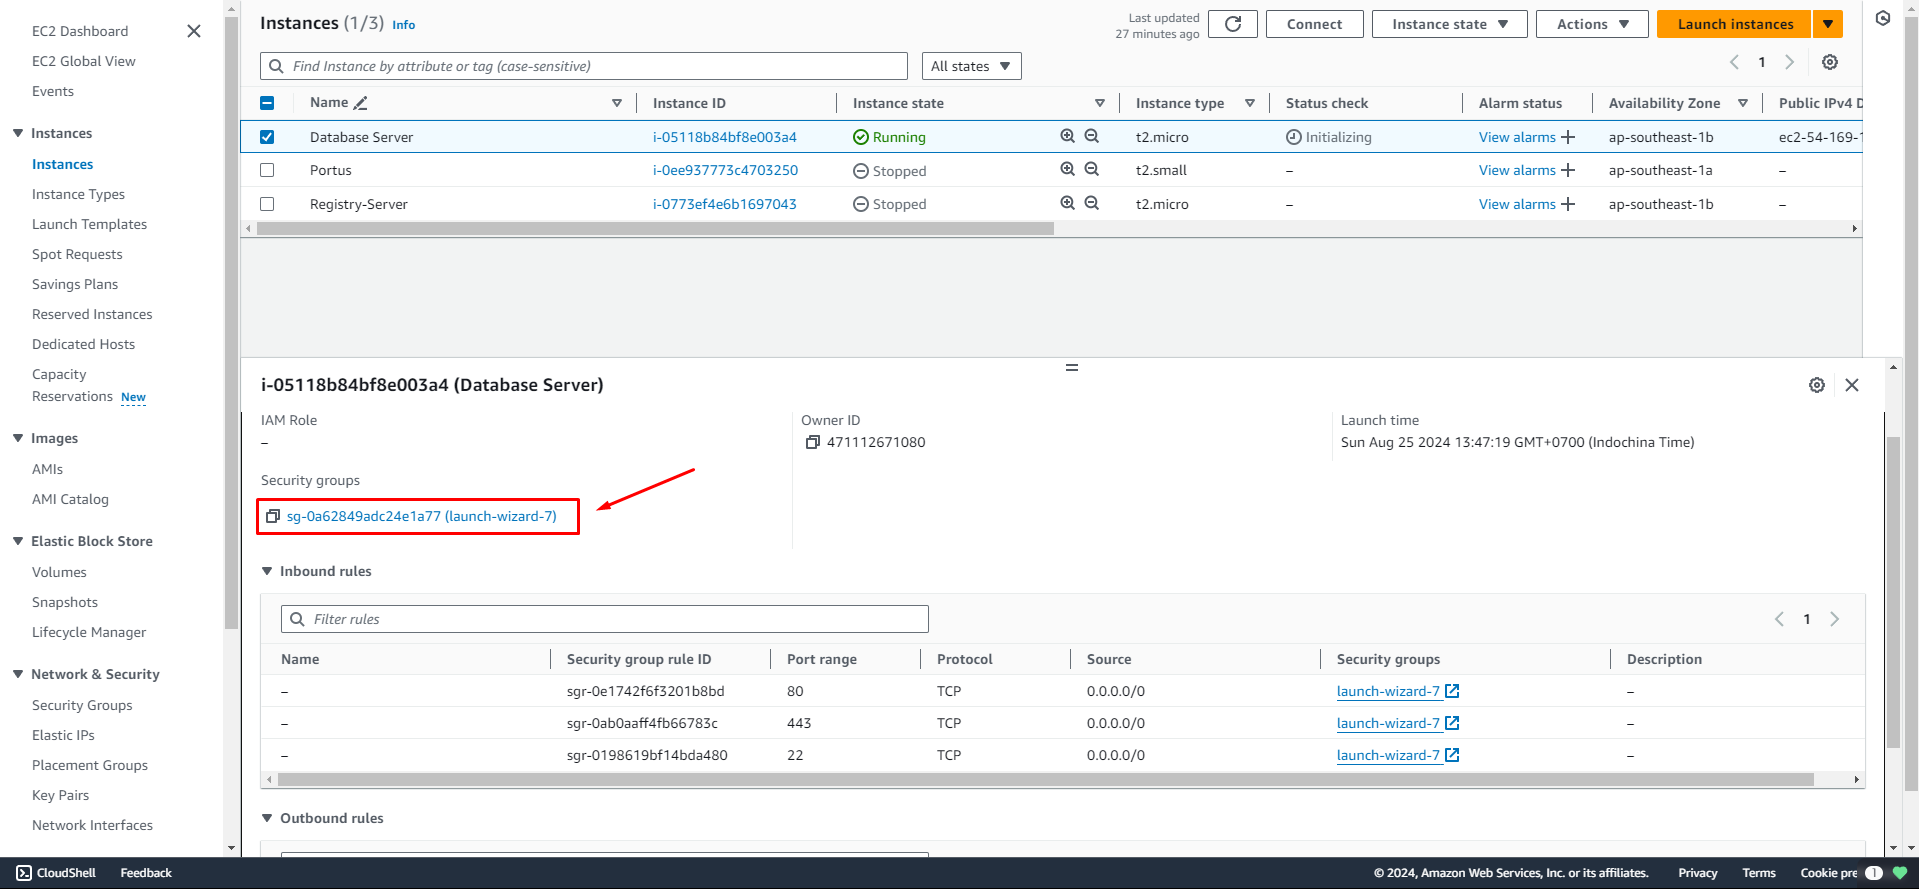
Select the Security Group associated with the Instance.
Select Edit Inbound Rules.
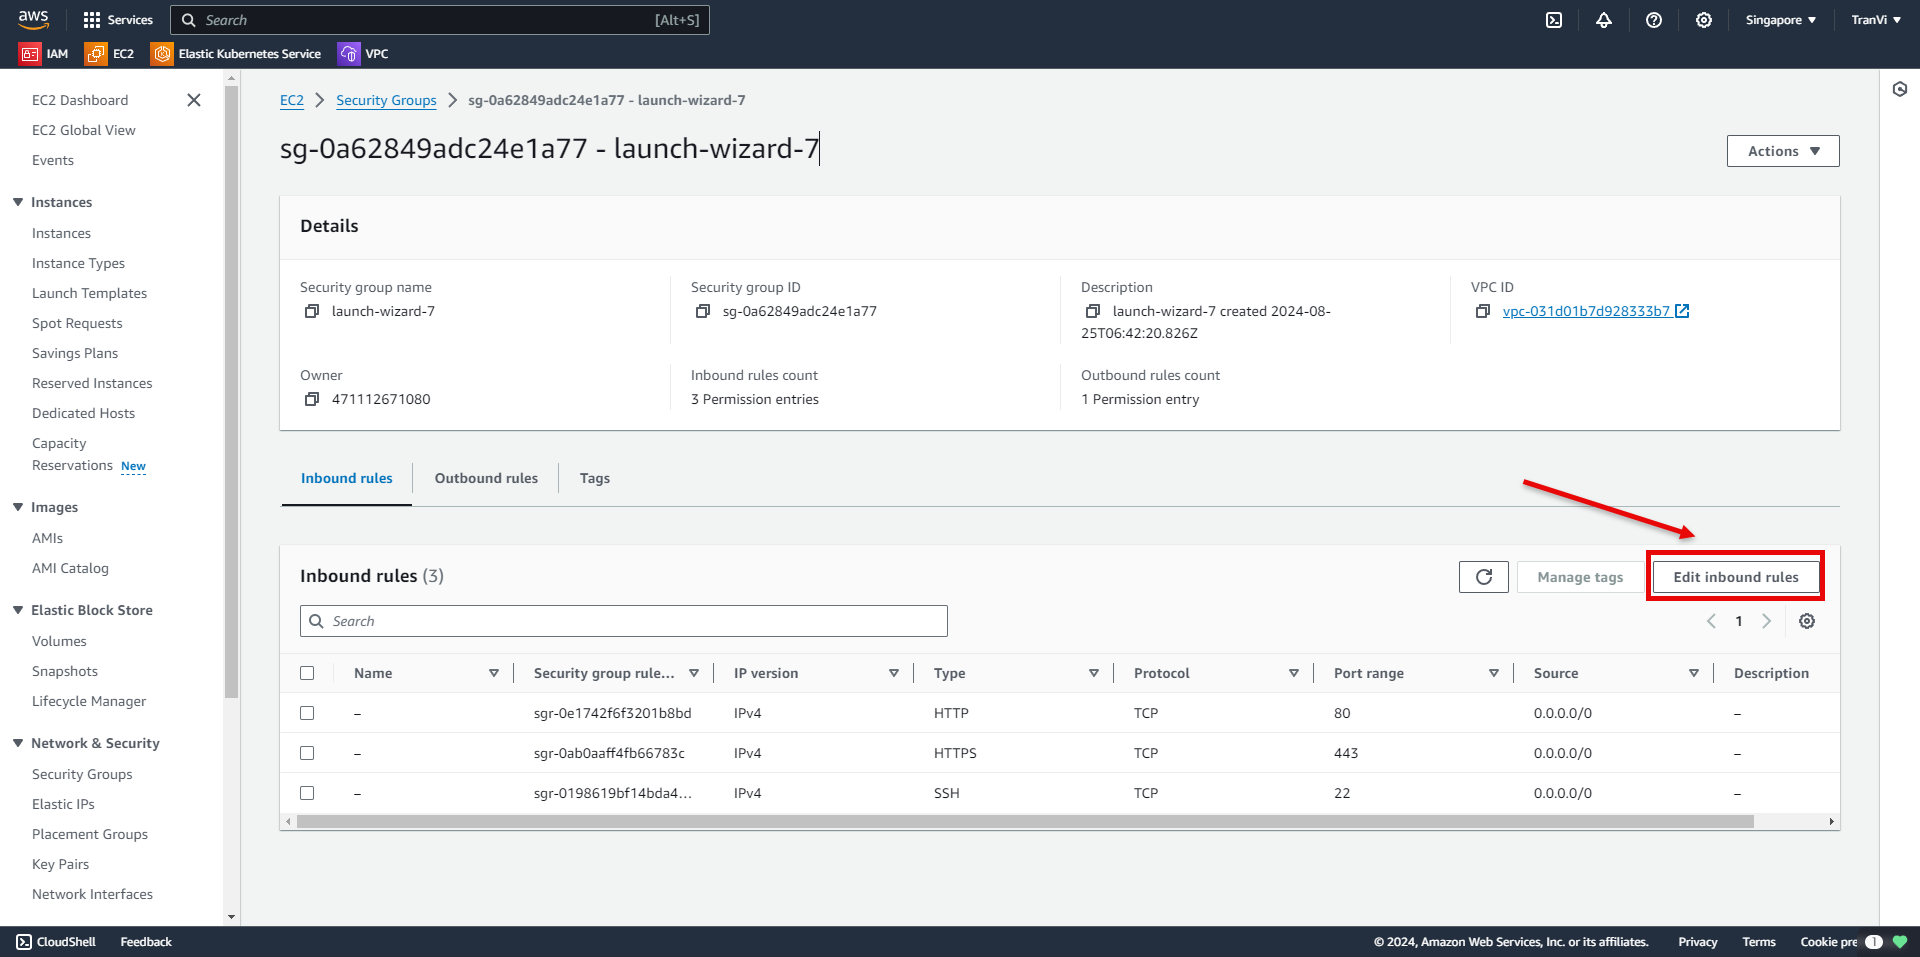
Click Add Rule and configure it as follows:
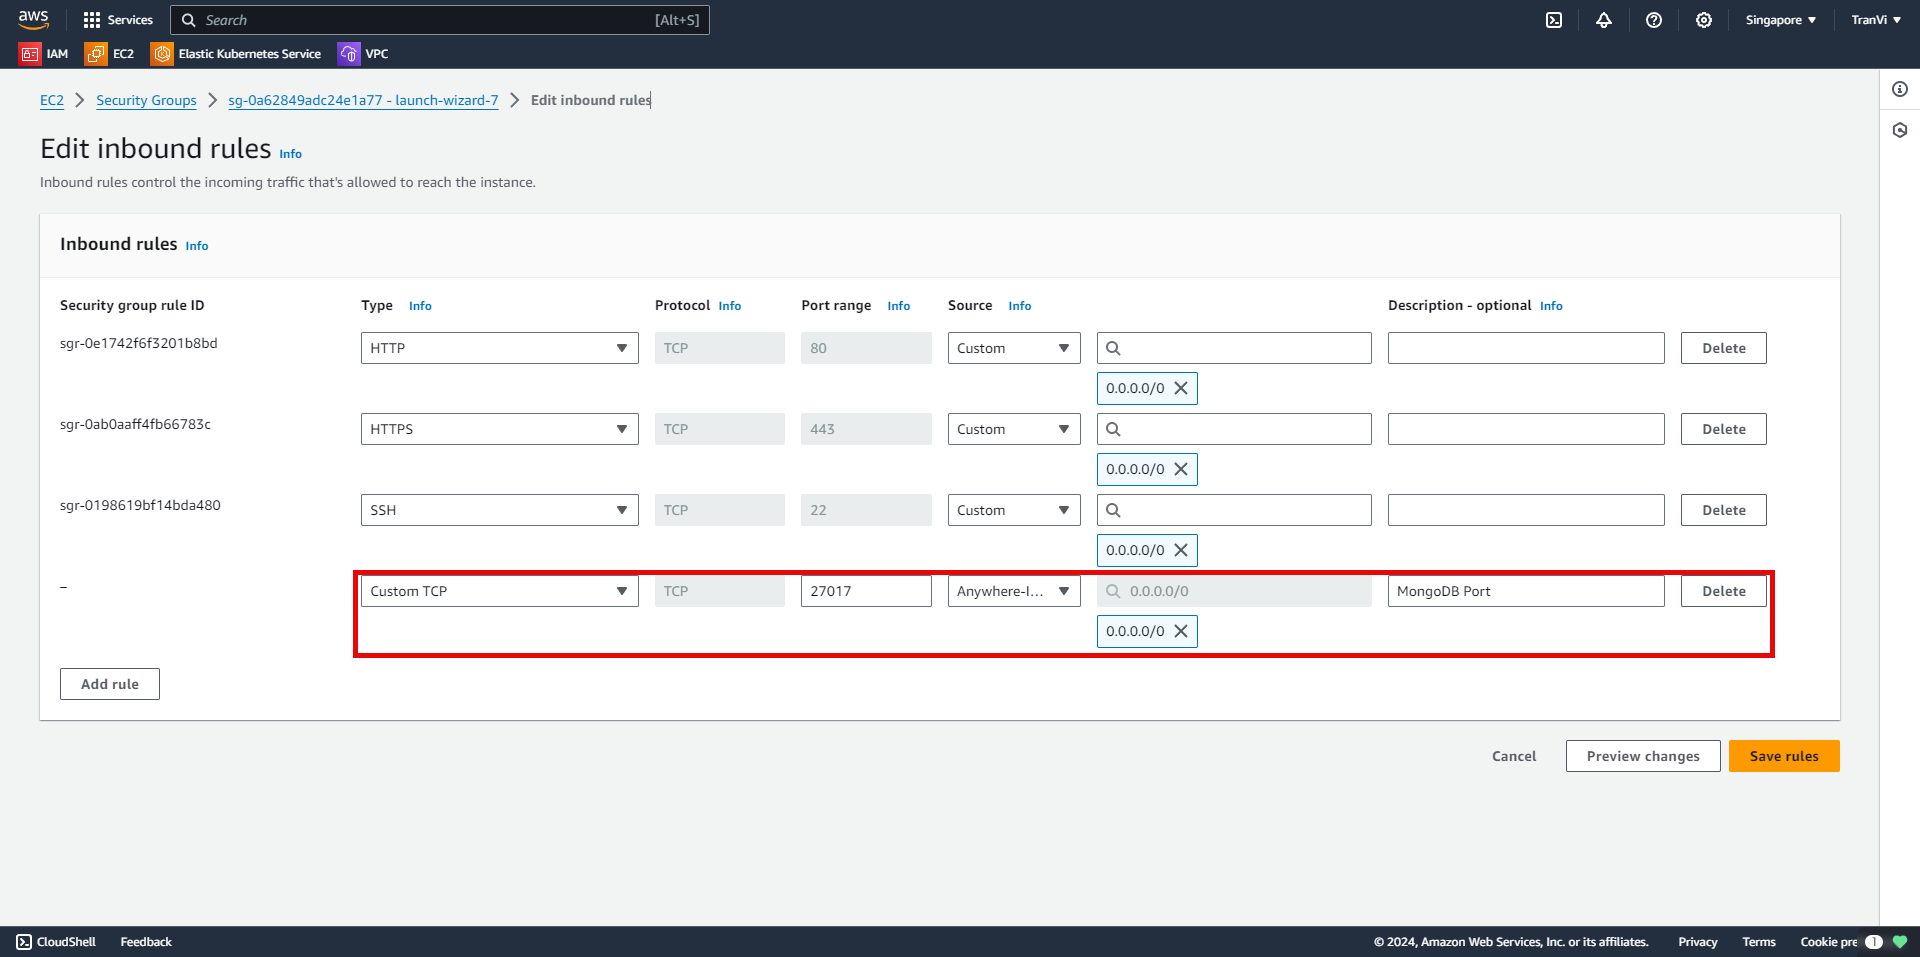
27017 is the port used for MongoDB.
Opening port 27017 to the entire internet (0.0.0.0/0) can create a high-security risk. If possible, restrict access by allowing only trusted IP addresses or ranges.
Connecting MongoDB Compass to MongoDB on EC2
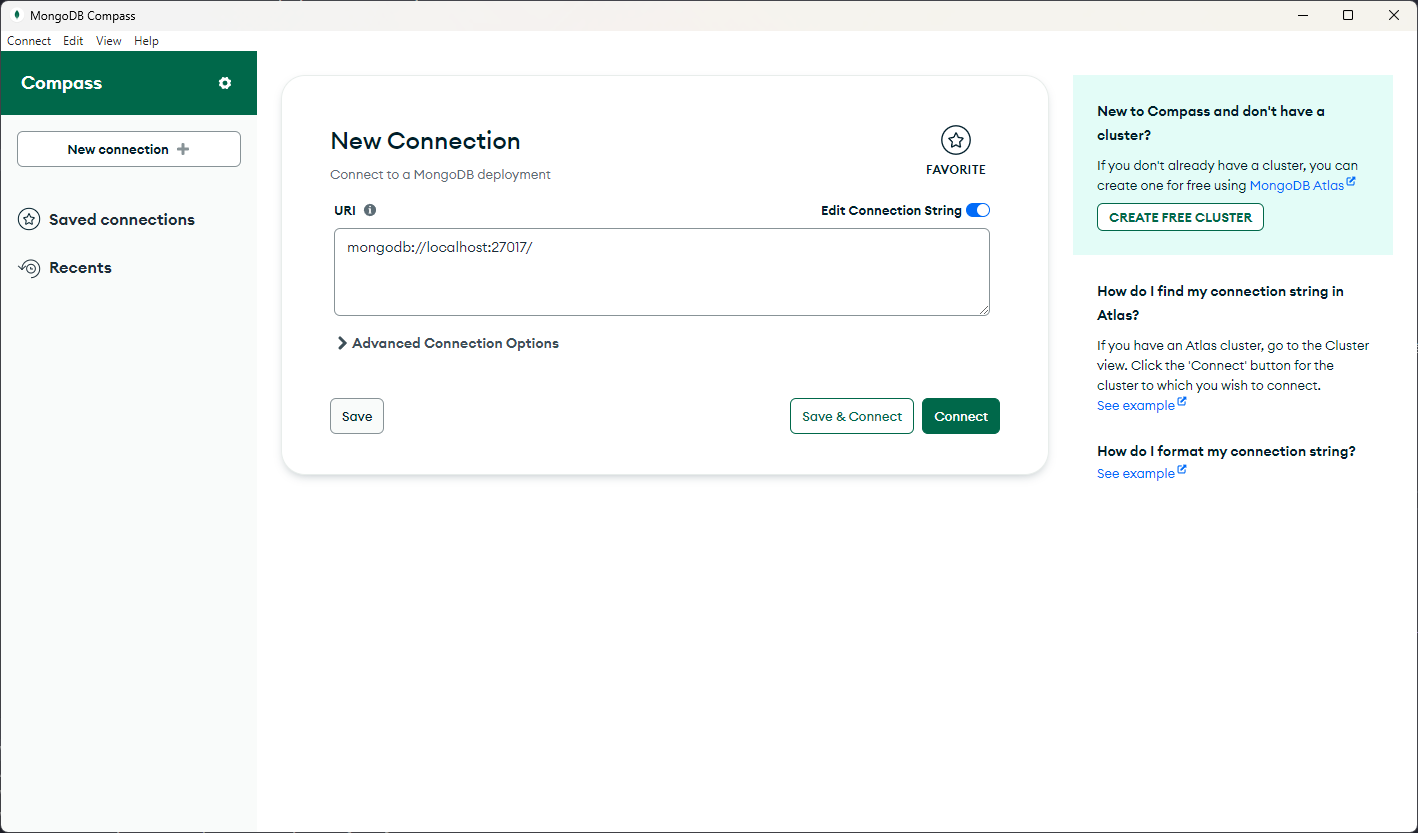
You can install MongoDB Compass from the following link:
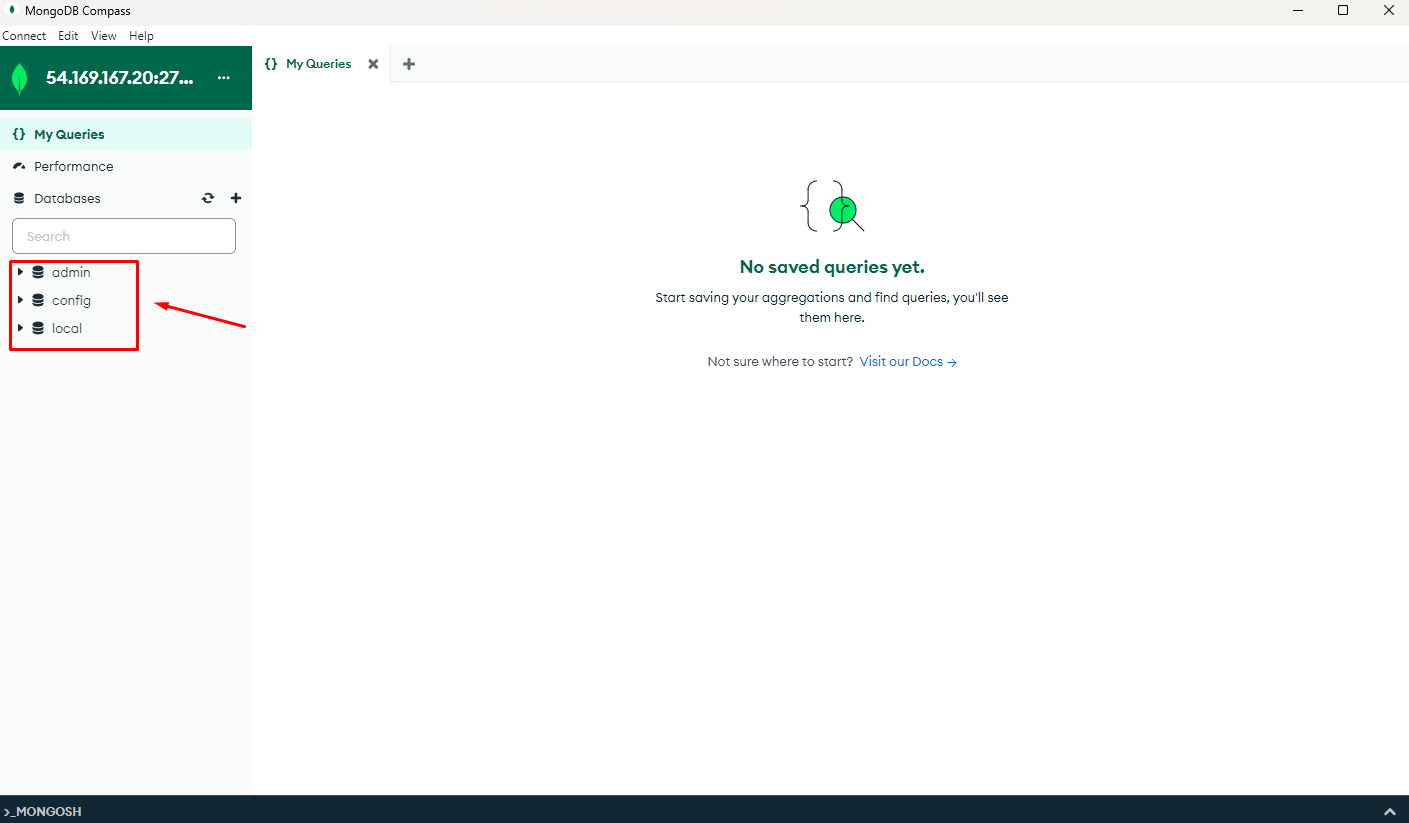
This is the main interface of MongoDB Compass.
In the EC2 Instance, we have the Public IPv4 address and Public IPv4 DNS, which we can use to access the database.
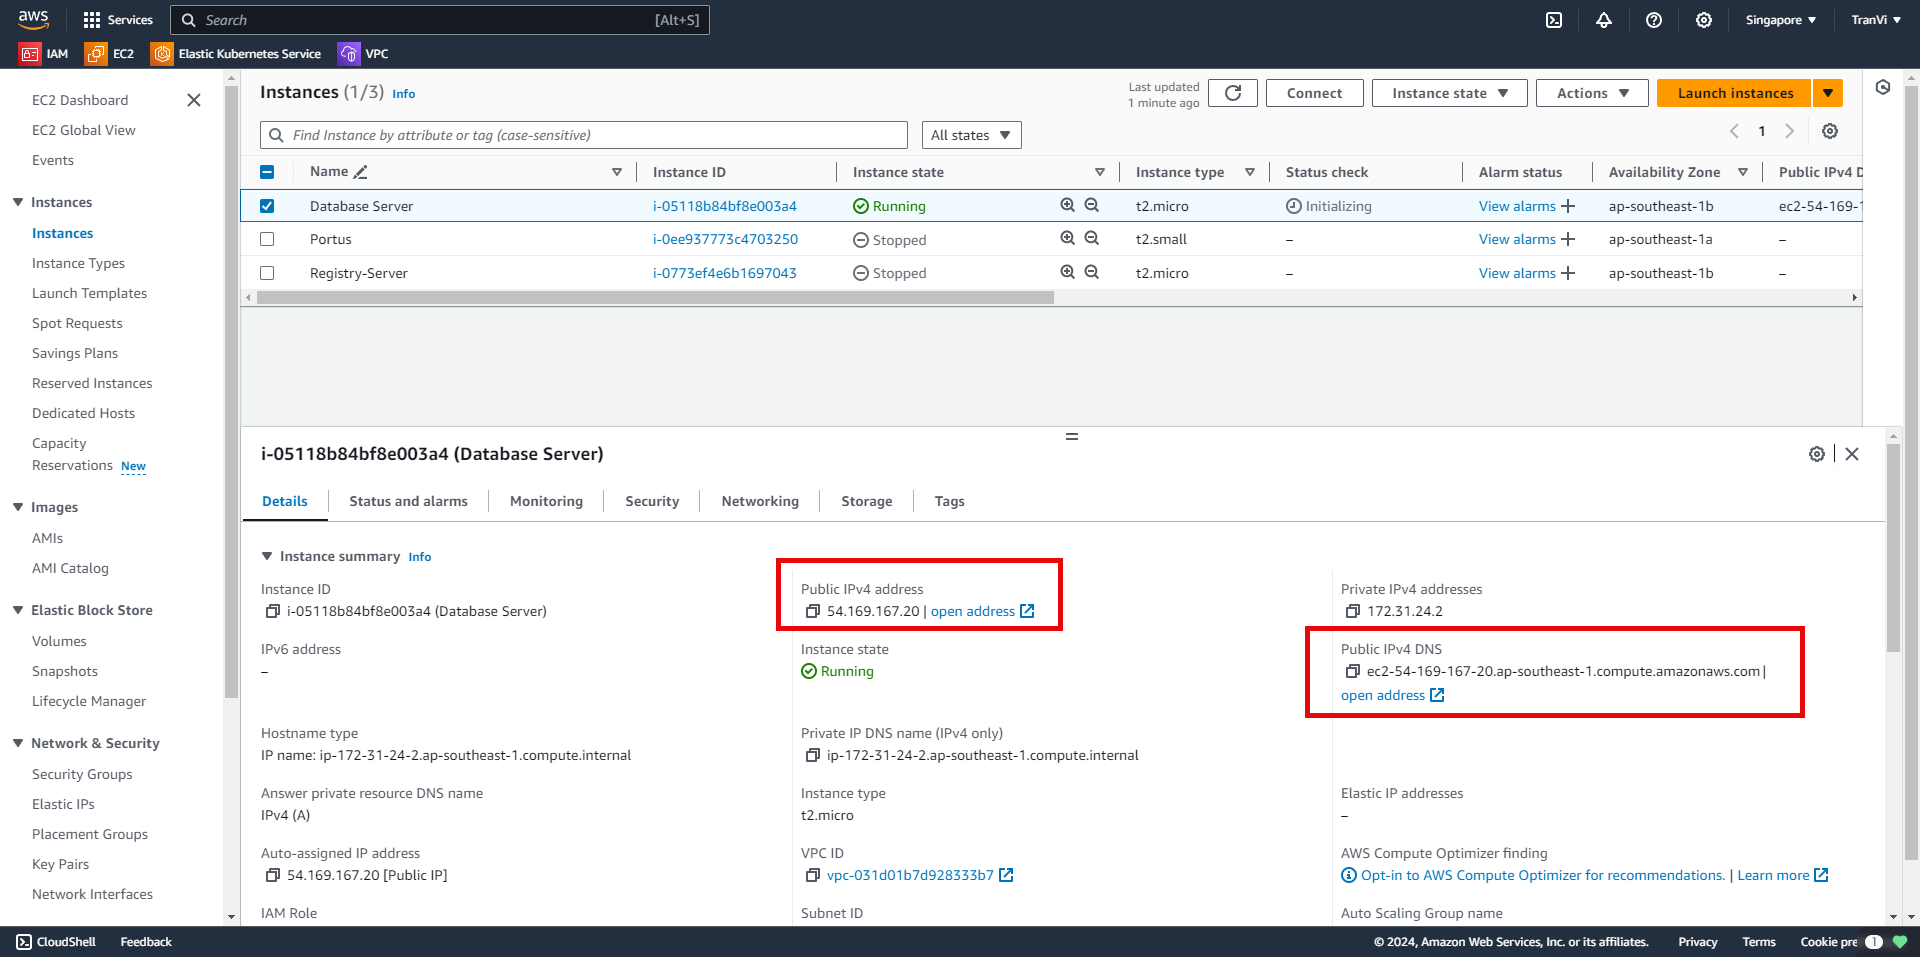
Proceed to connect to the database via MongoDB Compass.
Change localhost to the Public IP address of the Instance and connect:
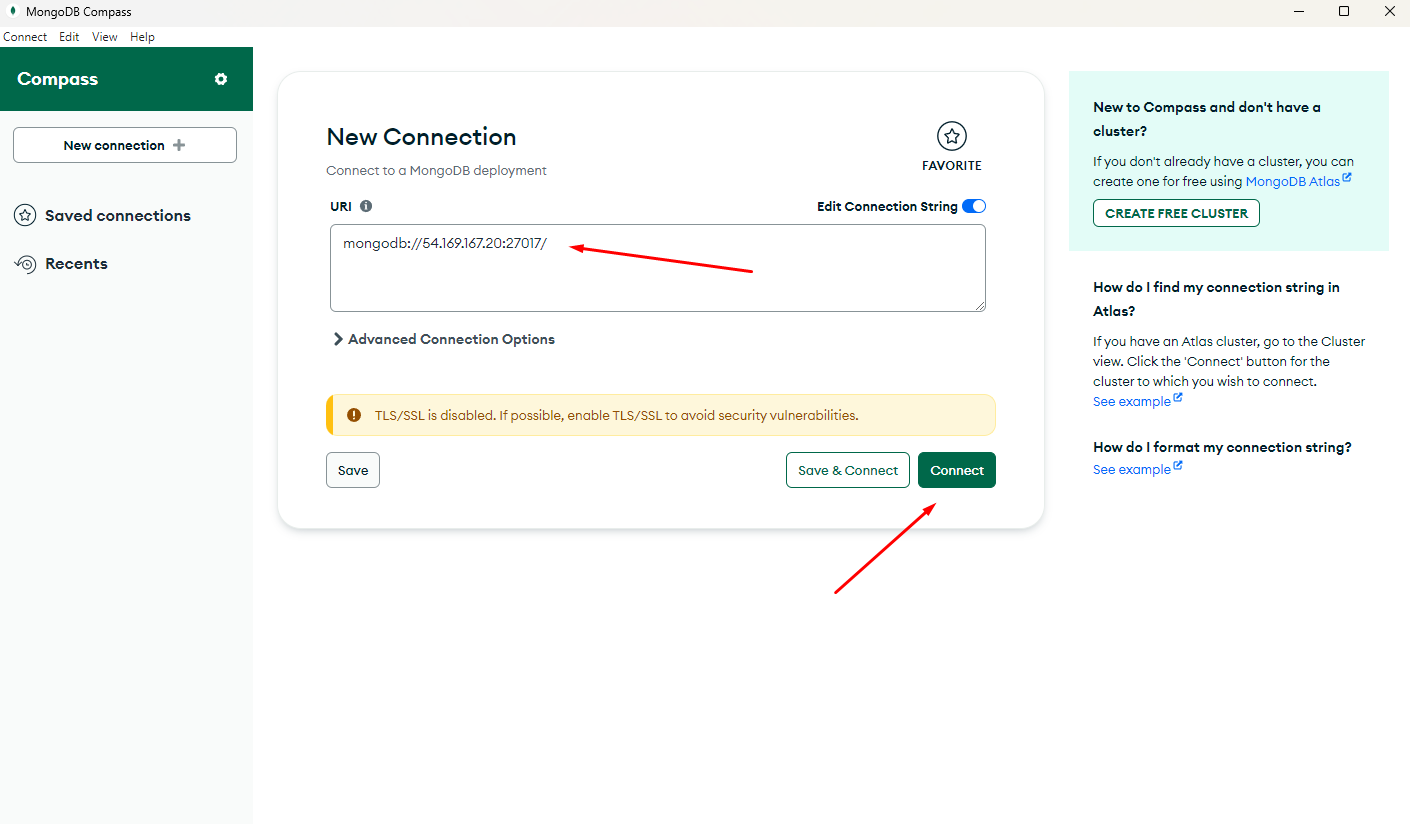
After a successful connection, you will have a database similar to the one on the server:
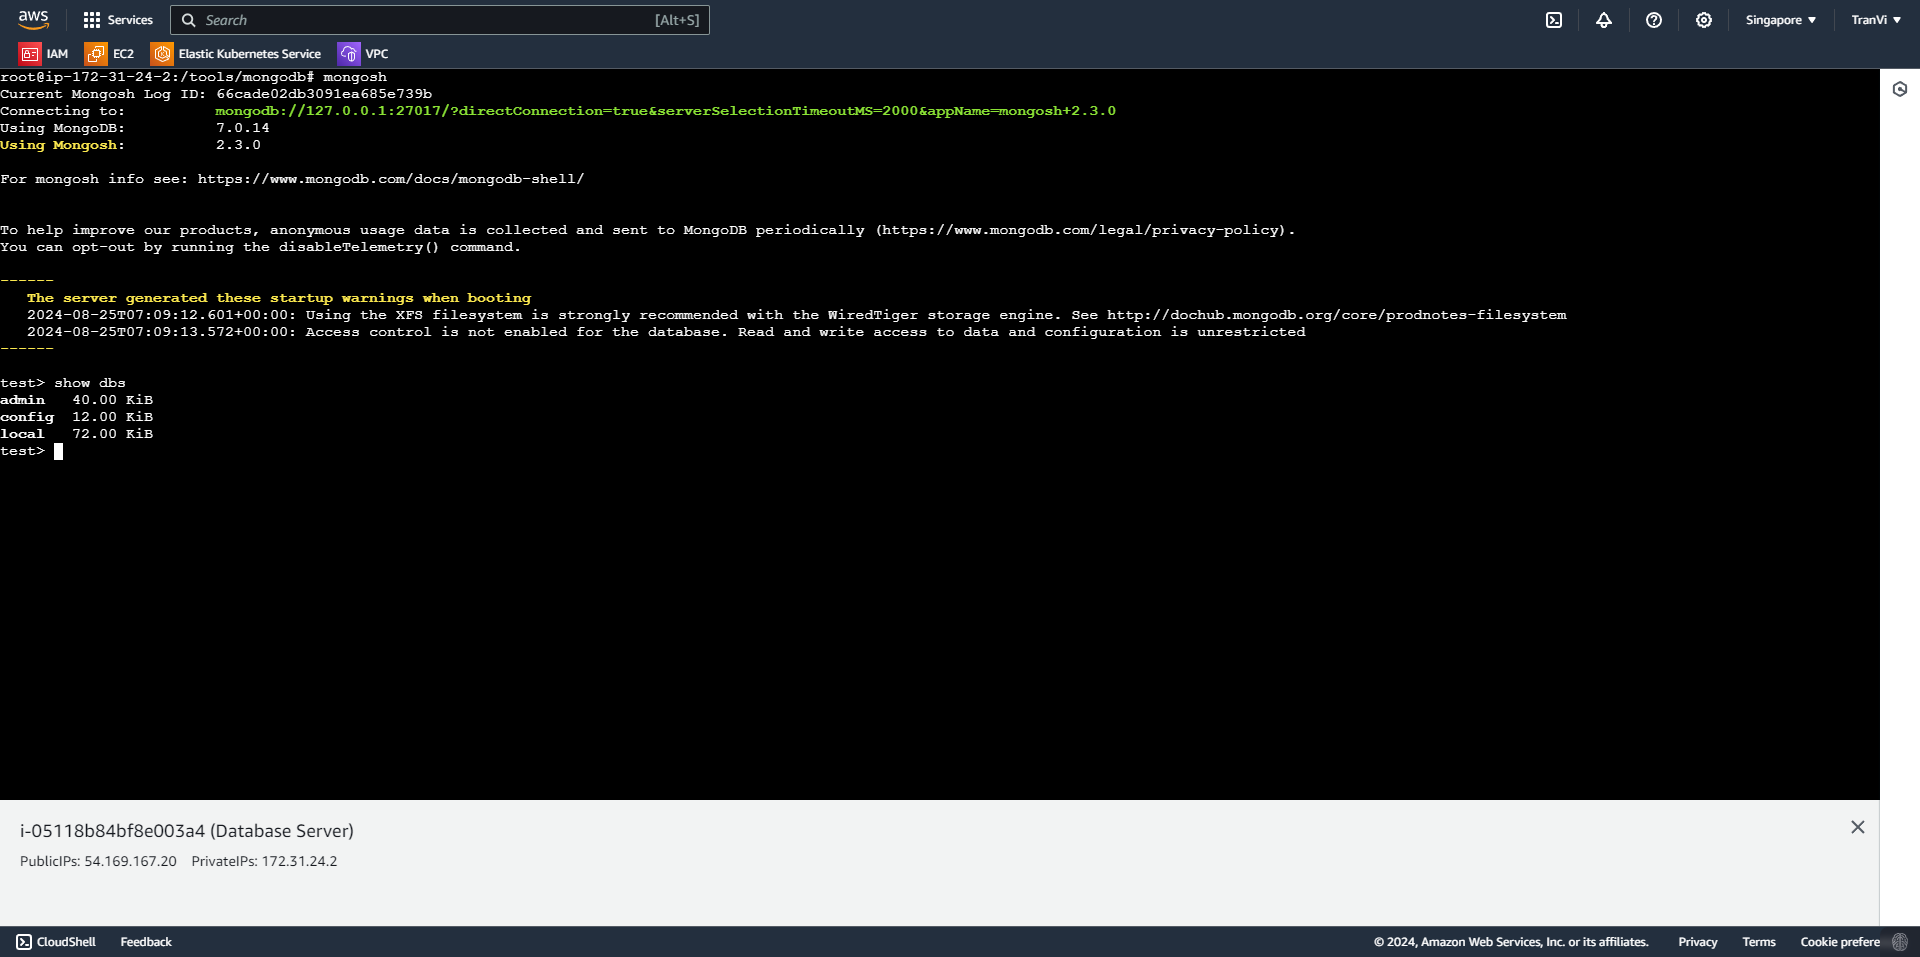
You can check the database on EC2 with the following command:
mongosh             # Truy cập vào DB
show dbs            # Show danh sách DB
Thus, we have successfully installed the Database Server.